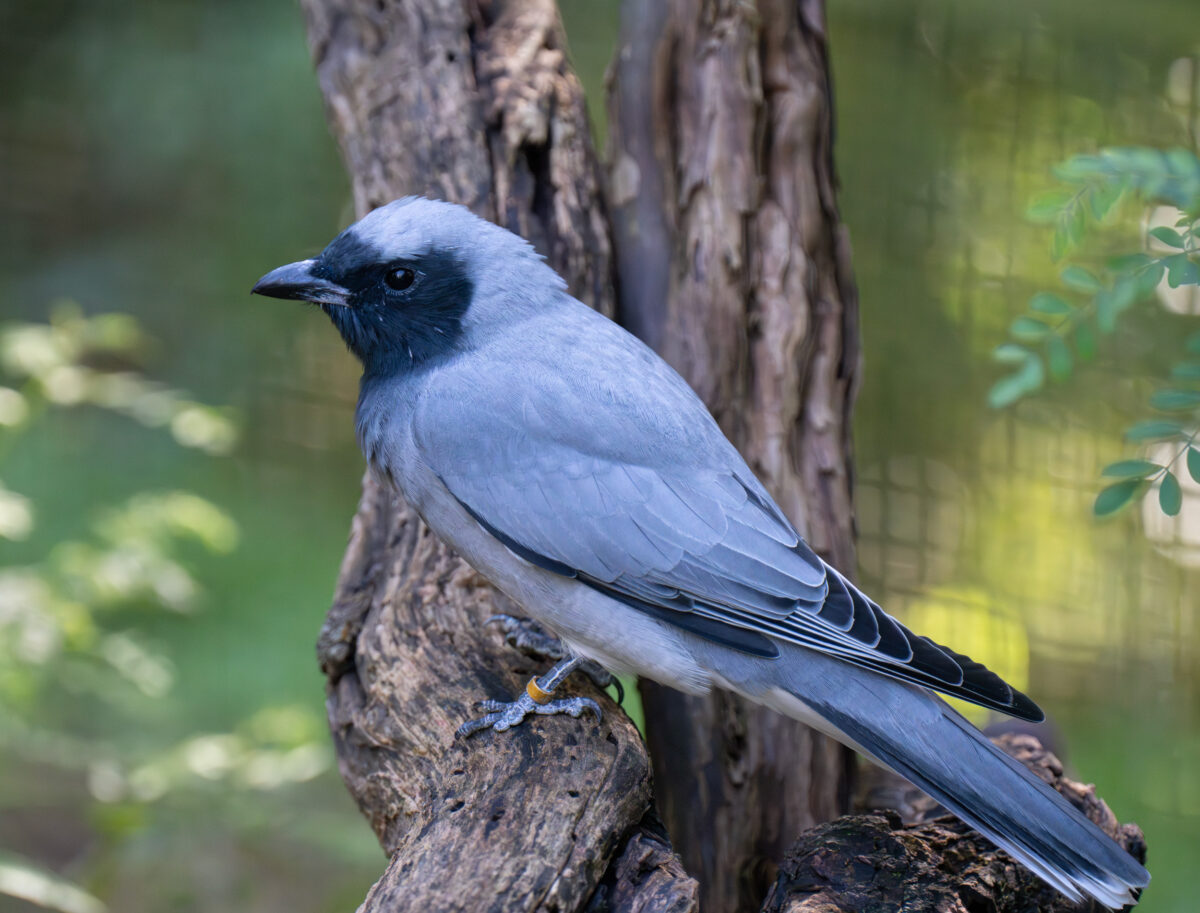
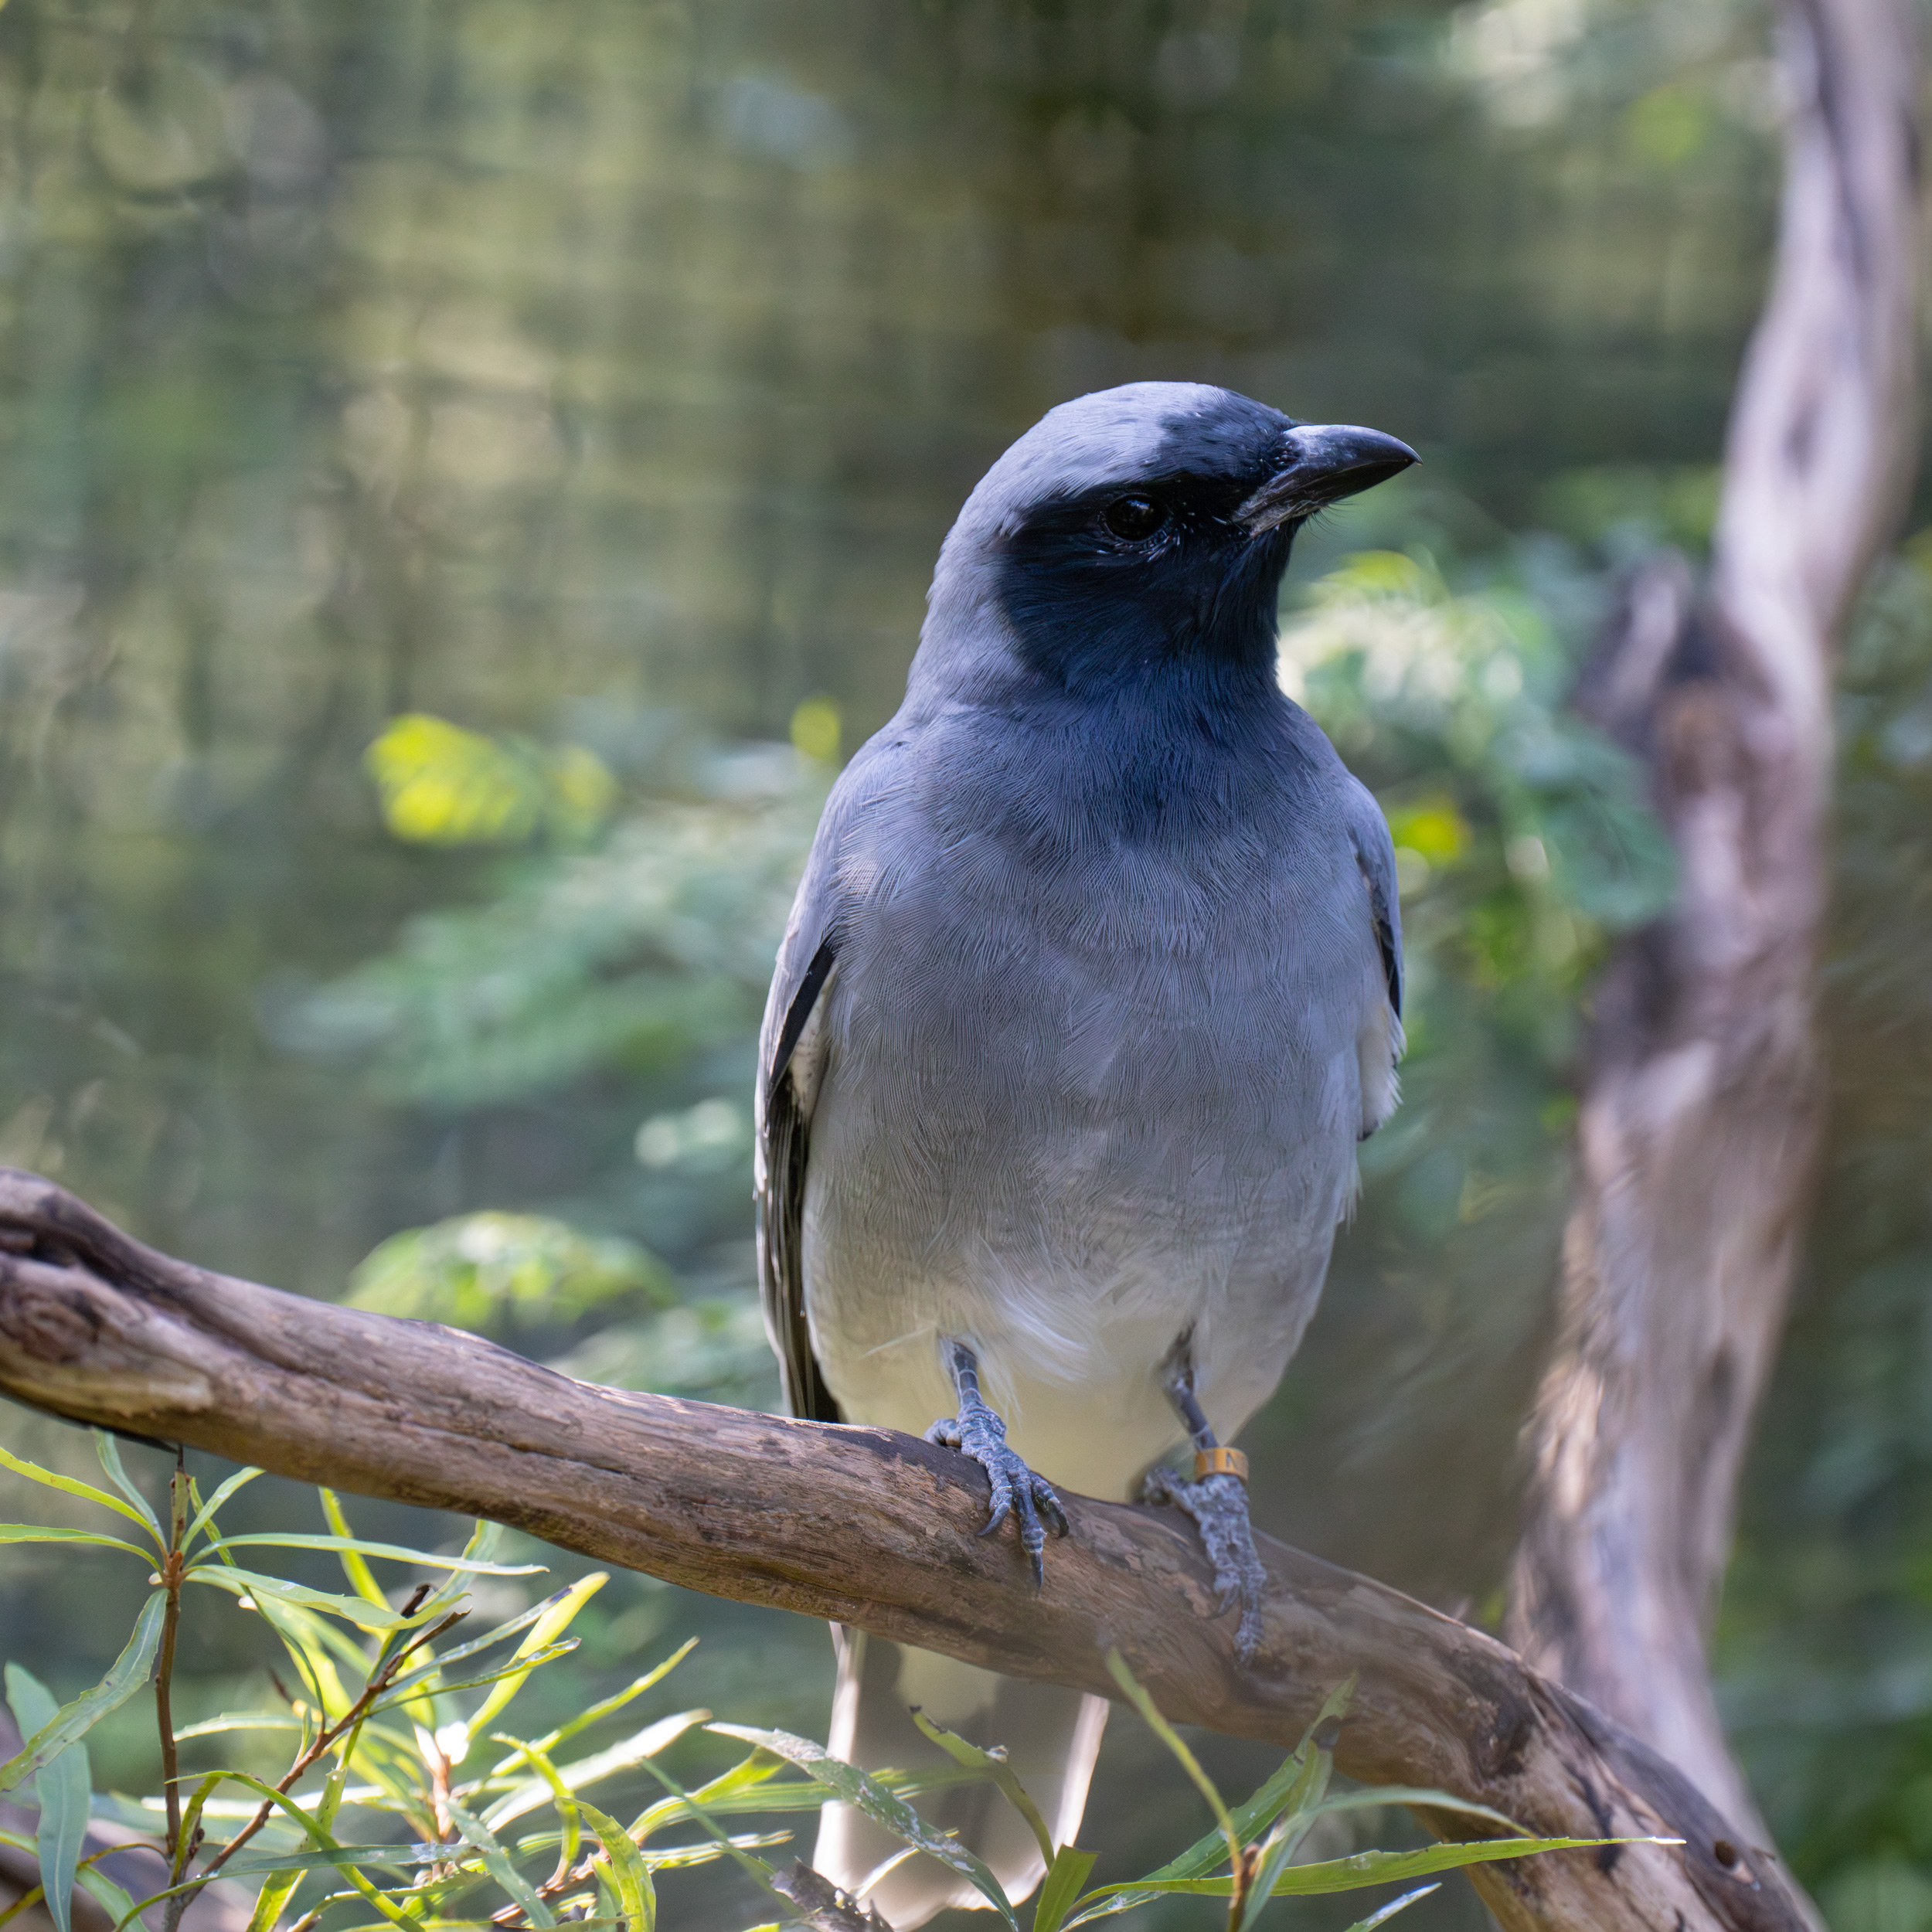
I was a little surprised to learn that a cuckoo shrike is neither a cuckoo, nor a shrike. Maybe they started to run out of names and decided to give this bird a composite name.
Two different views of the same bird below.
The first image was shot at 1/1000 at 288mm, the second at 1/1250 at 302mm, both at 12800 ISO and f/5.6 on the 70-200mm GM II with a 2x teleconverter on the A7RV. I have run these shots through the new Adobe de-noiser to get rid of minor colour noise due to ISO 12800.
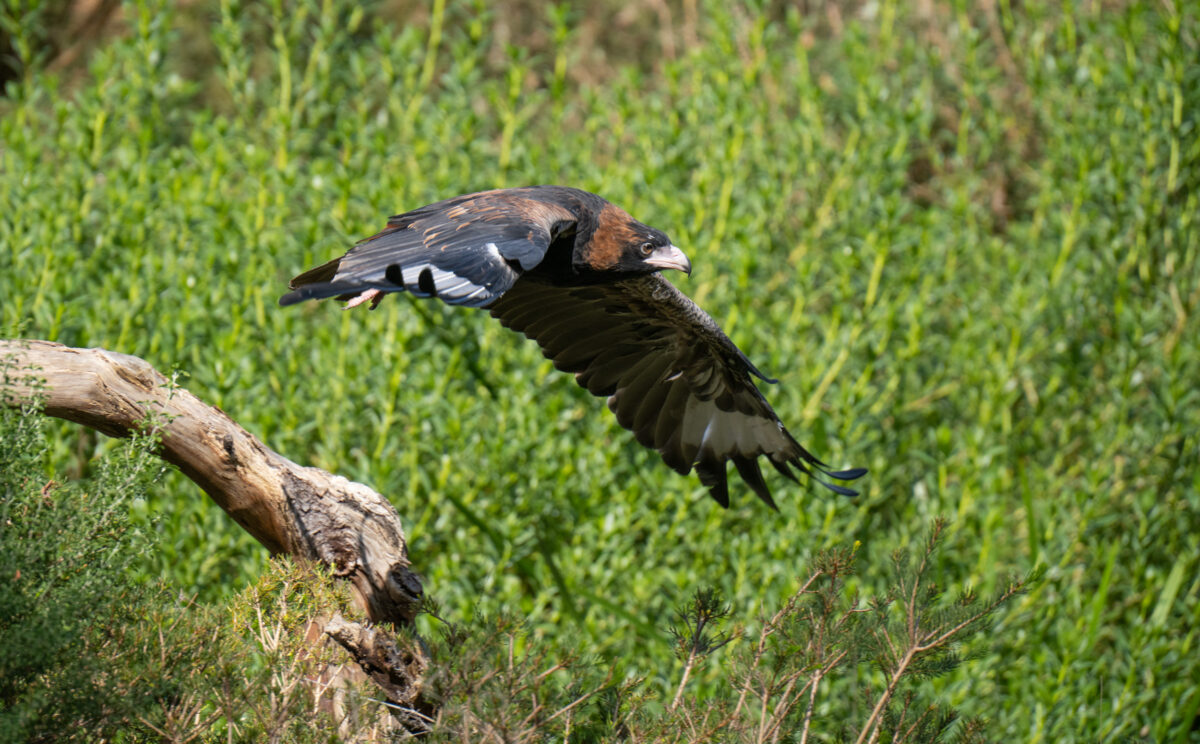
Last time we saw this bird on the ground. I thought I’d prove that she can fly, too.
This was shot at ISO 1000 at f/5.6, 1/2000 at 400mm on the 70-200mm GM II with a 2x teleconverter – wide open and wound all the way out. Shot using bird eye AF on the A7RV.
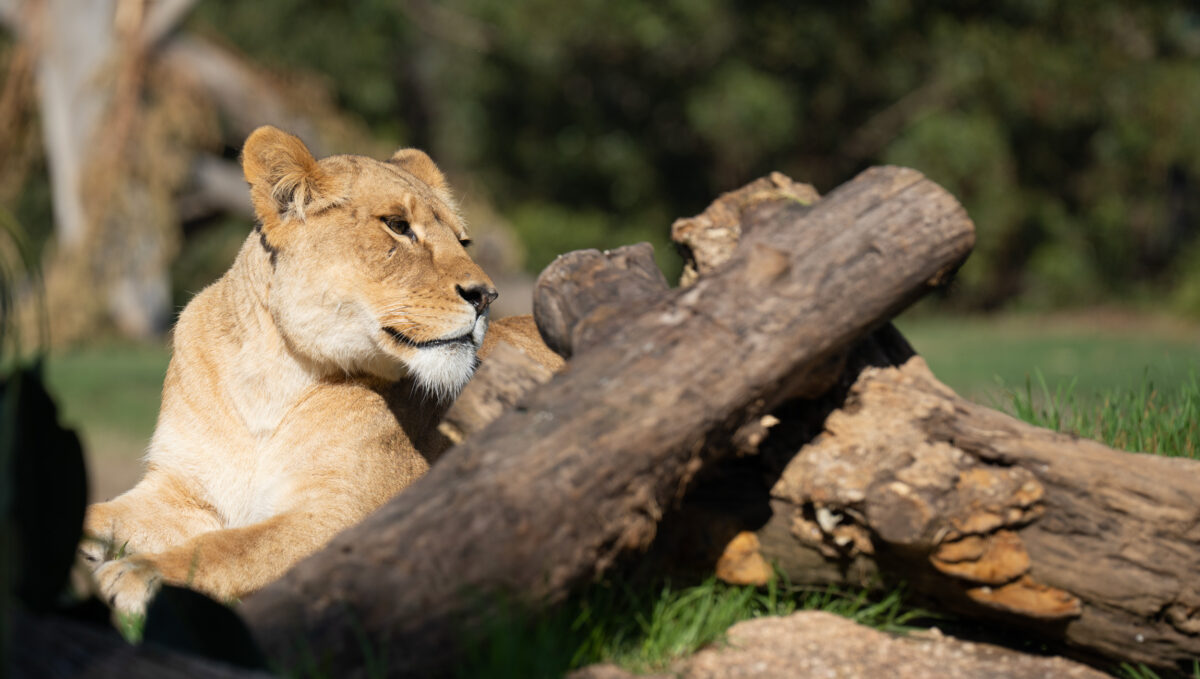
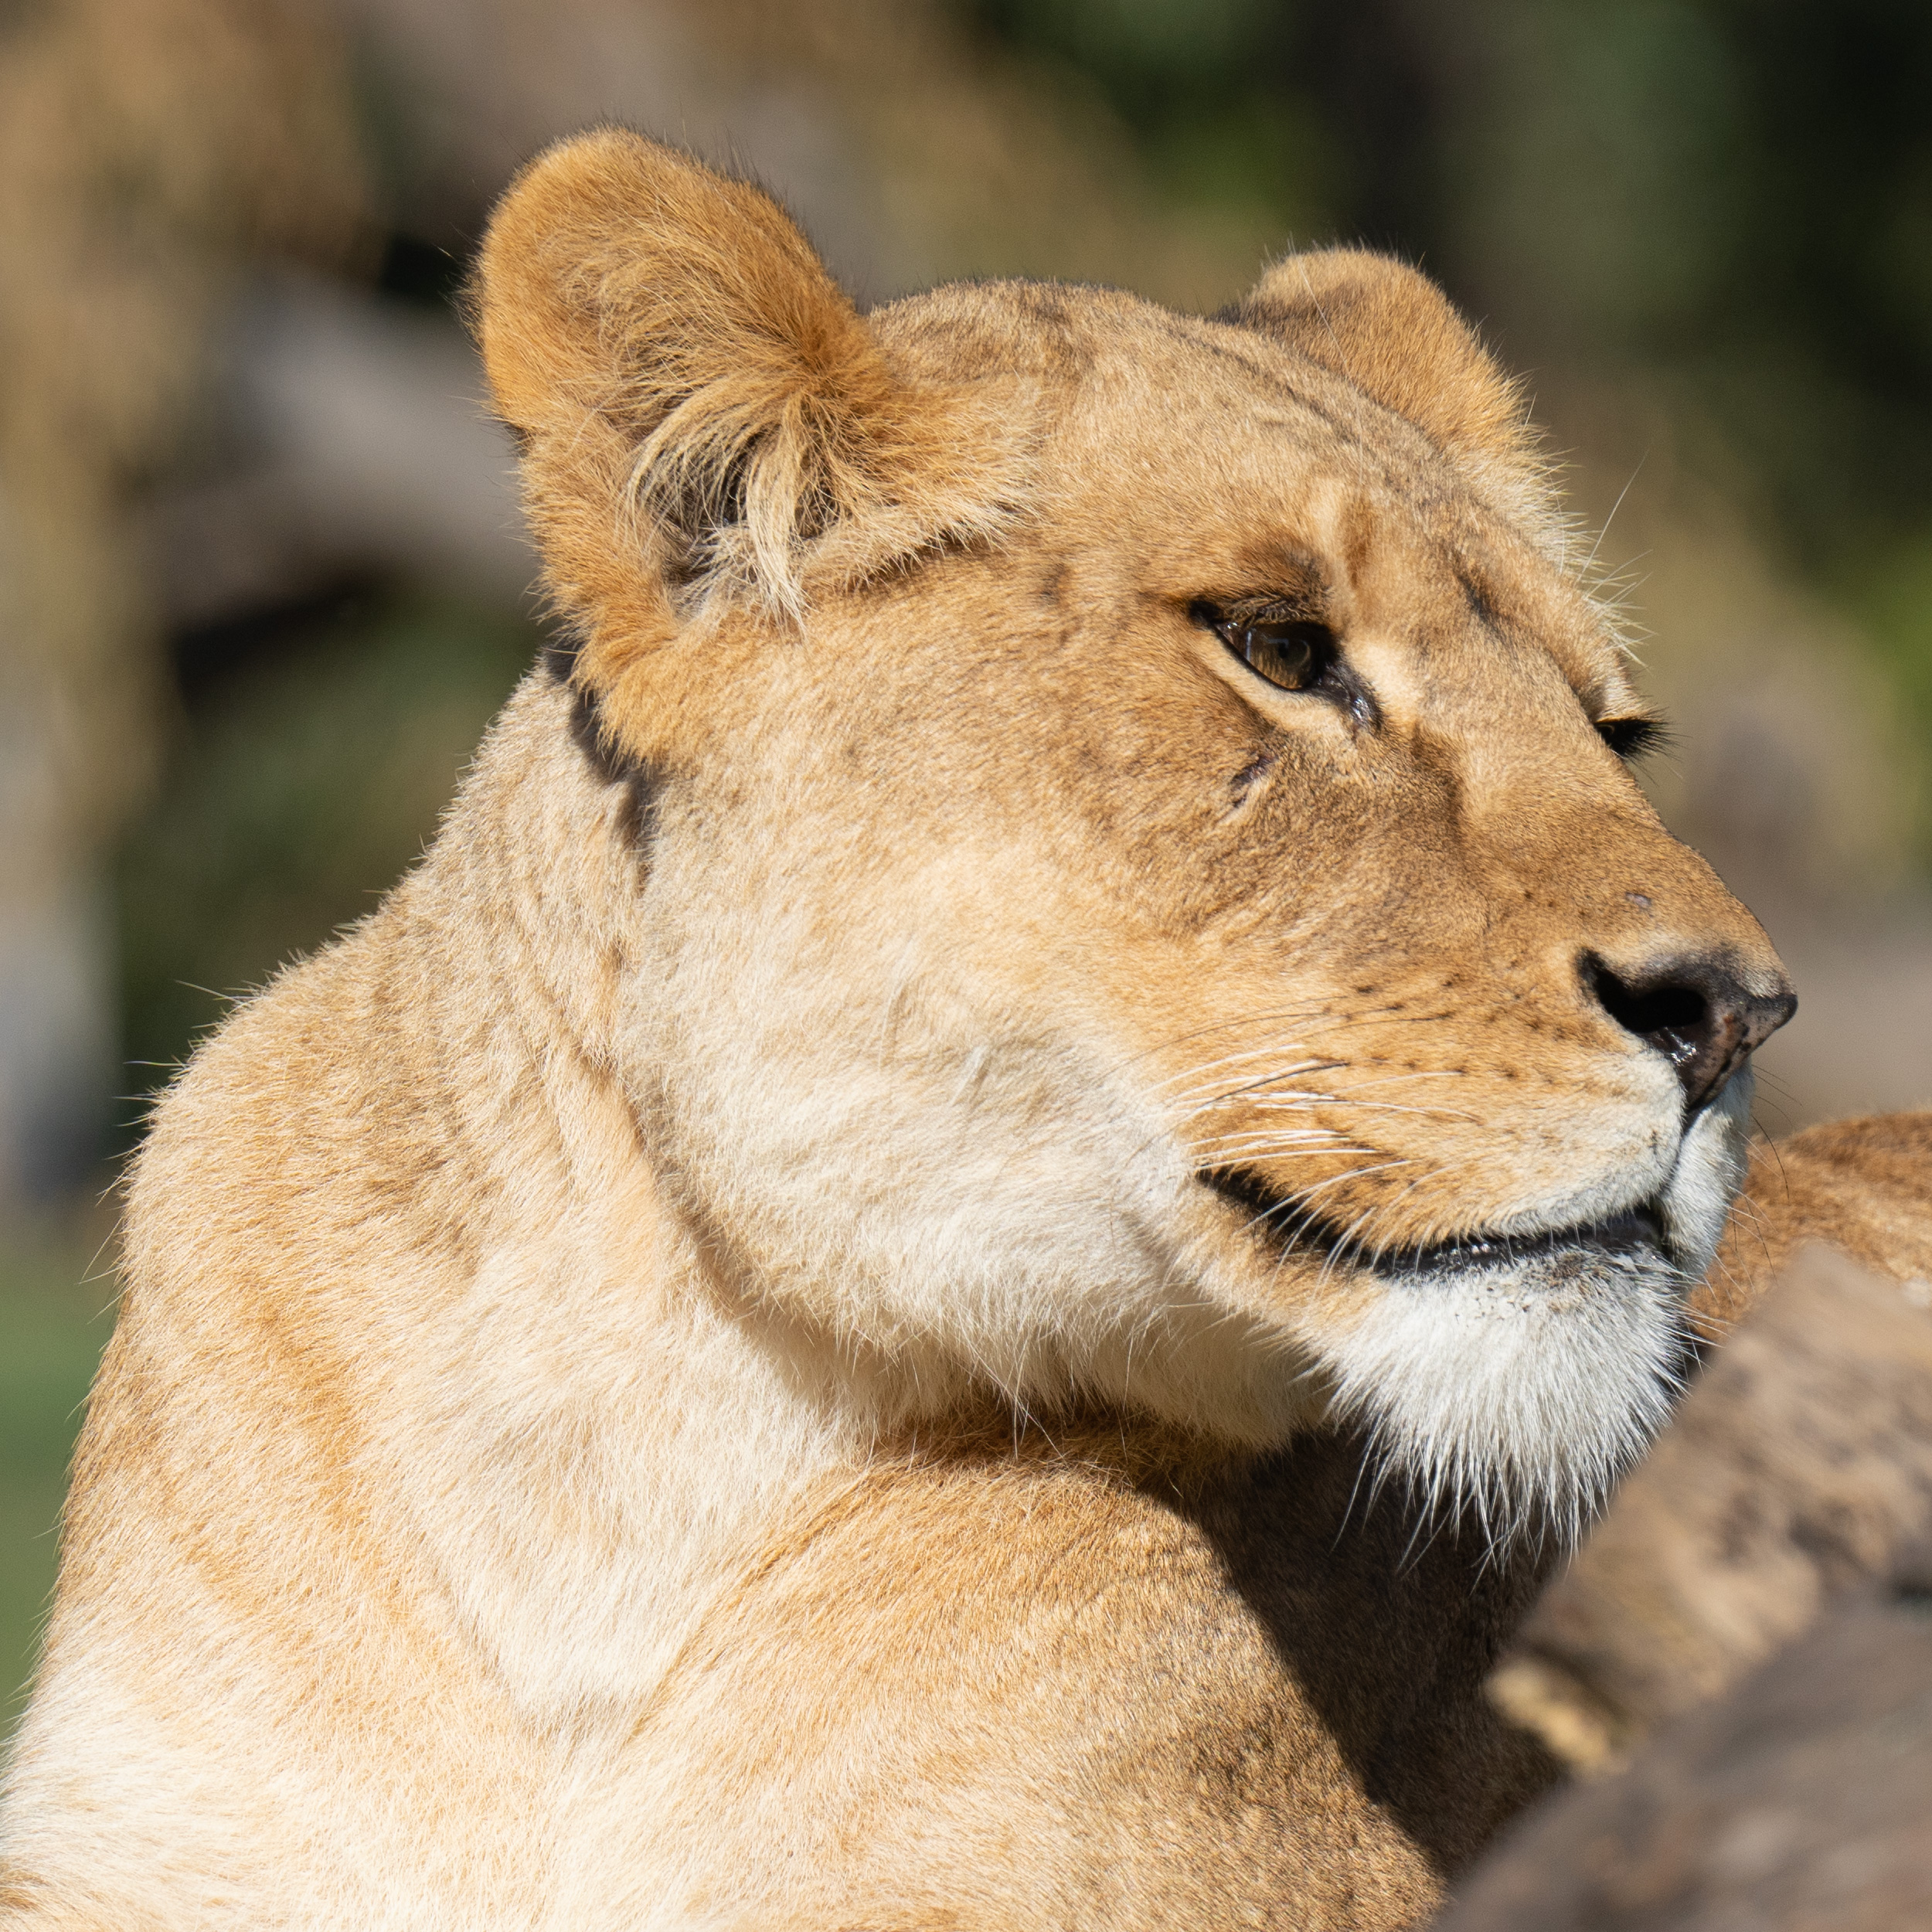
Here in Melbourne we can get some lovely weather, even in late autumn. It wasn’t too warm, but there was barely a cloud in the sky. That means hard light and hard shadows. Also means that all the cats at Werribee zoo were basking in the sunshine.
I was happy with this shot with the logs in front of the lioness softly out of focus, and the lioness in sharp focus. So much so that I’ve included a crop of “just” 2500 x 2500 pixels from the shot below – click on the images, then click again to see them even larger.
This image was shot using the Sony 70-200mm GM II (wide open at f/2.8 and wound all the way out to 200mm) on a Sony A7RV in Animal subject recognition mode. I’d say it nailed the eye autofocus in this shot.
I bought a new lens last week, and as one does, I took it out to take some photos.
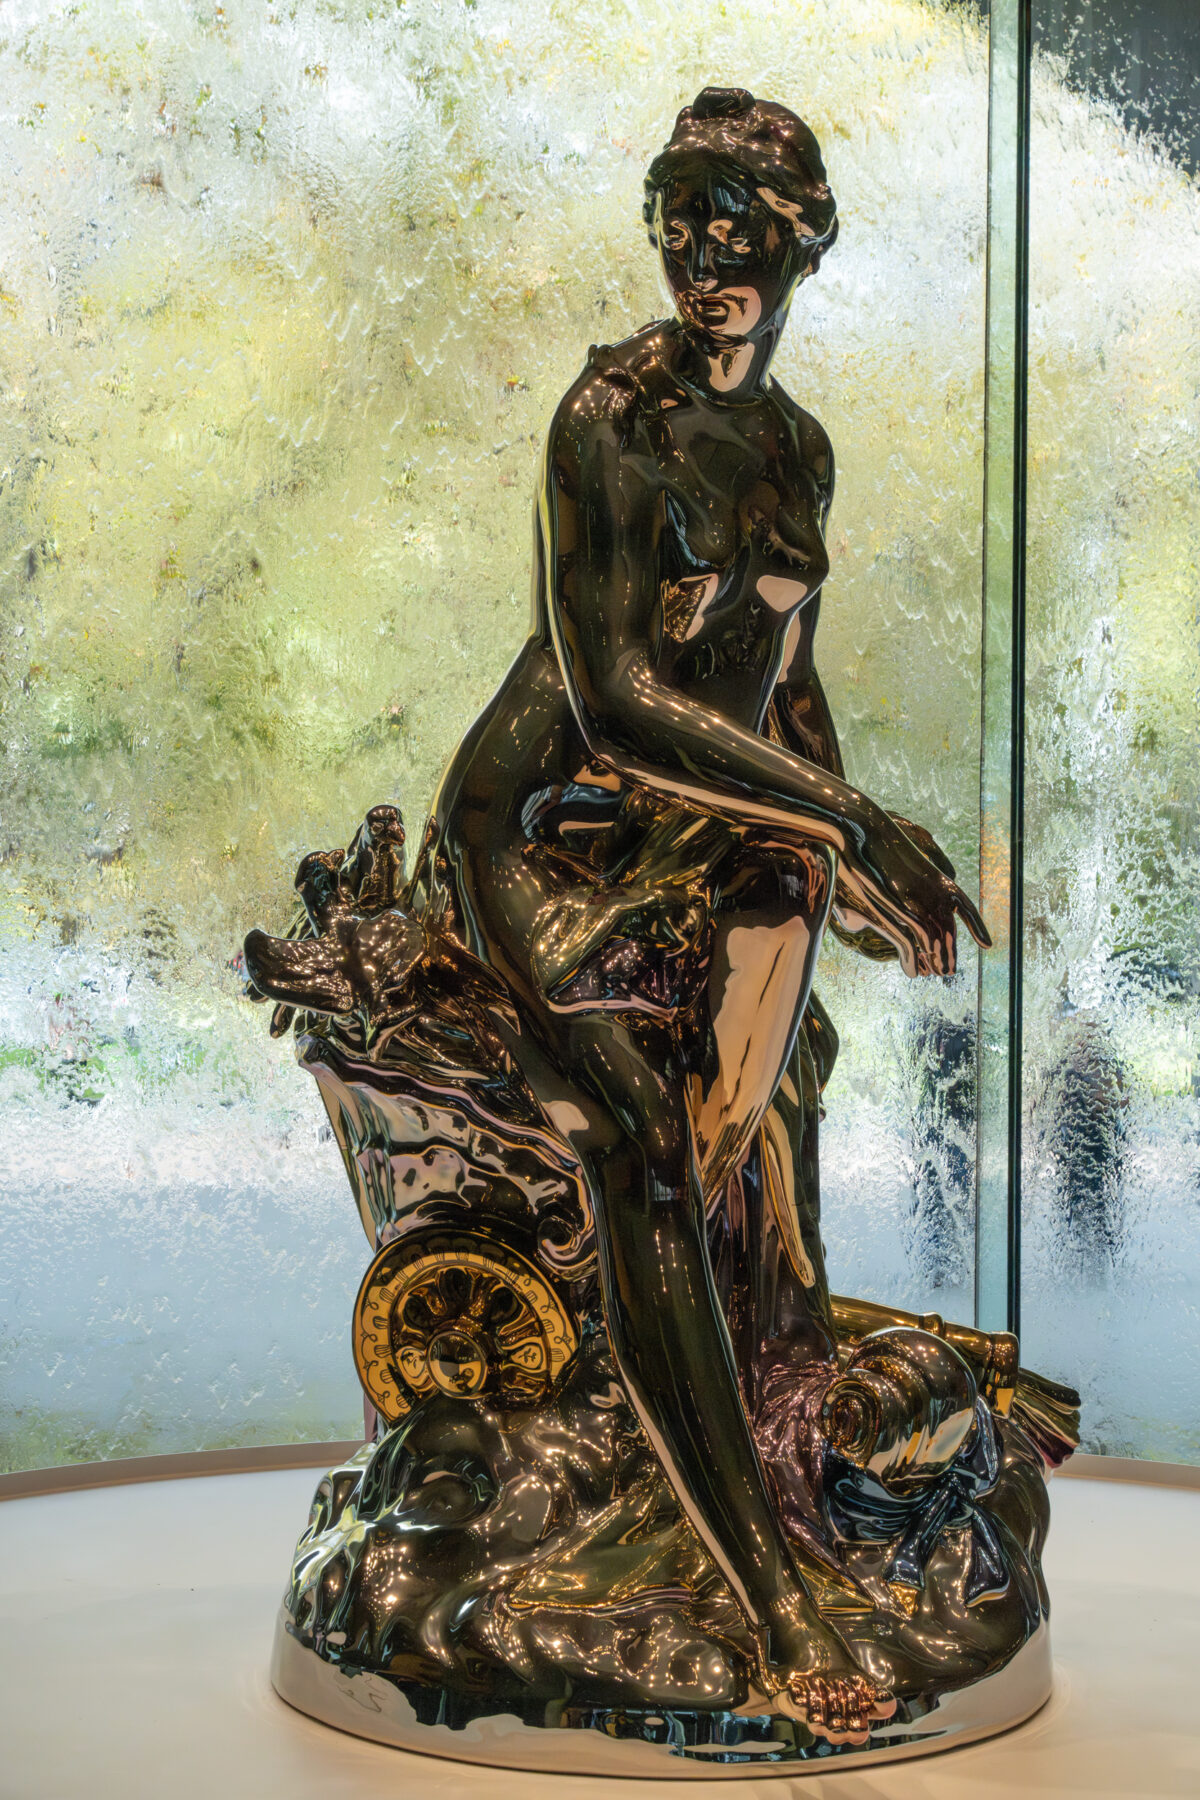
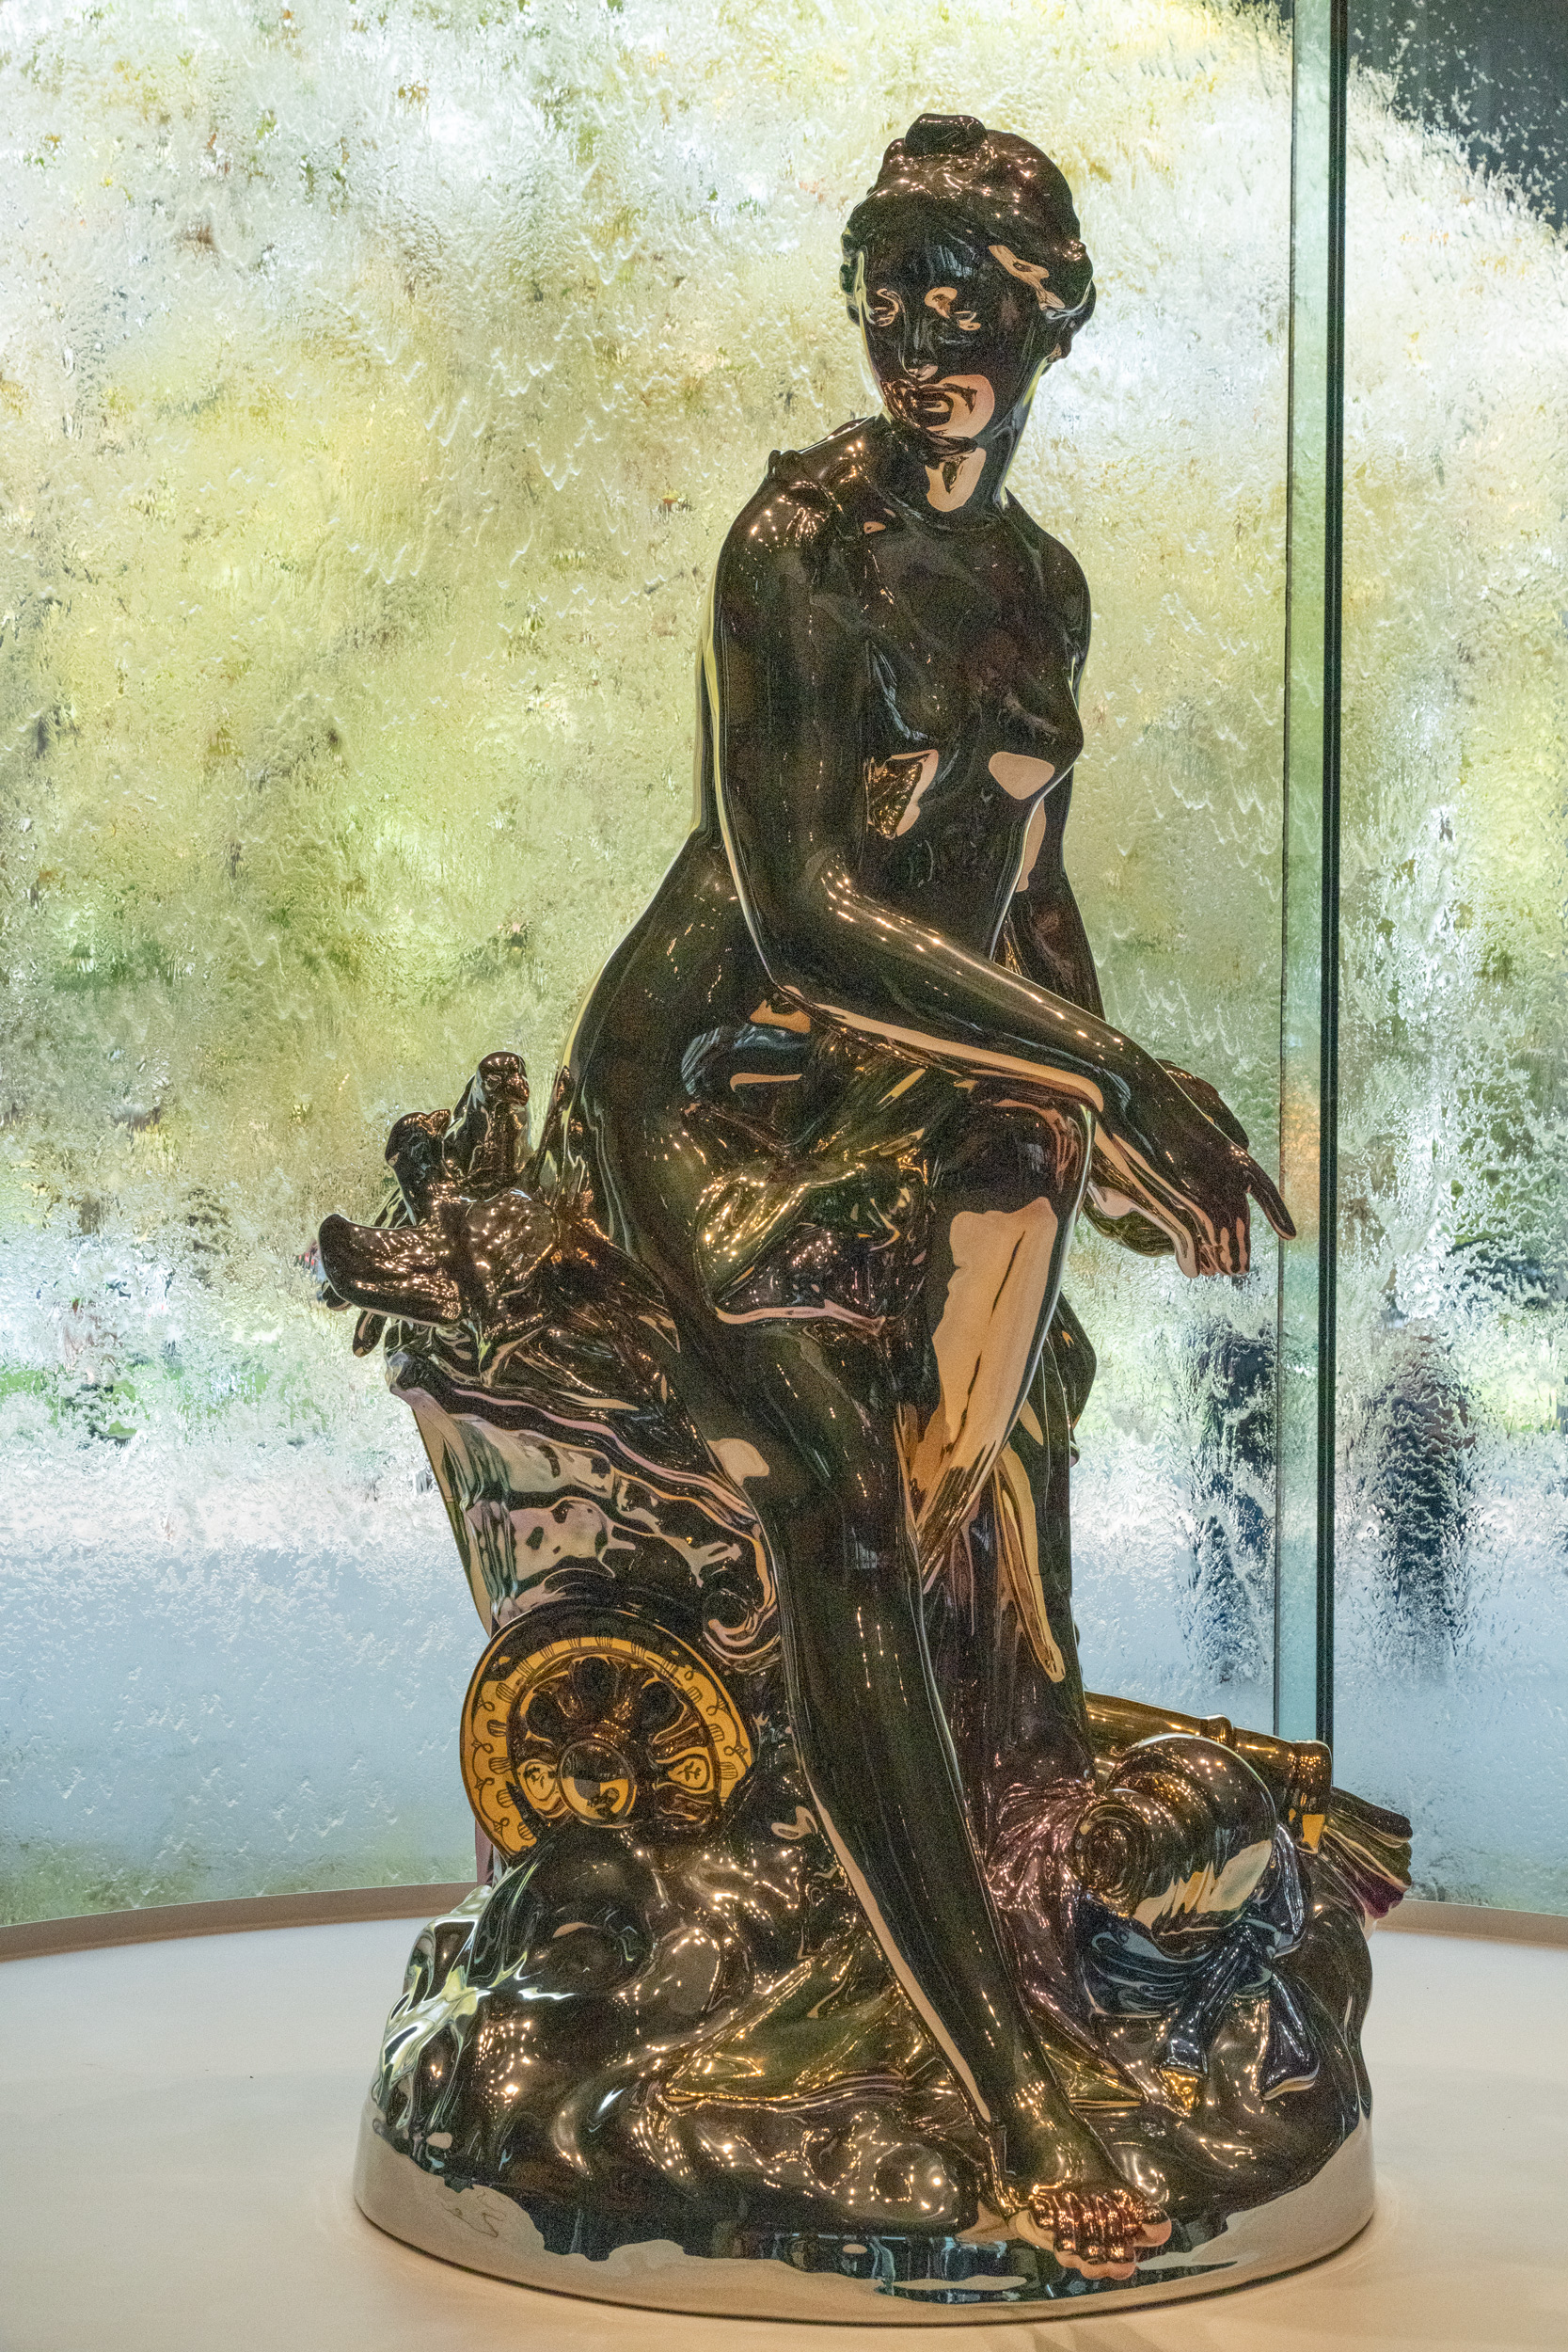
This new lens is the Sony 20-70mm f/4 G. It’s an interesting spin on the 24-70mm zoom which has been a photographer’s lens of choice for closer work for many years. 20mm is appreciably wider than 24mm. To give it a bit of a challenge, I took it to the National Gallery of Victoria, partly to see if f/4 was going to be a limitation (the professional choice for a 24-70mm is usually f/2.8, and Sony released a very good 24-70mm f/2.8 GM II zoom not long ago). One big advantage to the 20-70 is that it is quite a bit lighter (488g vs 695g) than the 24-70 GM II. It’s also smaller, and it’s quite a bit cheaper, too!
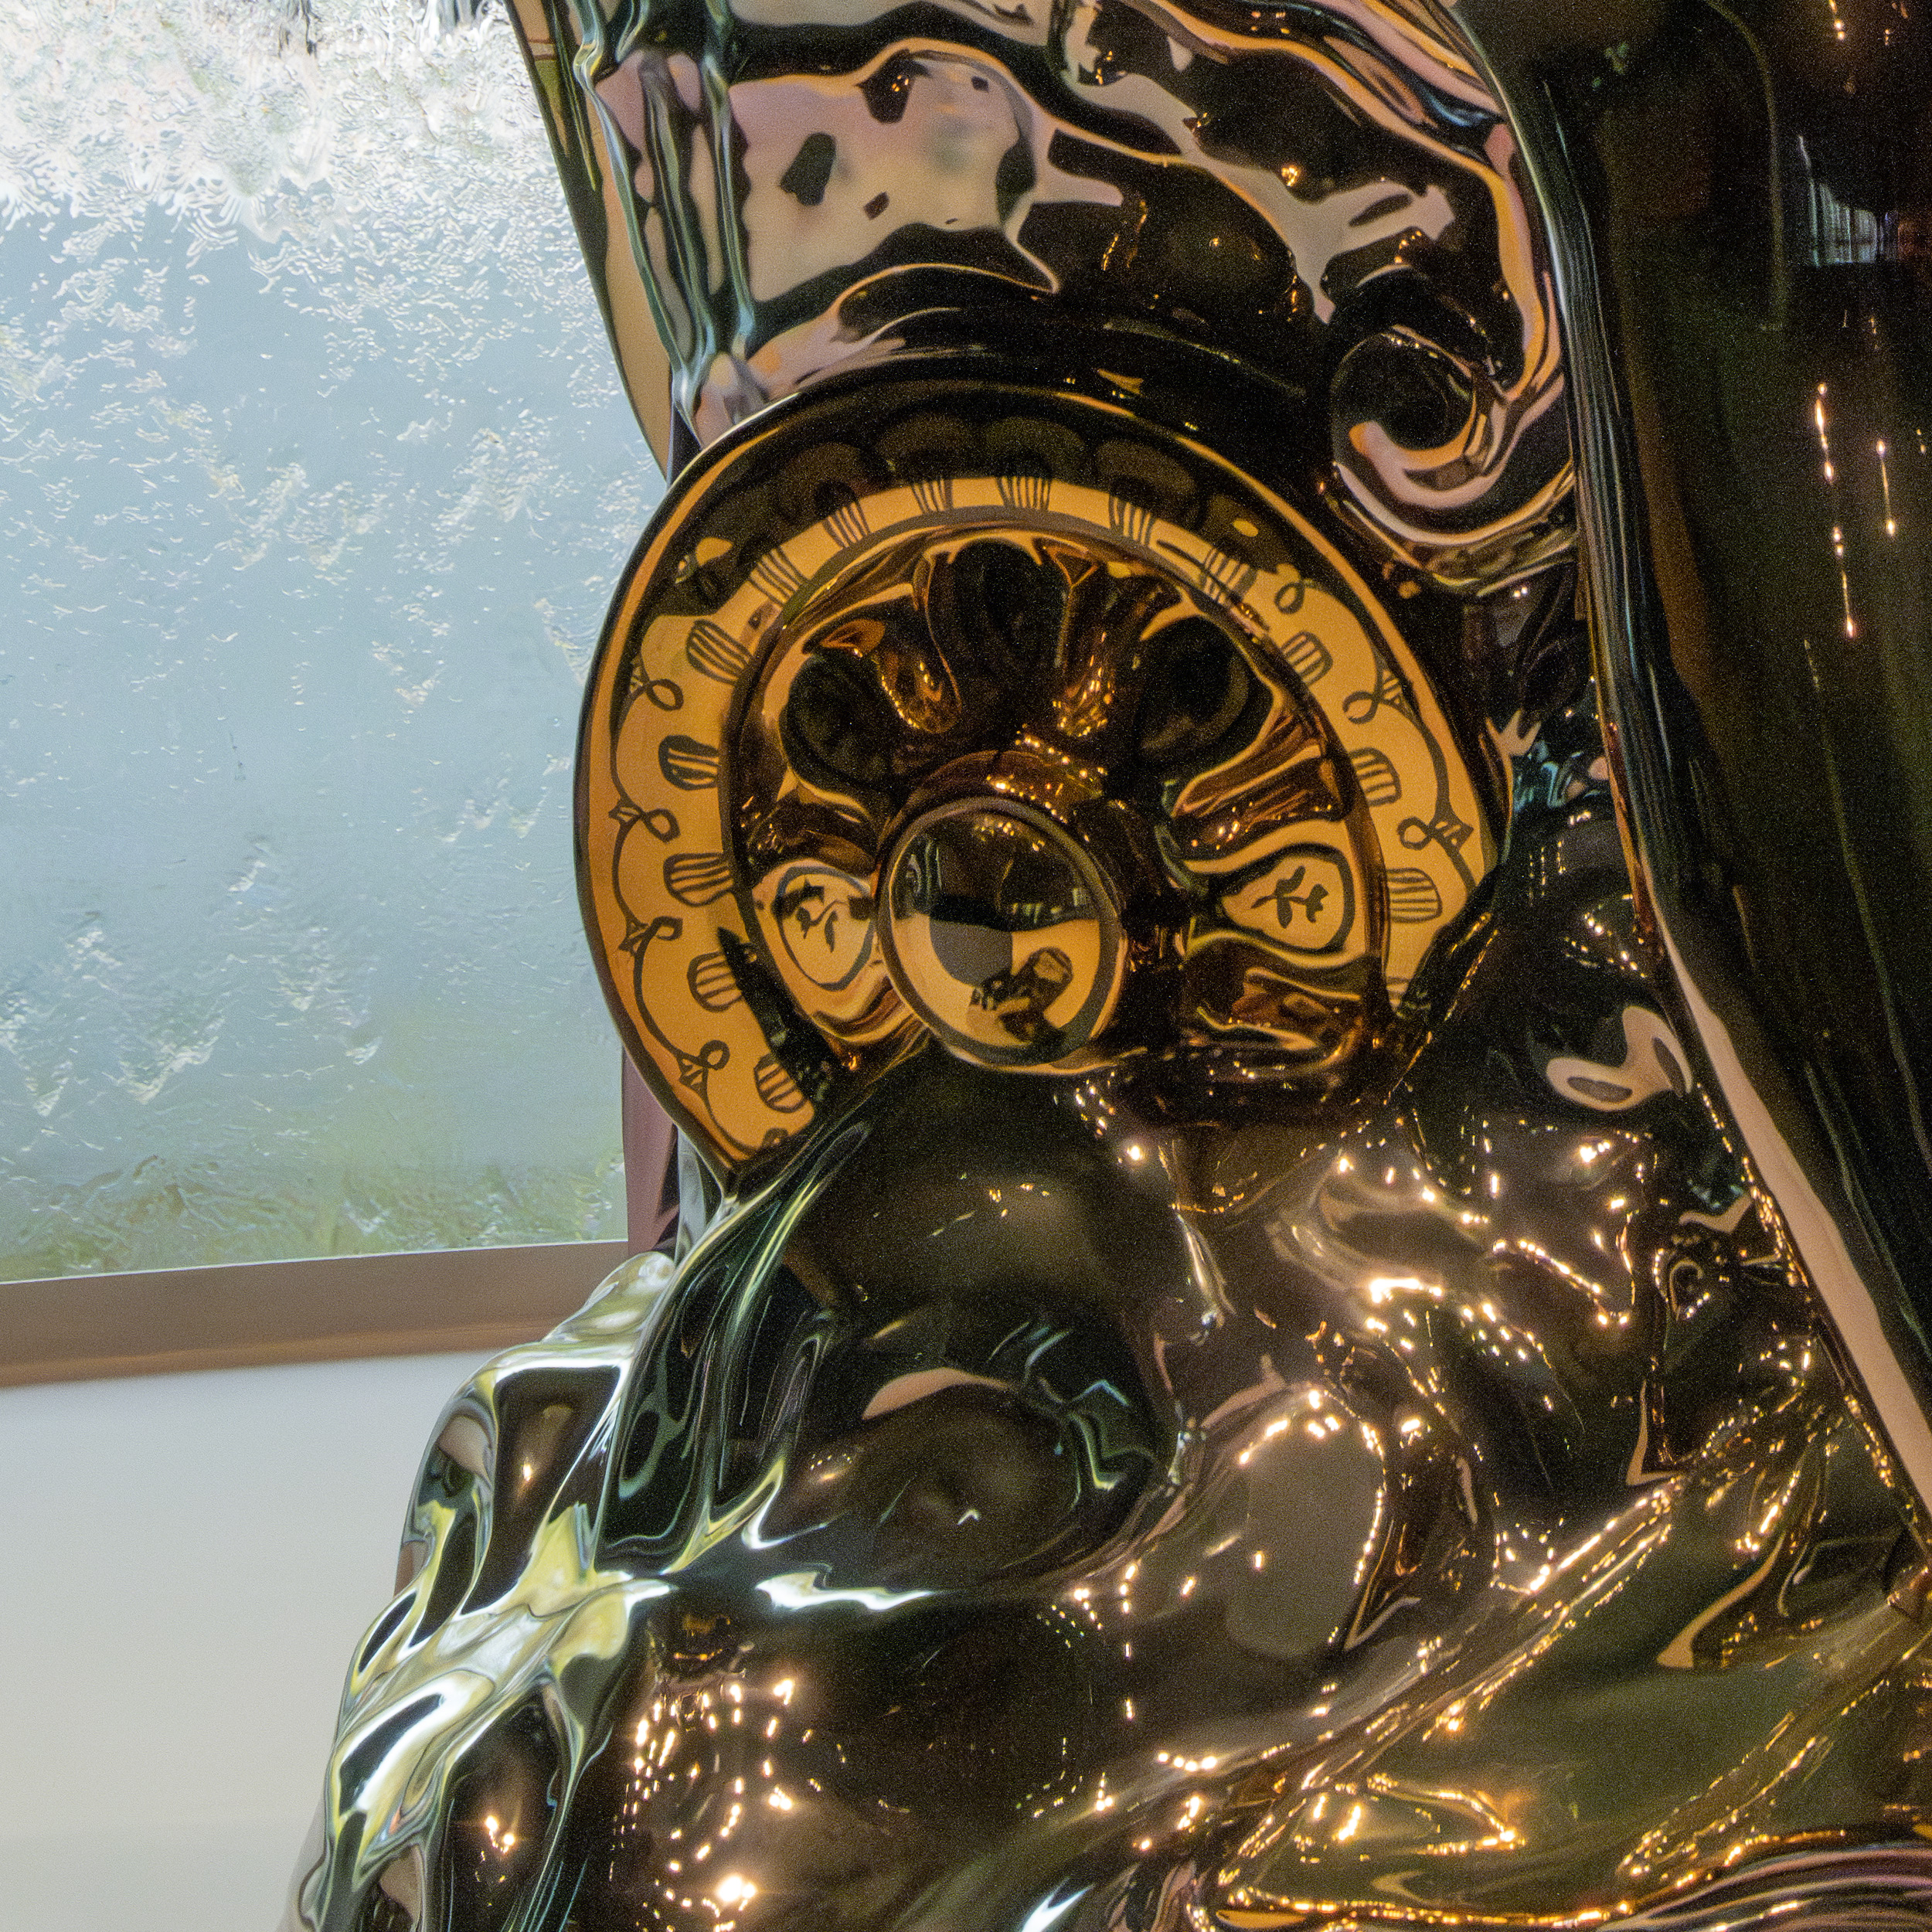
I took this photograph in the foyer of the NGV. It was not a particular simple shot, because I was photographing a silver and gold statue in slightly subdued lighting, backlit by a sunny day coming through the famous glass wall (the glass wall at the front of the gallery has a layer of water running over it). I liked the almost painterly look of the glass backdrop, but it meant the statue was almost a silhouette, and I wanted to bring up the silver and gold look.
I brought the image into Adobe Camera RAW, and got aggressive with my favourite sliders: I raised blacks by 20%, shadows by 80%, and dropped highlights 15%. Considering the image was shot at f/8, 1/2000 (to freeze the water ripples) and ISO 10000, that huge lift in the shadows to bring up the silver and gold was accompanied by a whole bunch of colour noise.
I tried processing the image normally, and saved the results, but I’d heard that Adobe just added a new de-noise algorithm and thought “here’s a good example to test it on!”. I’ve previously used DxO’s Deep Prime processing on noisy photos because I was not impressed with the previous de-noise processing in Adobe Camera RAW, but reports were that the new Adobe processing was even better than Deep Prime. So here is my test.
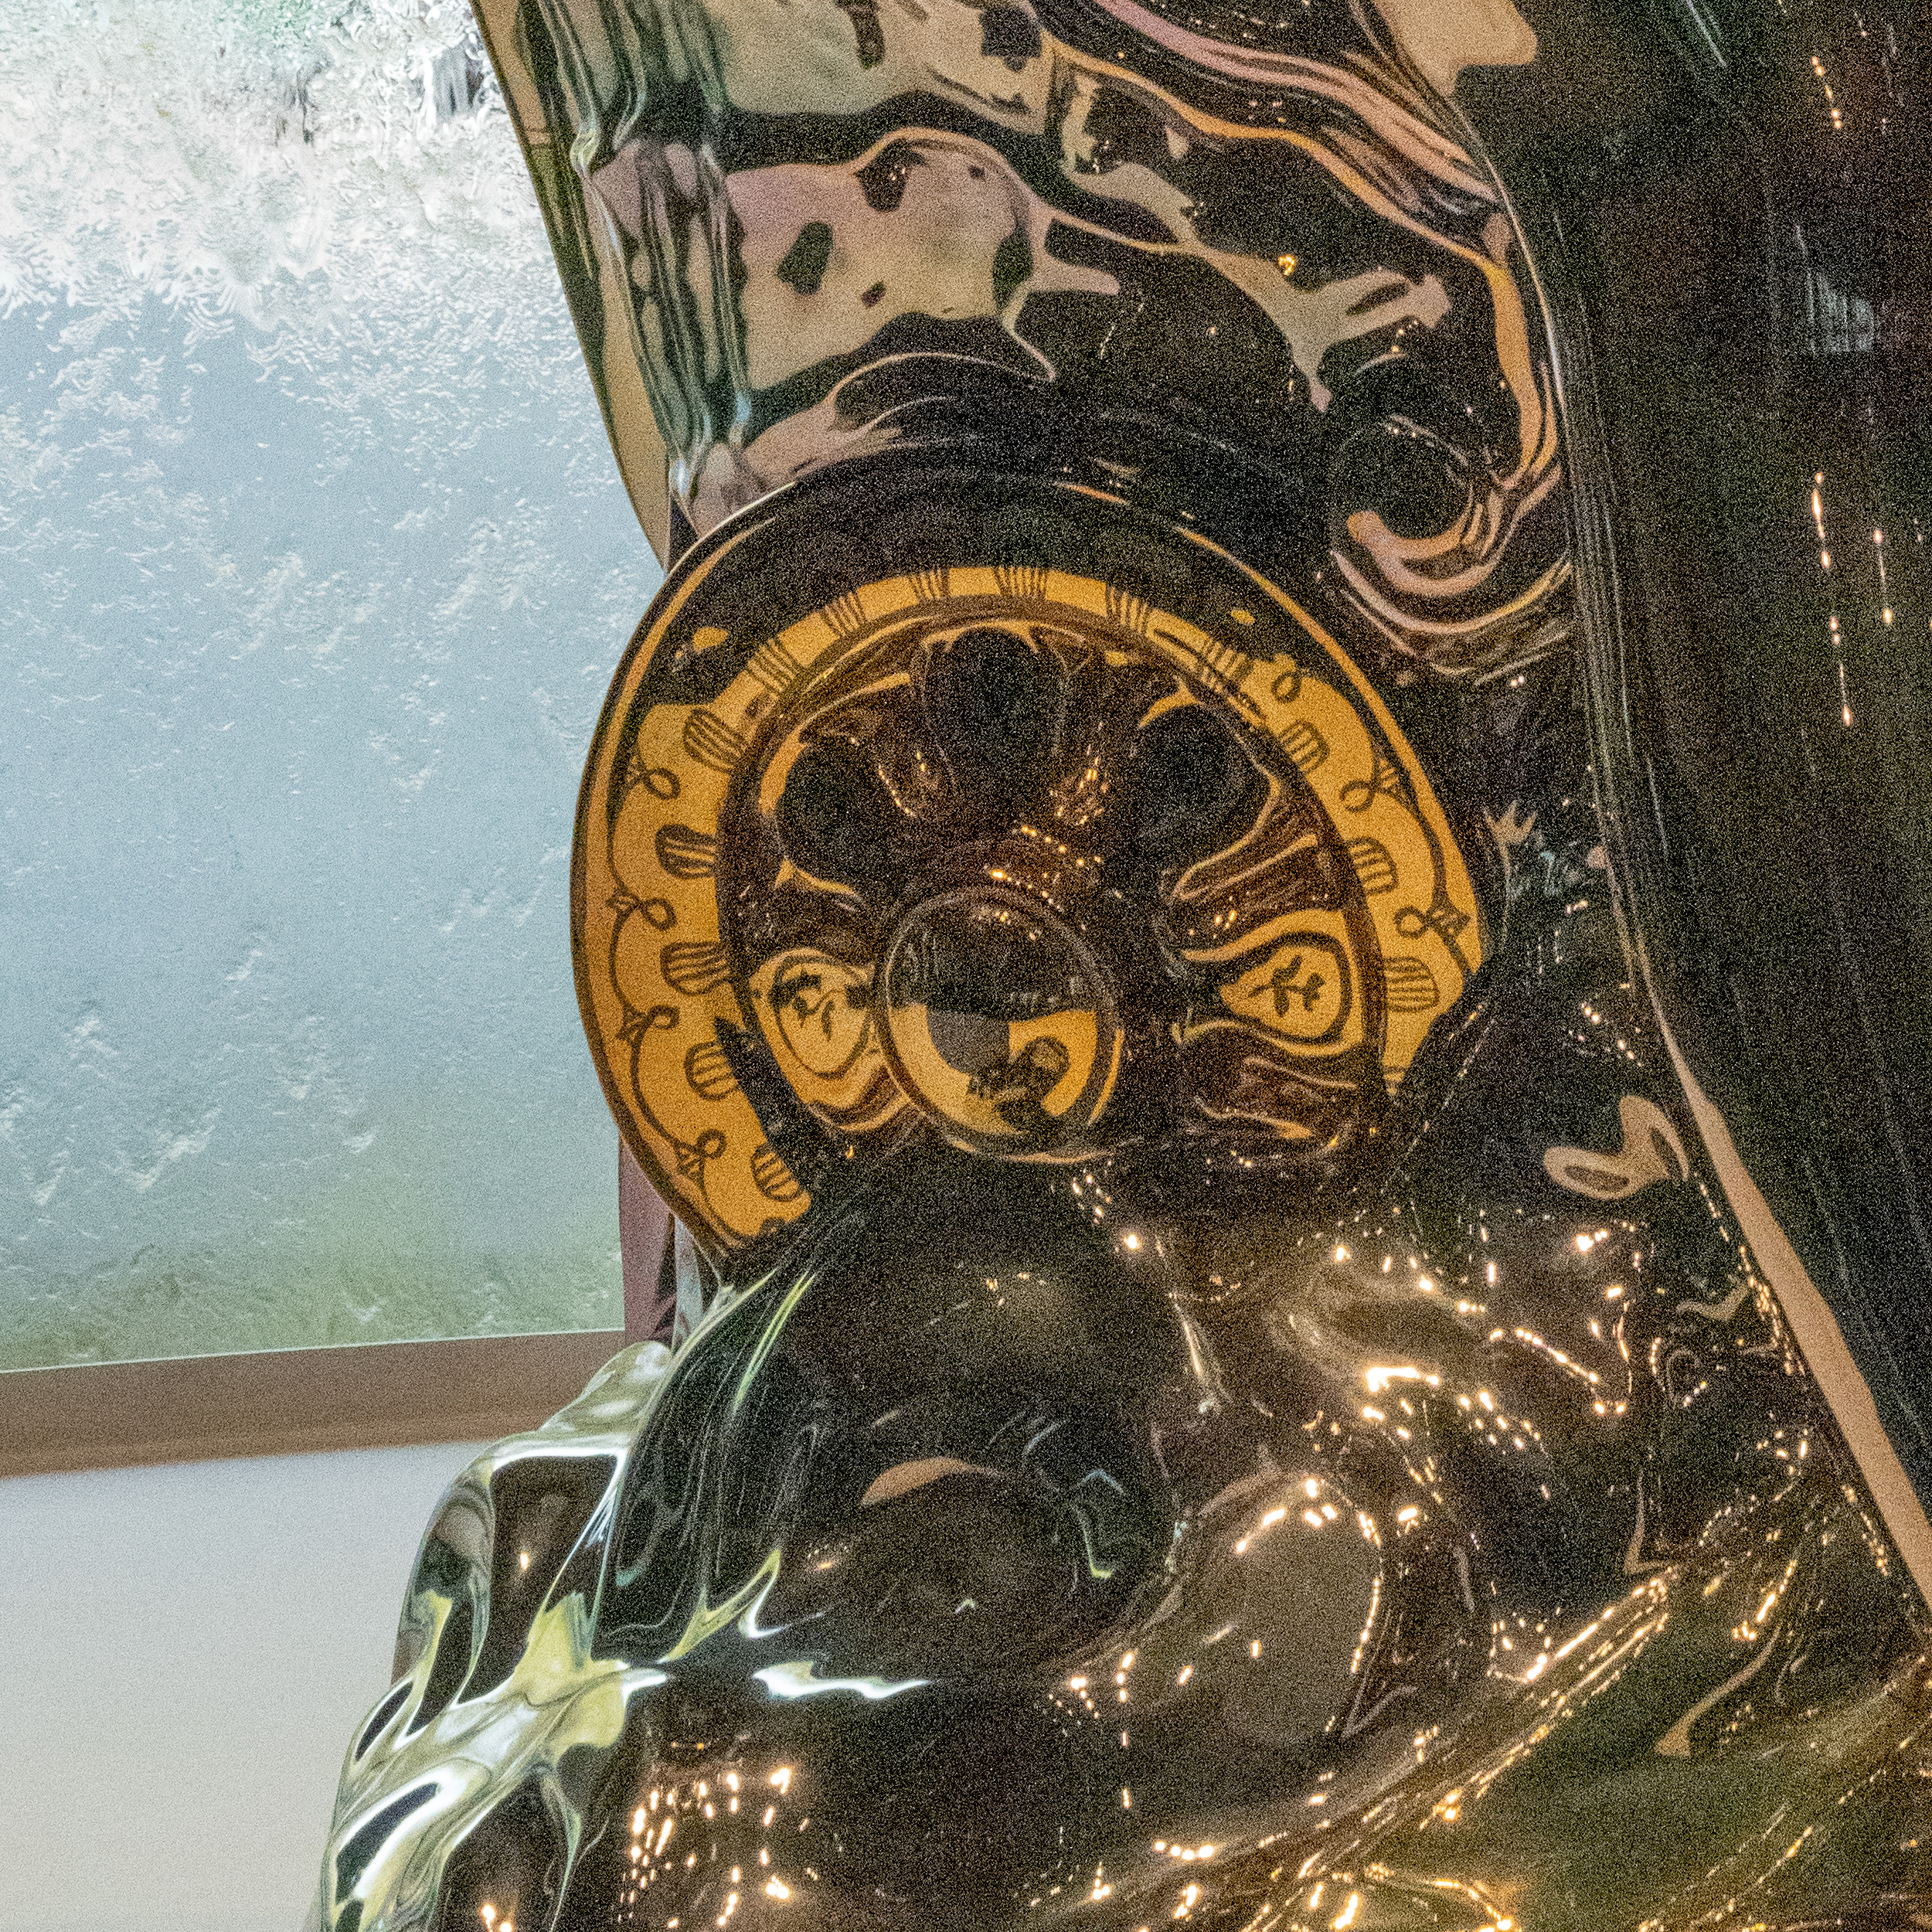
I’ve included four images in the gallery below. The first is the original full frame (no de-noise processing), scaled to 2500 pixels high. It’s not awful, all things considered! Scaling an image from the A7RV down from 9504 pixels to 2500 pixels cleans up a lot of noise, which is one of the less-commonly mentioned advantages of using a 60 Mpixel sensor. However, the second image is a 100% crop of the golden wheel near the base of the statue, so you can see how much noise there was before the scaling. It may not look too bad in the post, so click on the gallery to see it, then click again to see it larger, and appreciate the noise! The third image in the gallery is a similar crop after running the same RAW image, with the same extreme push of the shadows, through Adobe Camera RAW’s new AI de-noise feature, and the fourth image is the scaled version of the full frame of the de-noised image. My initial reaction to the first image was “that’s not bad”, but the de-noised version looks shinier, and we all know shiny is good!
It did take 25 seconds to process the image on a Mac Studio with an M1 Max chip in it, so I’d think twice about running a whole shoot through it, but for a single image shot in challenging lighting, that’s no problem at all.
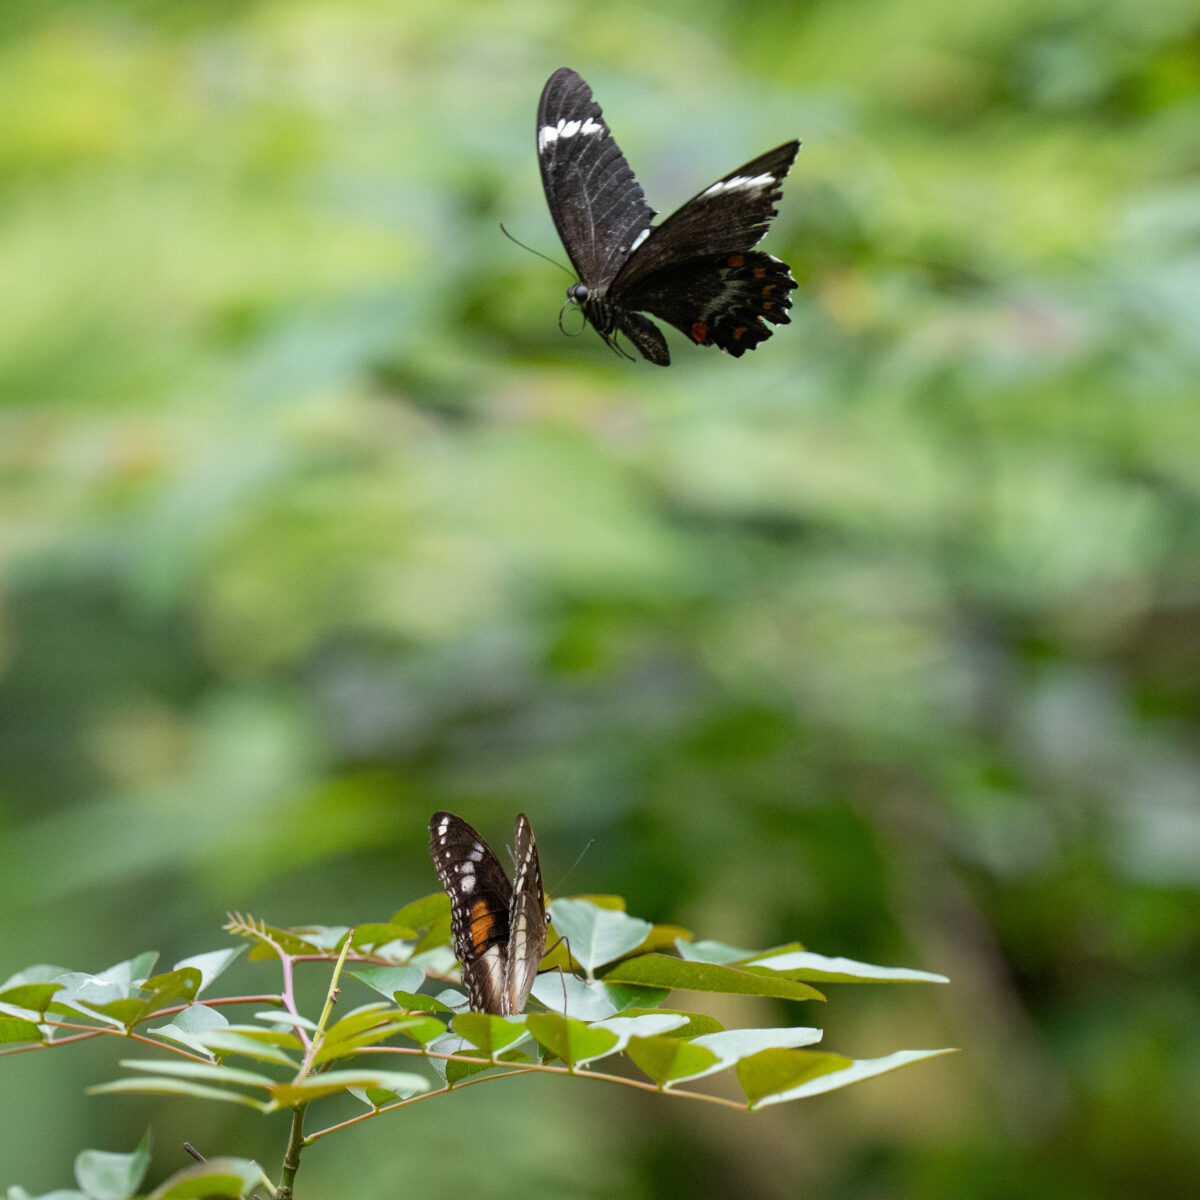
I was focussing on the lower butterfly, expecting it to take flight. The upper butterfly flew into view, and almost into focus (it’s not quite sharp). It makes a striking image, though.
This was shot with the 70-200mm GM II at 200mm, f/4, 1/2000, ISO 2500 on the Sony A7R5.
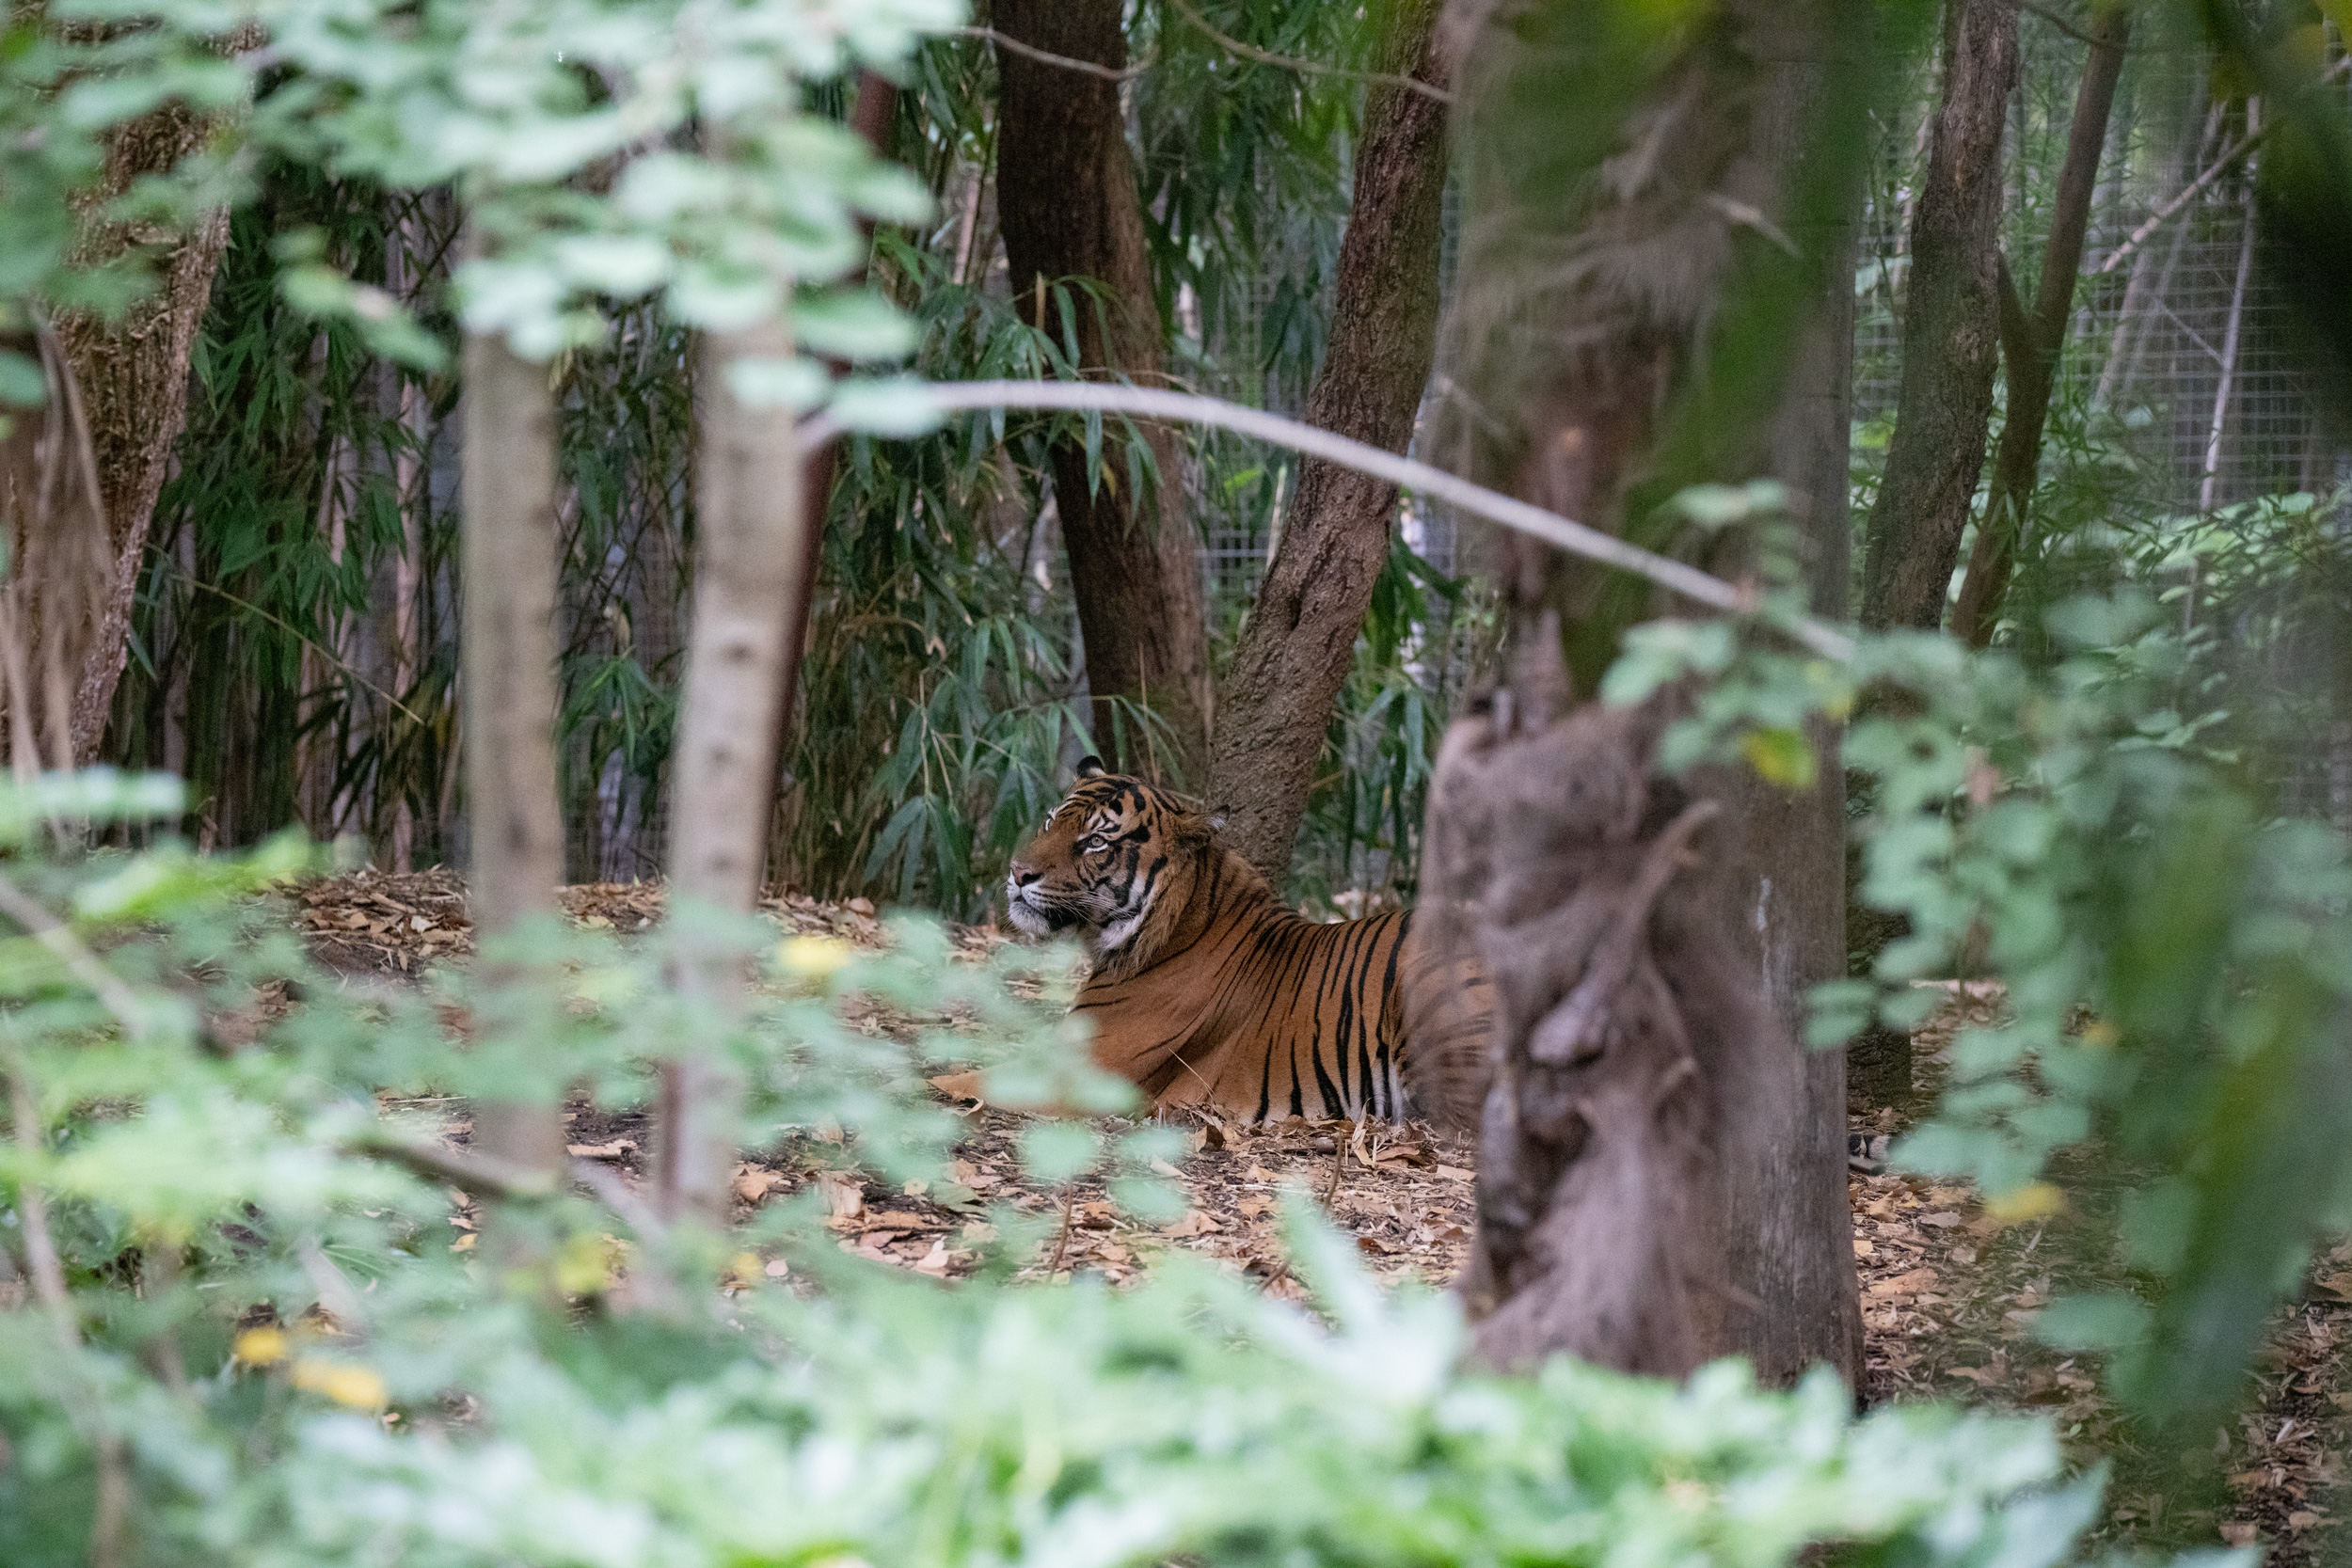
I am still reviewing the new Sony A7R5 – after all, I bought less than 4 months ago! I’m starting to feel like I understand the new autofocus system, which is simultaneously the most complex autofocus I’ve ever used, and yet the easiest / most natural to use.
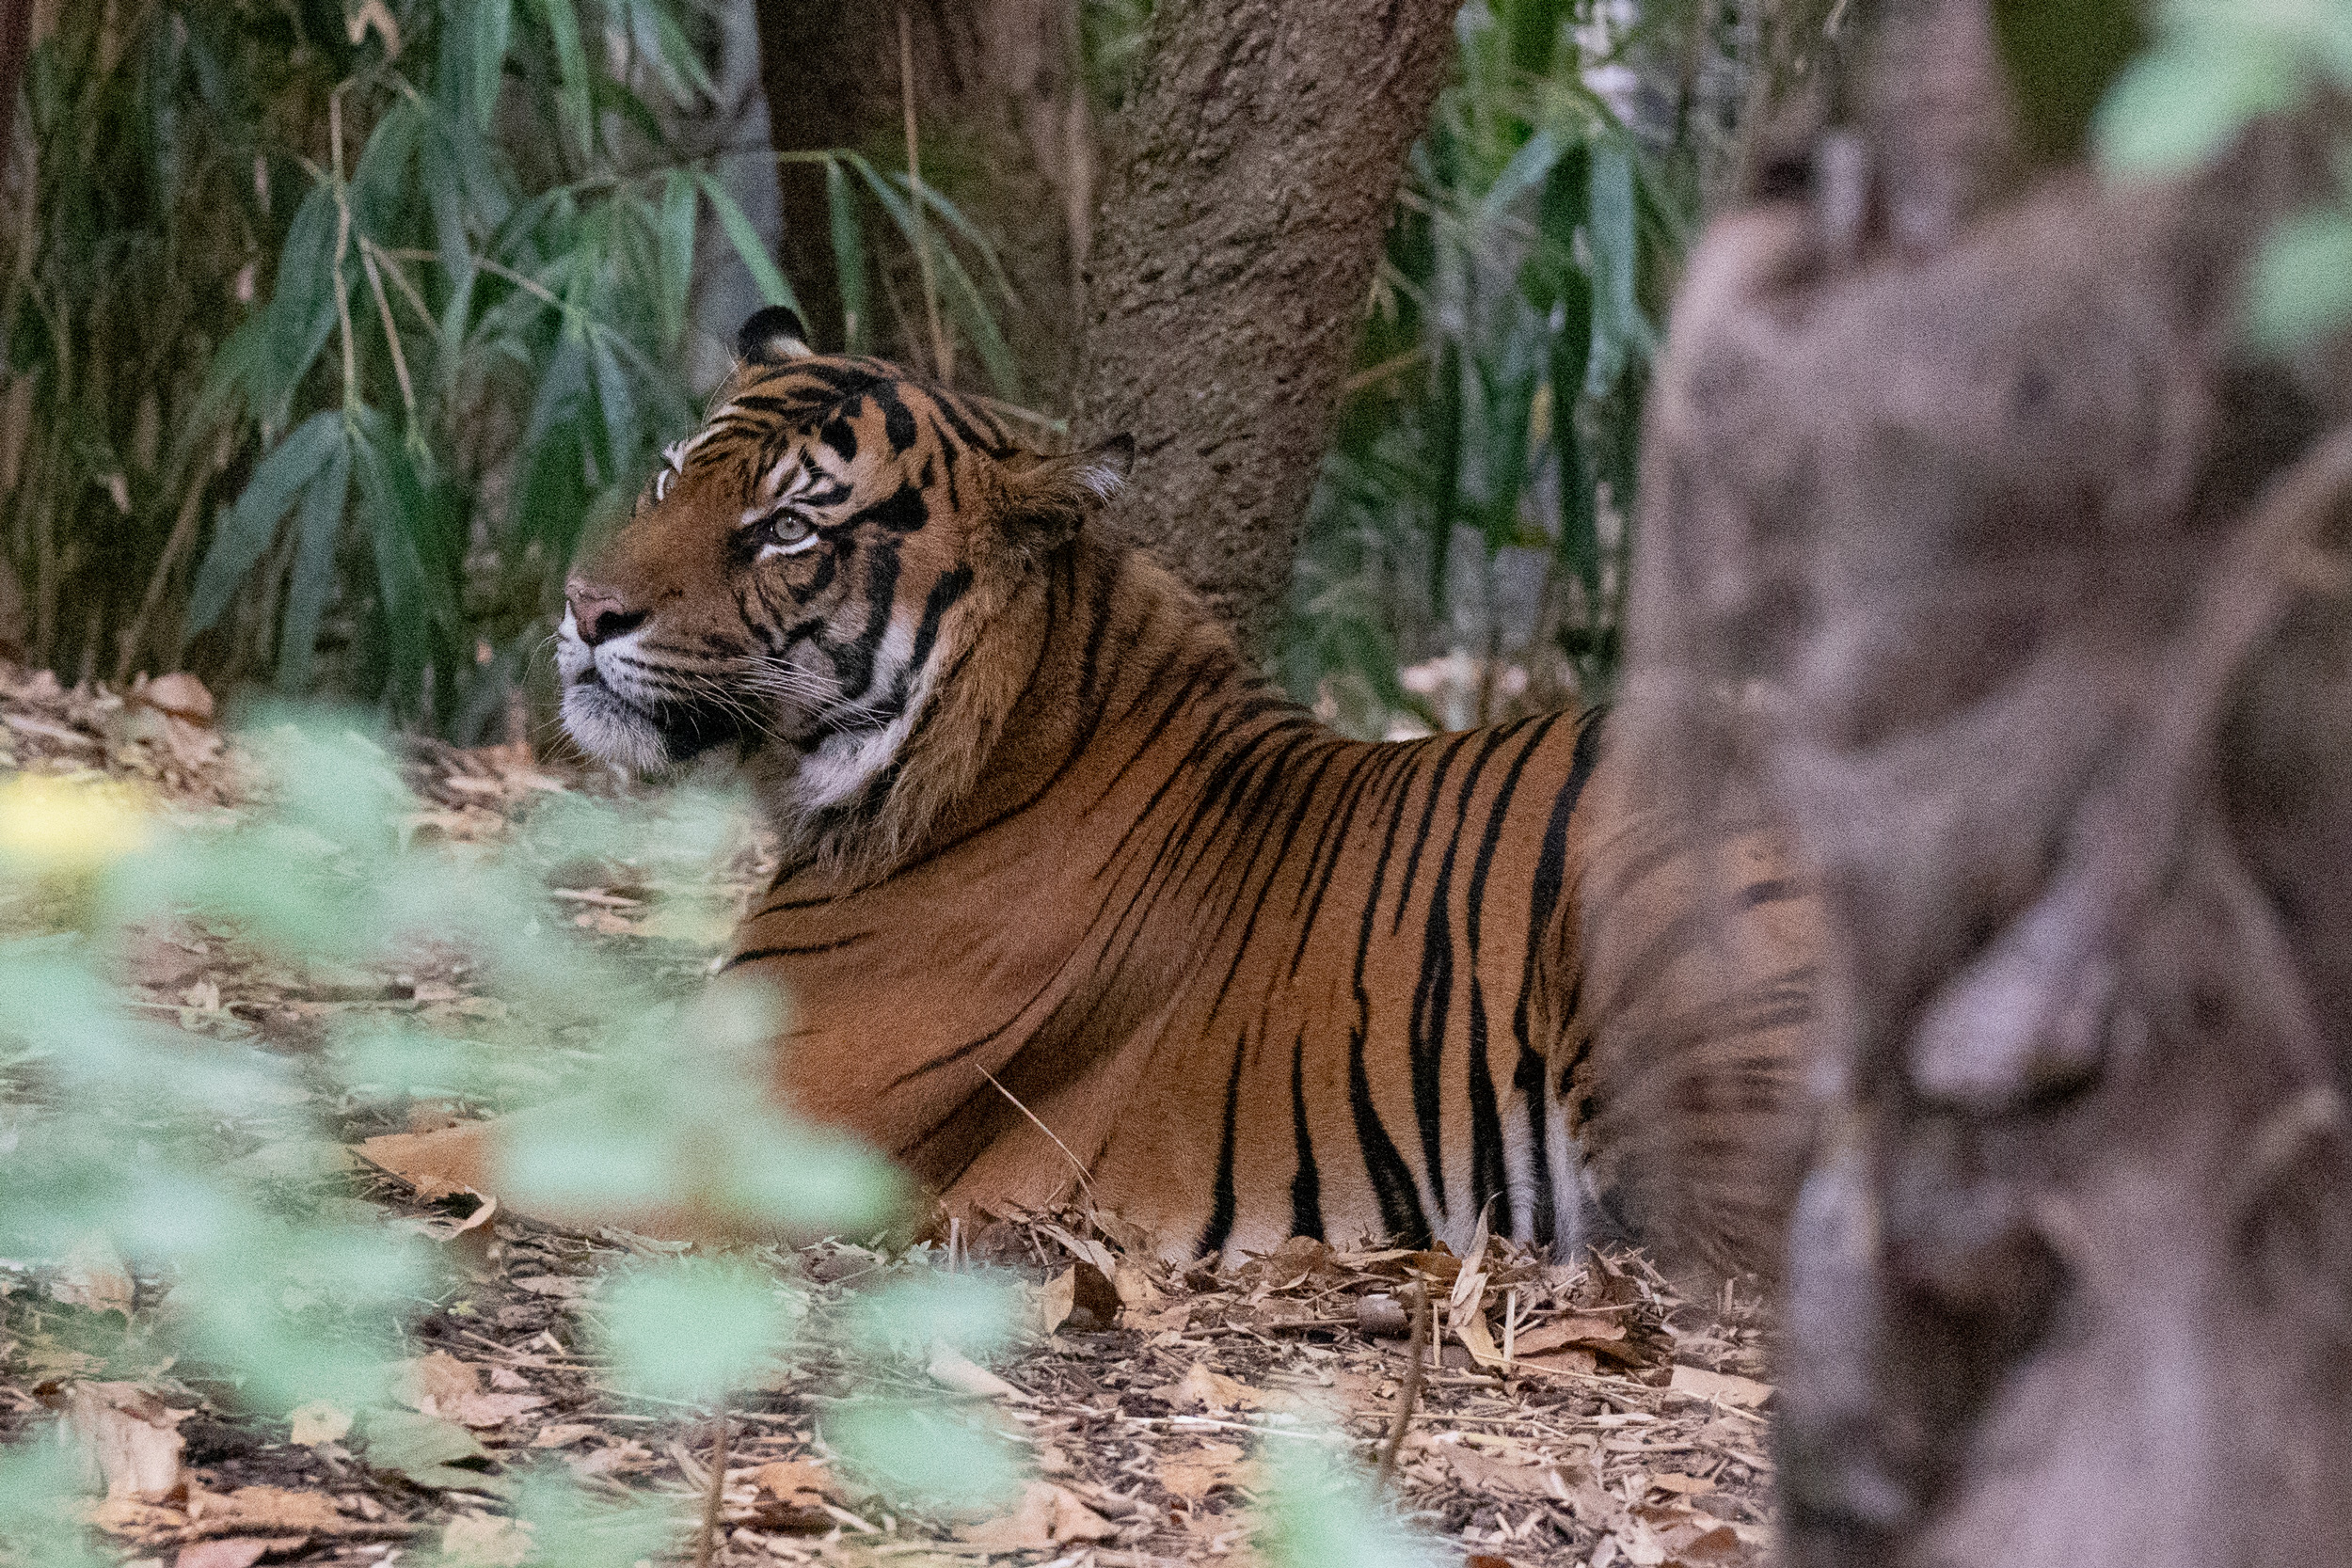
This particular situation impressed me. When I looked at the RAW, the foliage nearest to me was even brighter (I have lowered whites and highlights in the image above, and raised the shadows a bit). I might have been able to get an earlier Sony camera to duplicate this autofocus using a small Spot autofocus area, but the A7R5 was set to Zone. I’d expect an earlier Sony to to focus on a tree or the leaves near me in Zone. The A7R5 didn’t hesitate. It picked out the tiger deep in the shadows, and focused on the tiger eye beautifully (check out the second image below to see how accurate that autofocus was).
The other thing that impressed me was that this was shot at ISO 12800, 1/1250, f/4 at 200mm on the Sony 70-200 GM II. A great lens, a great camera, but ISO 12800? I did no noise reduction on this image, other than scaling the crop from 3600 wide to 2500. Click on the images below to see them larger.
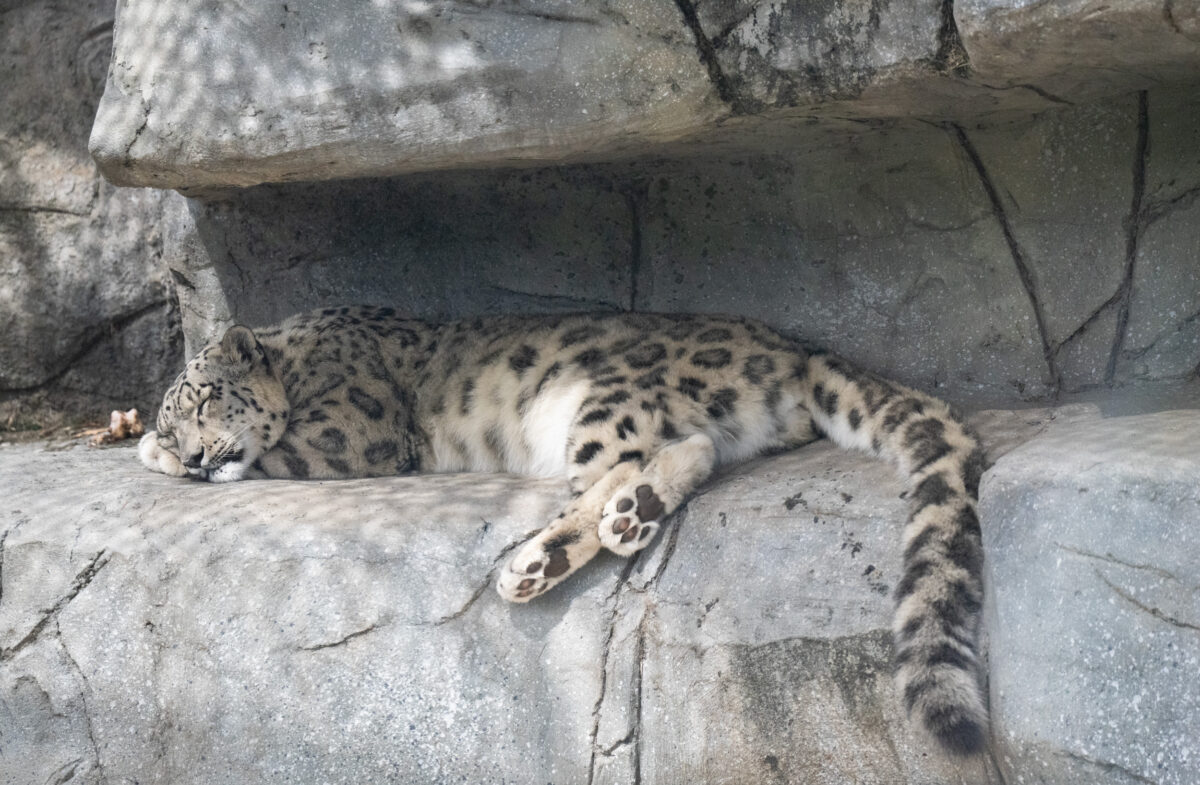
Snow leopards are one of the most beautiful of cats. This lady looks elegant, even asleep in a dappled autumn sunshine.
This image was shot using the Sony 70-200 GM II lens at 200mm on the Sony A7RV at f/4 1/2000 ISO 6400 (no noise reduction!). I cropped the image a little to get rid of a distraction. I was a bit surprised not to see noise in an image shot at ISO 6400, and I thought you might like to see the result.
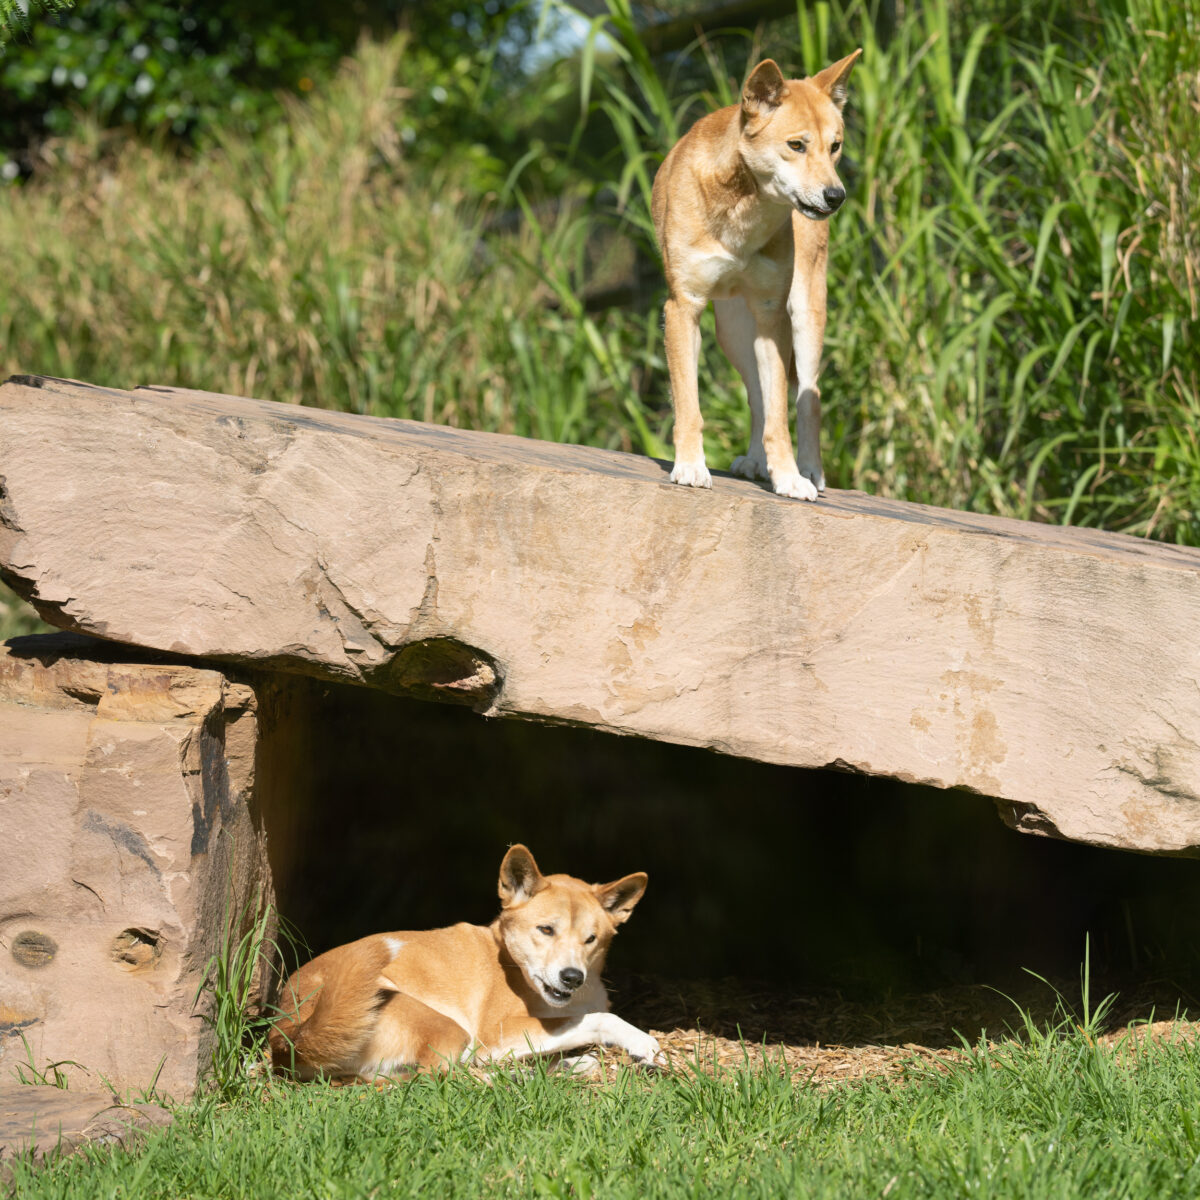
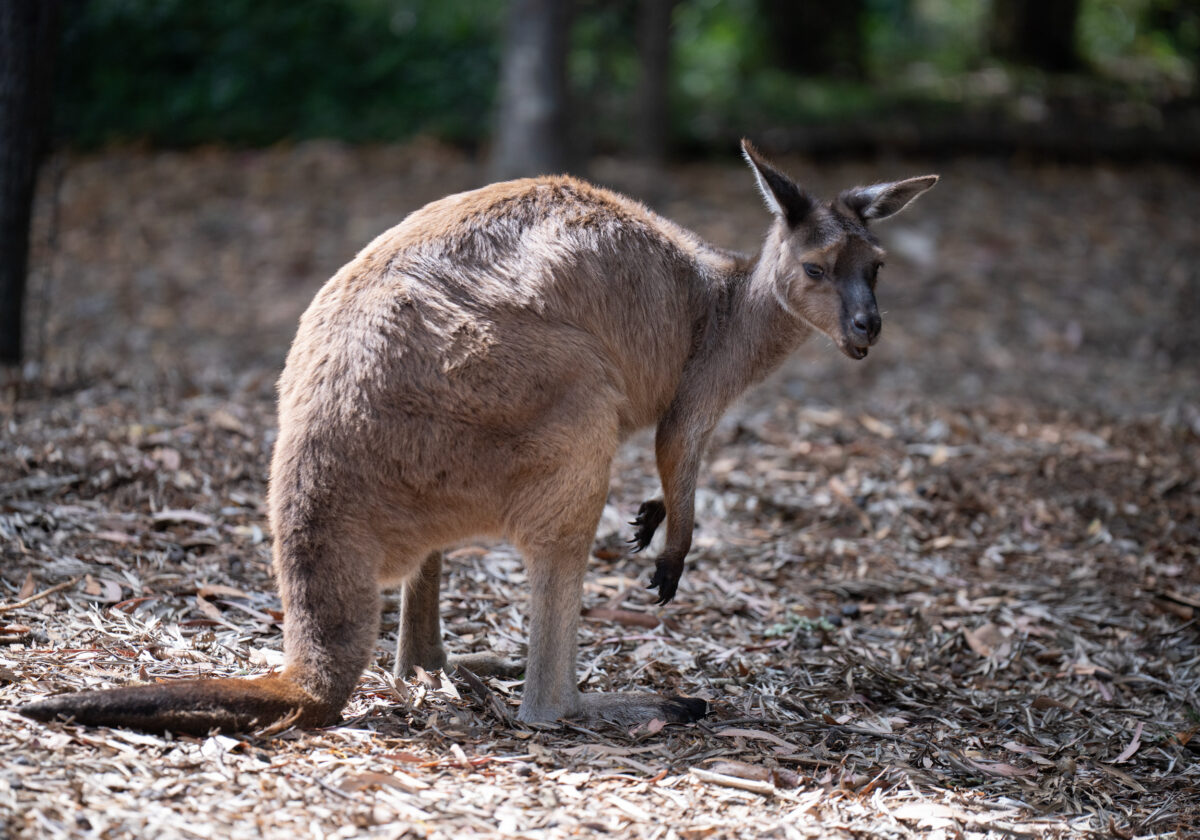
The dingo was the only canid in Australia for millennia.
This image was shot using the Sony 135 GM lens on the Sony A7RV at f/4 1/2000 ISO 200, and cropped to a square for composition. I haven’t used this combination a lot, but I should. The sharpness of the lens and the sharpness of the autofocus are complementary.
Oops, I did it again! Yes, this is another of my “Don’t do as I did” posts.
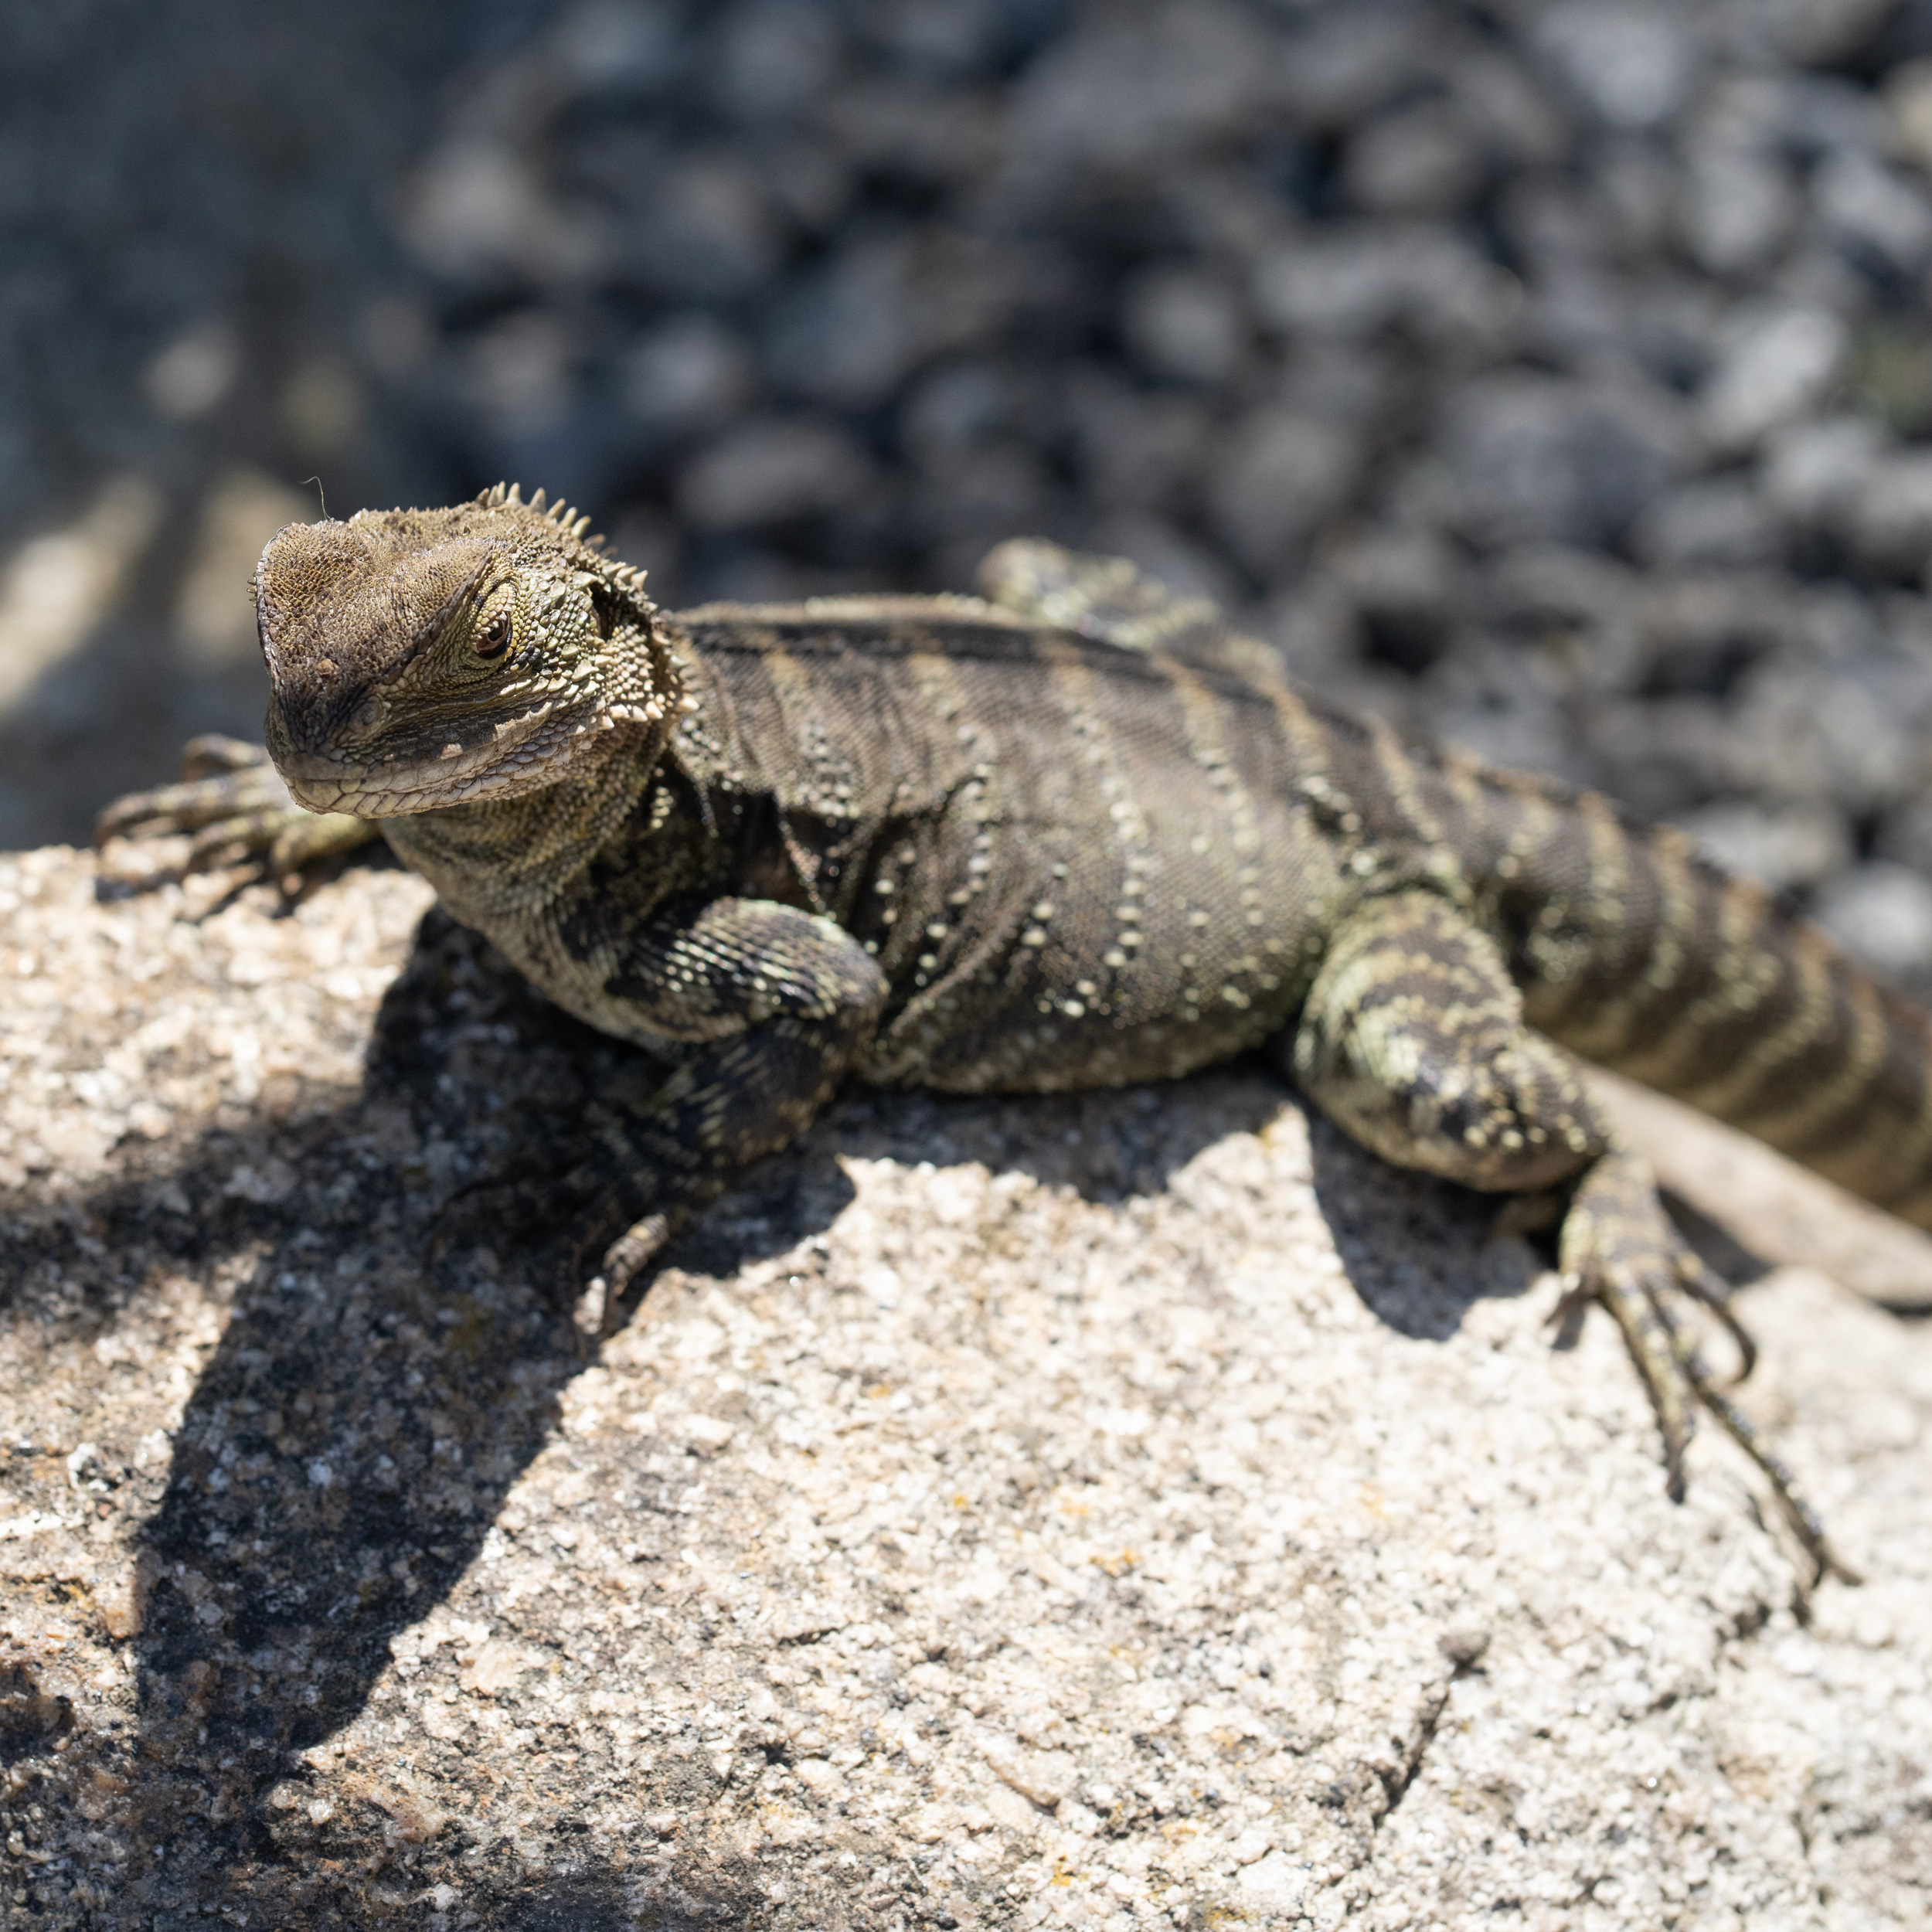
I ventured out to the Melbourne Zoo with the A7RV camera and the 135 f/1.8 GM lens. The temperature was low 20s Celsius, but there weren’t many clouds around, so we got some nice bright light (and the hard shadows in this shot testify to that). Although the image looks monochrome, it’s colour – the stone and the dragon just aren’t colourful.
Click on the image below to see it larger.
This image was shot at f/4 1/2000 ISO 640, and cropped from 9504 x 6336 down to 5228×5228. You can see that the A7RV found the dragon’s eye and focused on it, but I made the mistake of thinking f/4 would give me sufficient depth of field. I’d leaned into the shot because the water dragon was posing so beautifully in the sunshine, and as you can see the dragon’s head is beautifully clear and sharp, but the body and tail are not.
When you are aiming to get the whole of an animal (or human!) in focus, remember that you can increase your depth of field by choosing a smaller aperture (like f/8), or stepping back and using a longer focal length (on a zoom), or cropping more (on a prime).
Of course, you do have another option: claiming that it was a deliberate artistic decision to emphasise the head and eyes (and modern eye AF will help make that a credible claim). I’ve chosen to describe this as a mistake, but you know what? I am not unhappy with this image. I just would have liked to see the rear leg and toes inside the depth of field, because the dragon has unusual rear toes.
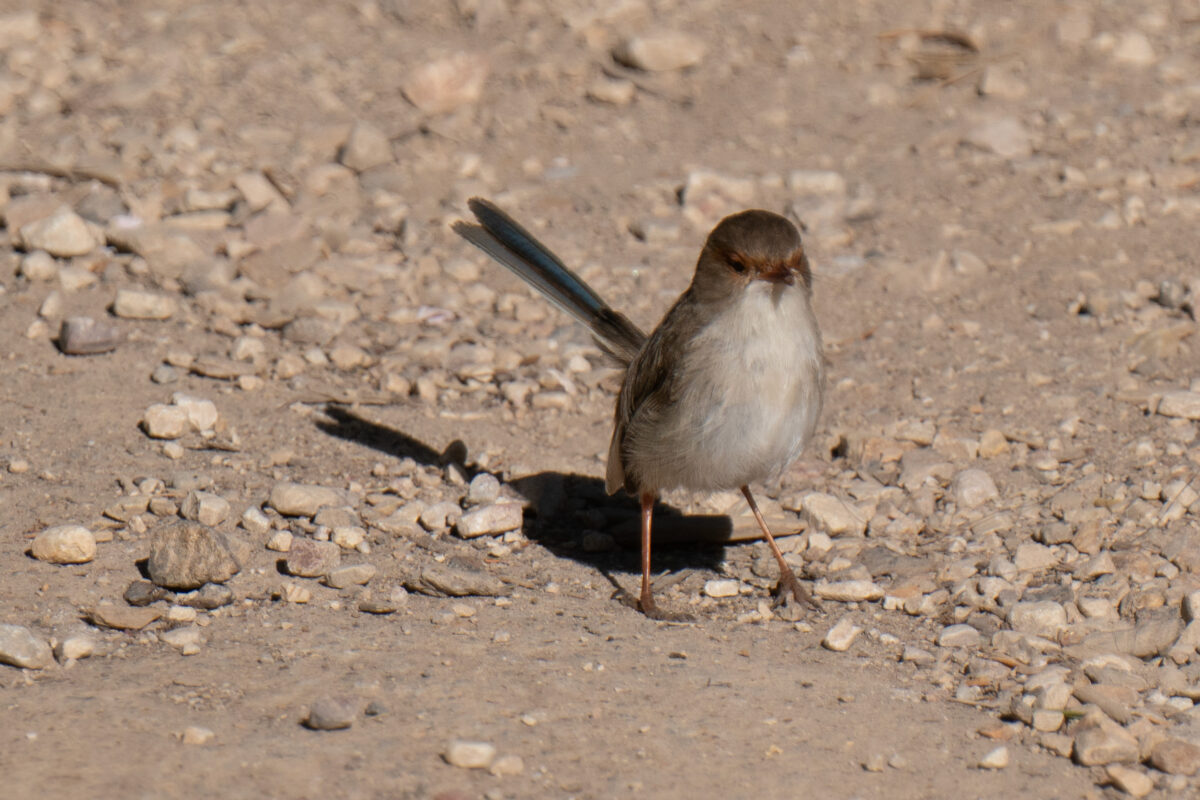
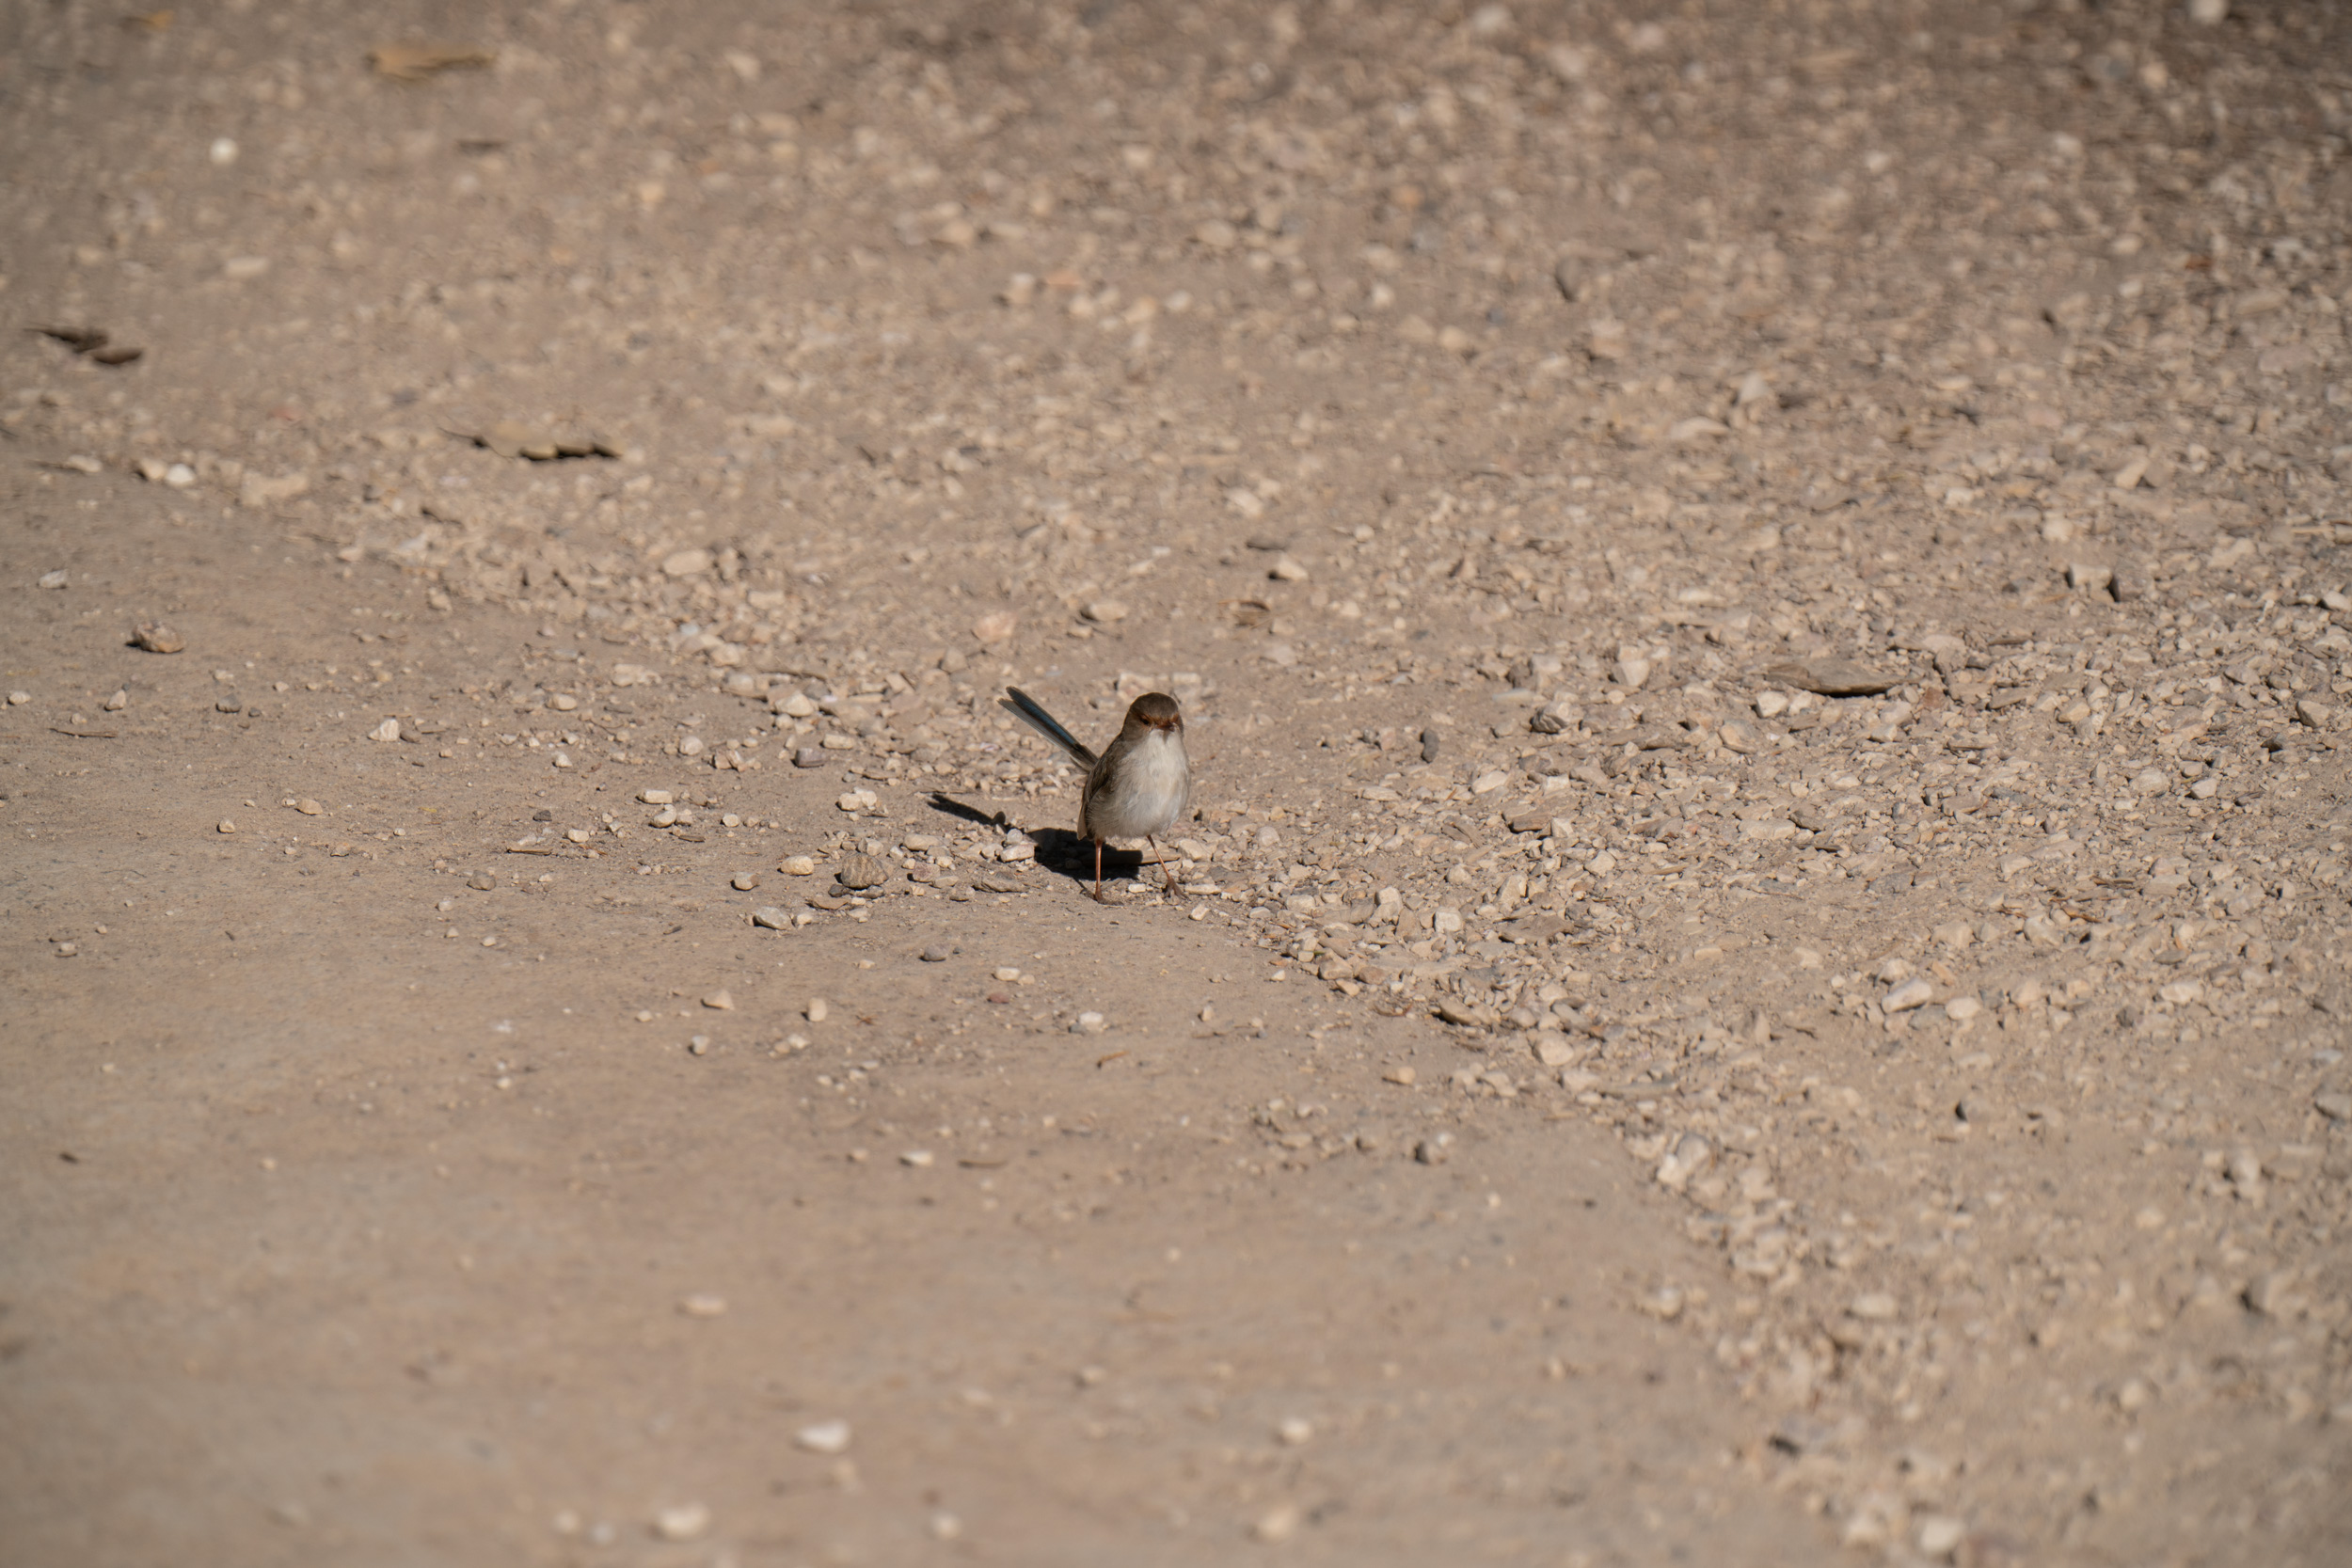
There are several species of fairy wren in Australia, and I’m not sure which species this one is. It is not in mating plumage – the splendid and superb fairy wren go bright blue for mating, instead of dull brown. No matter their plumage, however, they are rather hard to photograph, because they are forever bouncing around. That’s why I’m rather glad to have a shot of a stationary fairy wren.
There’s another reason. These birds are rather small, so I had the 2x teleconverter on the 70-200mm f/2.8 GM II lens to get this shot. I wasn’t zoomed all the way out to 400mm – the effective focal length is “just” 274mm. But this is a 2505 x 1670 pixel crop from a full frame of 9504 x 6336 – that not bad detail considering the tele converter is involved.
The sun was out, the clouds were negligible, and this was shot at ISO 160, f/5.6, 1/2000. This was using the A7RV Bird subject recognition.
Click on the images below to see them larger. The first is the original full frame, the second the crop.
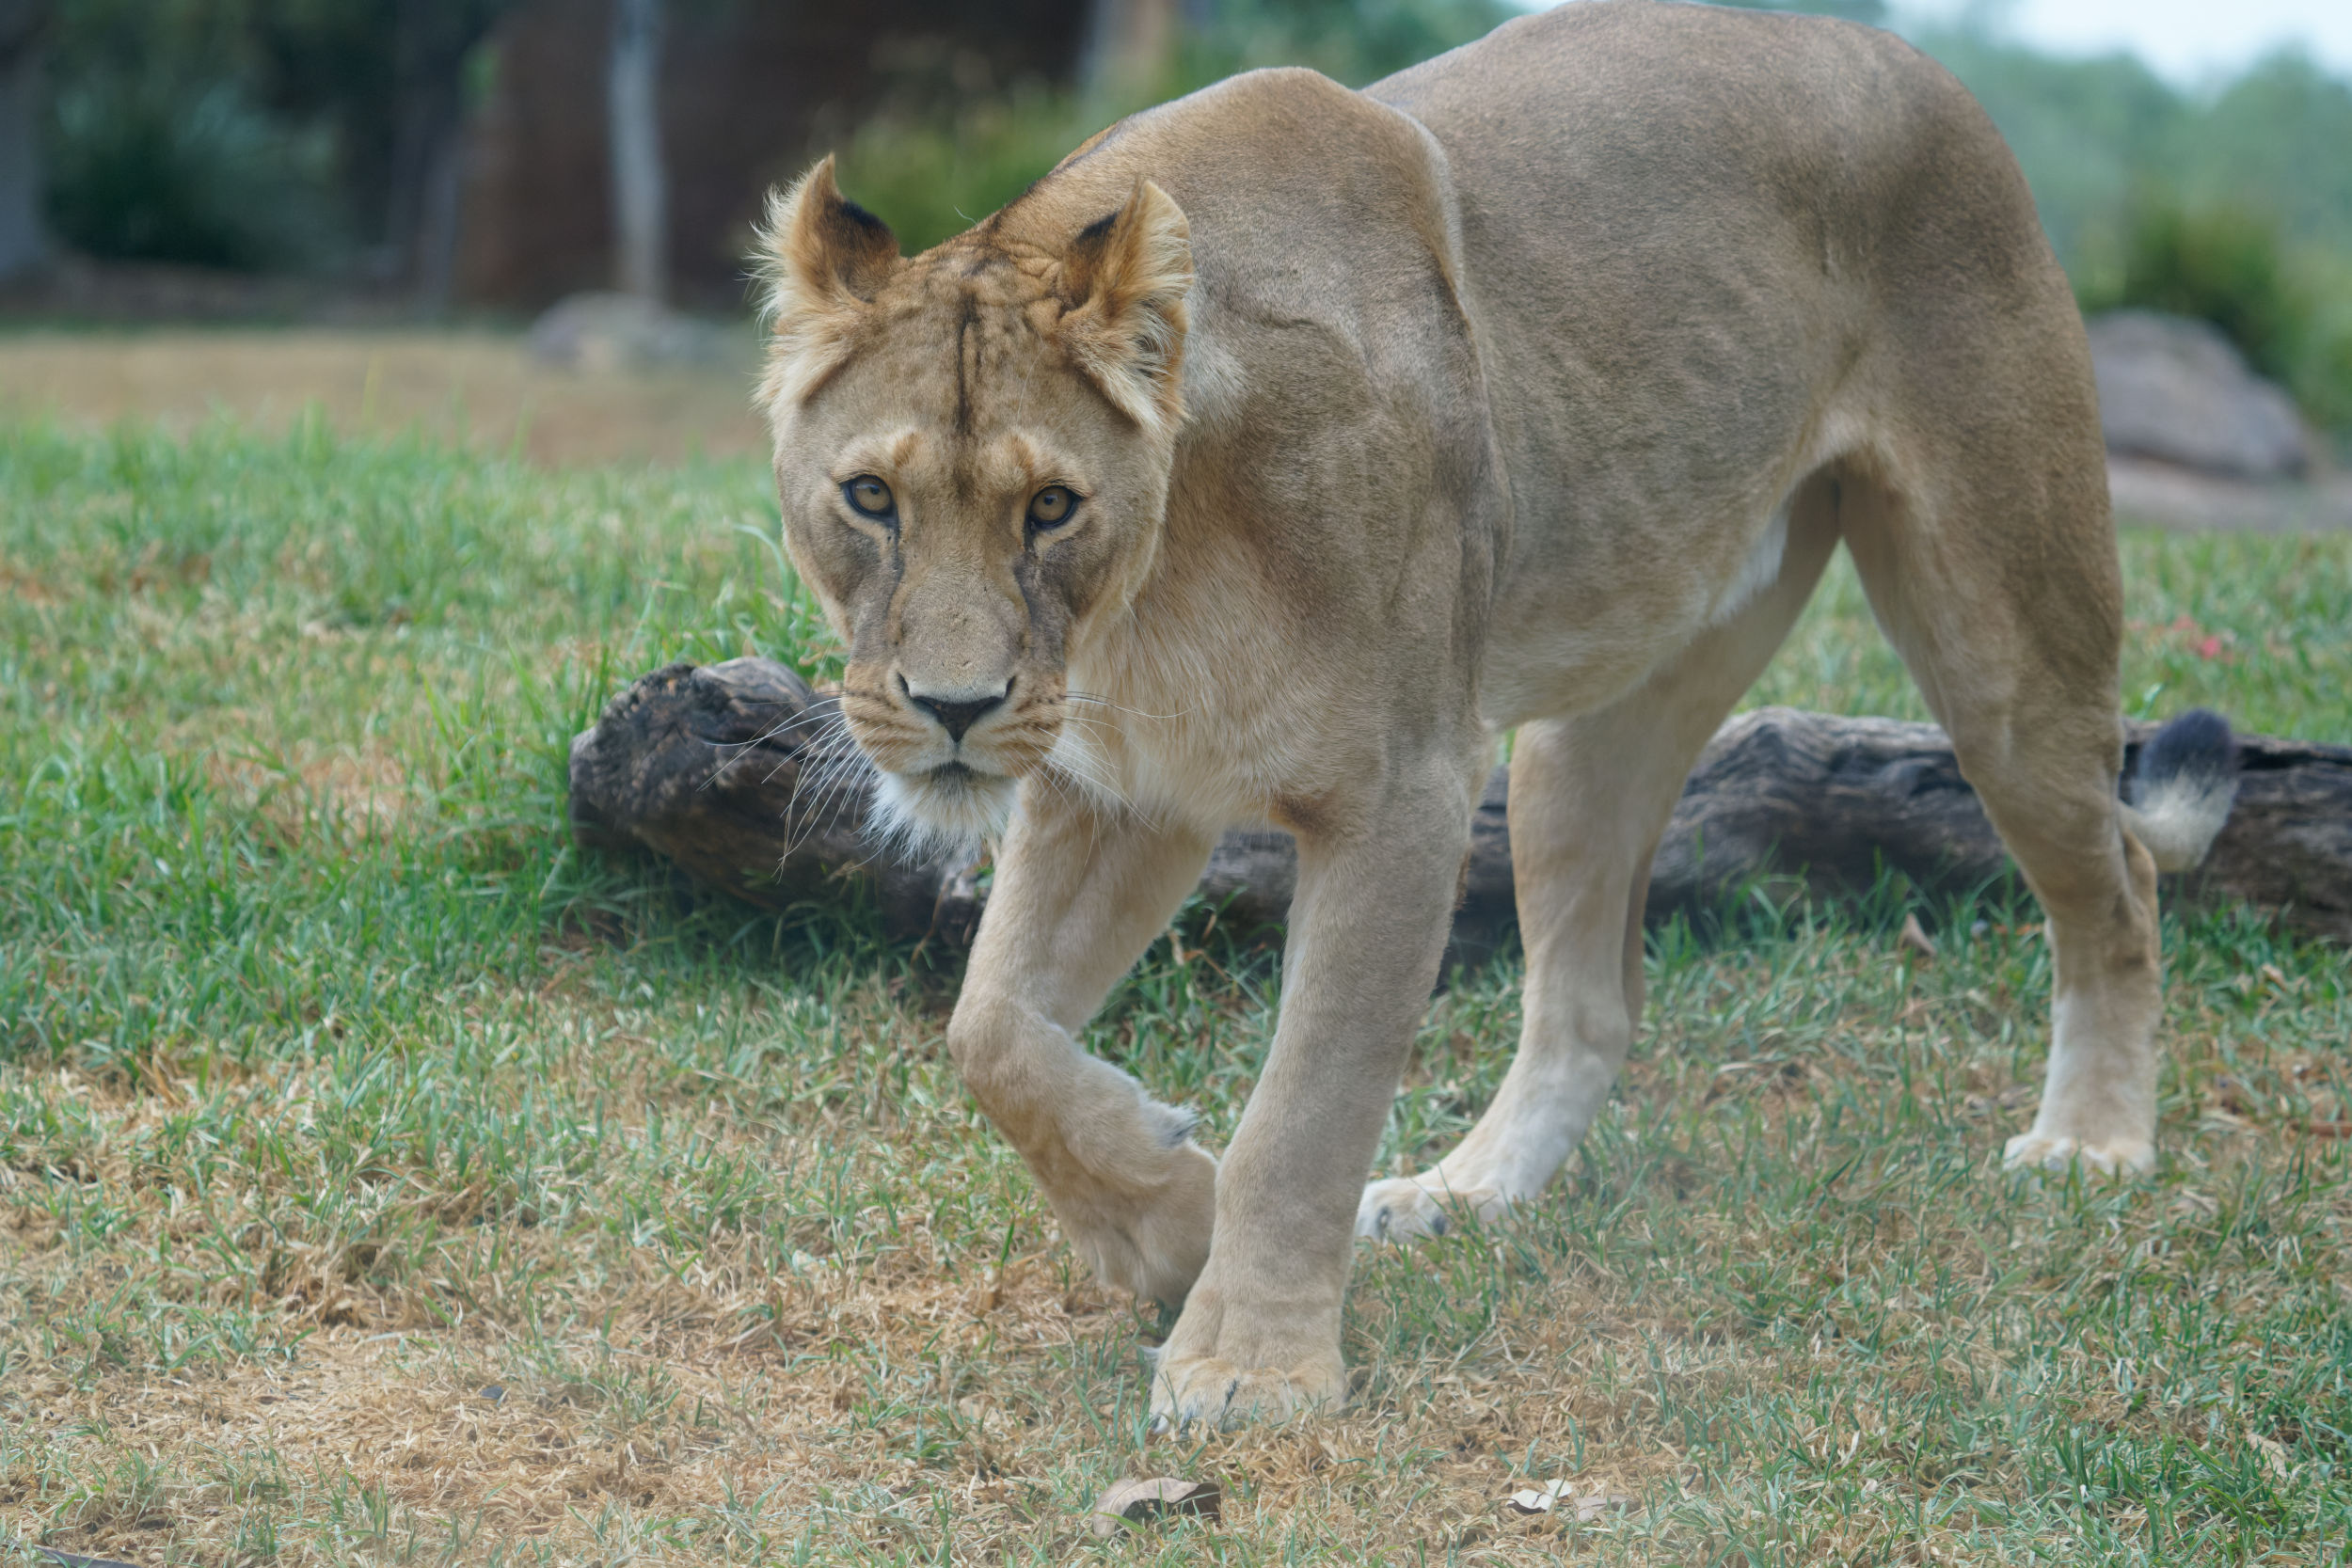
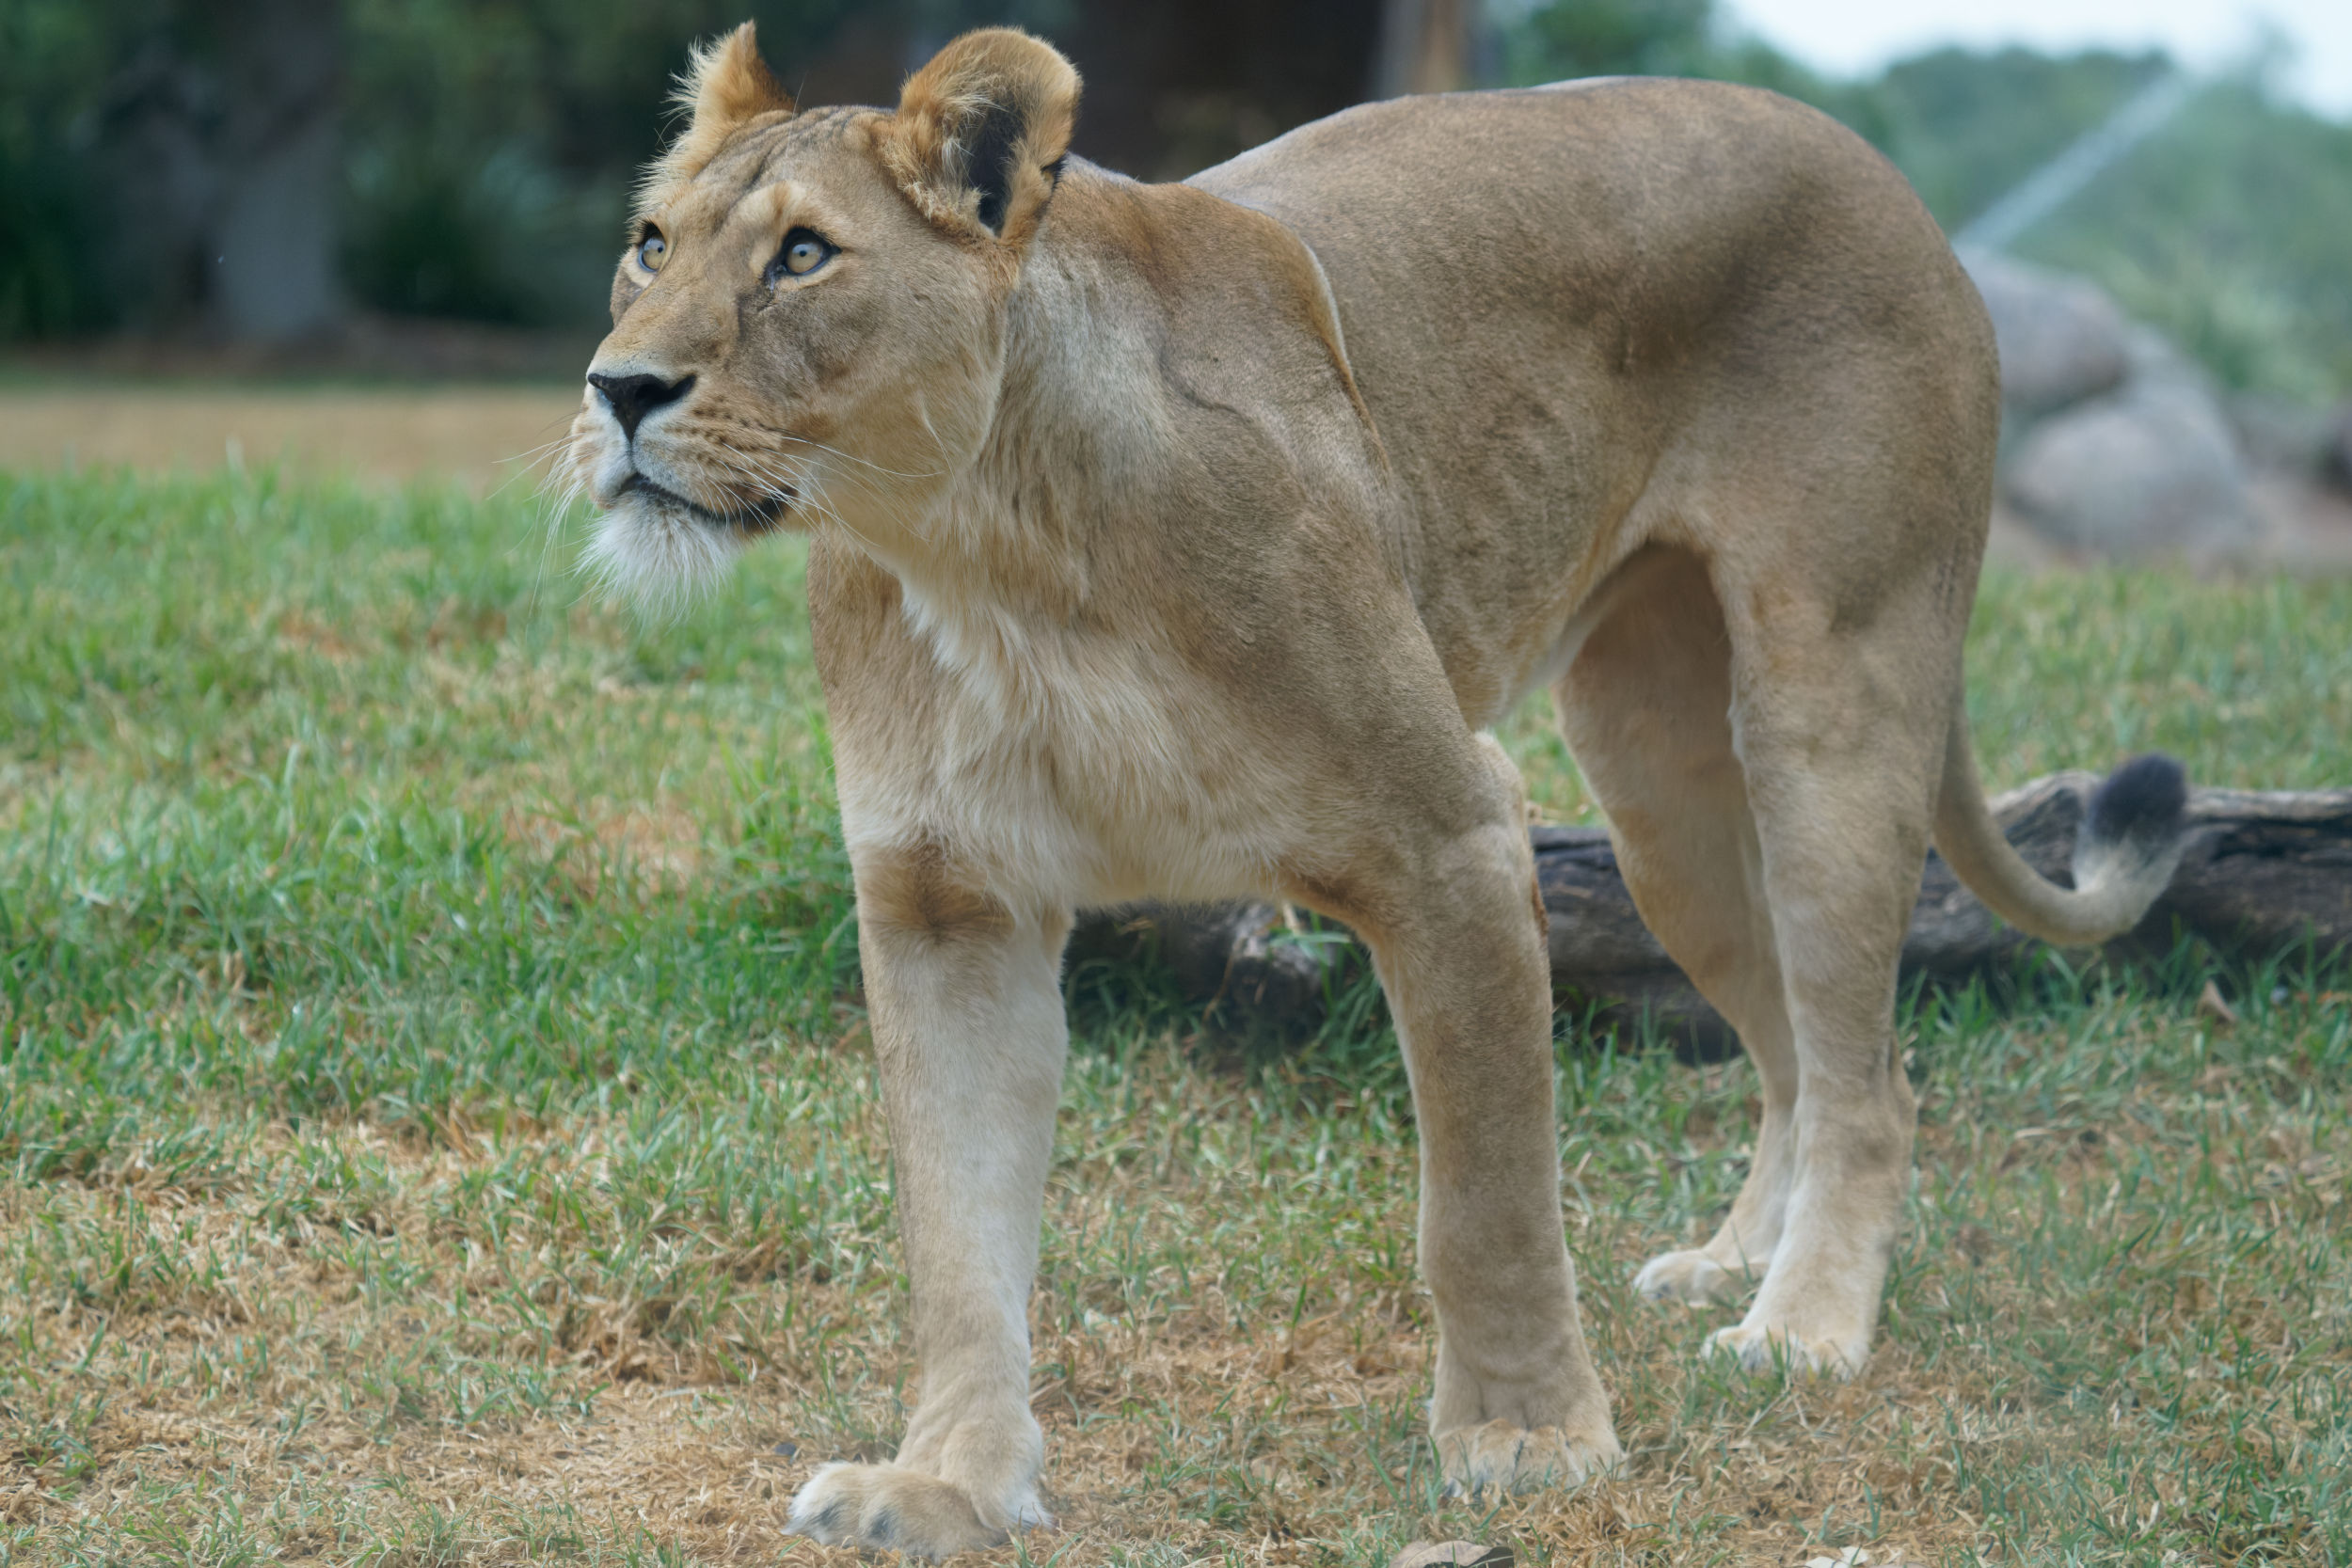
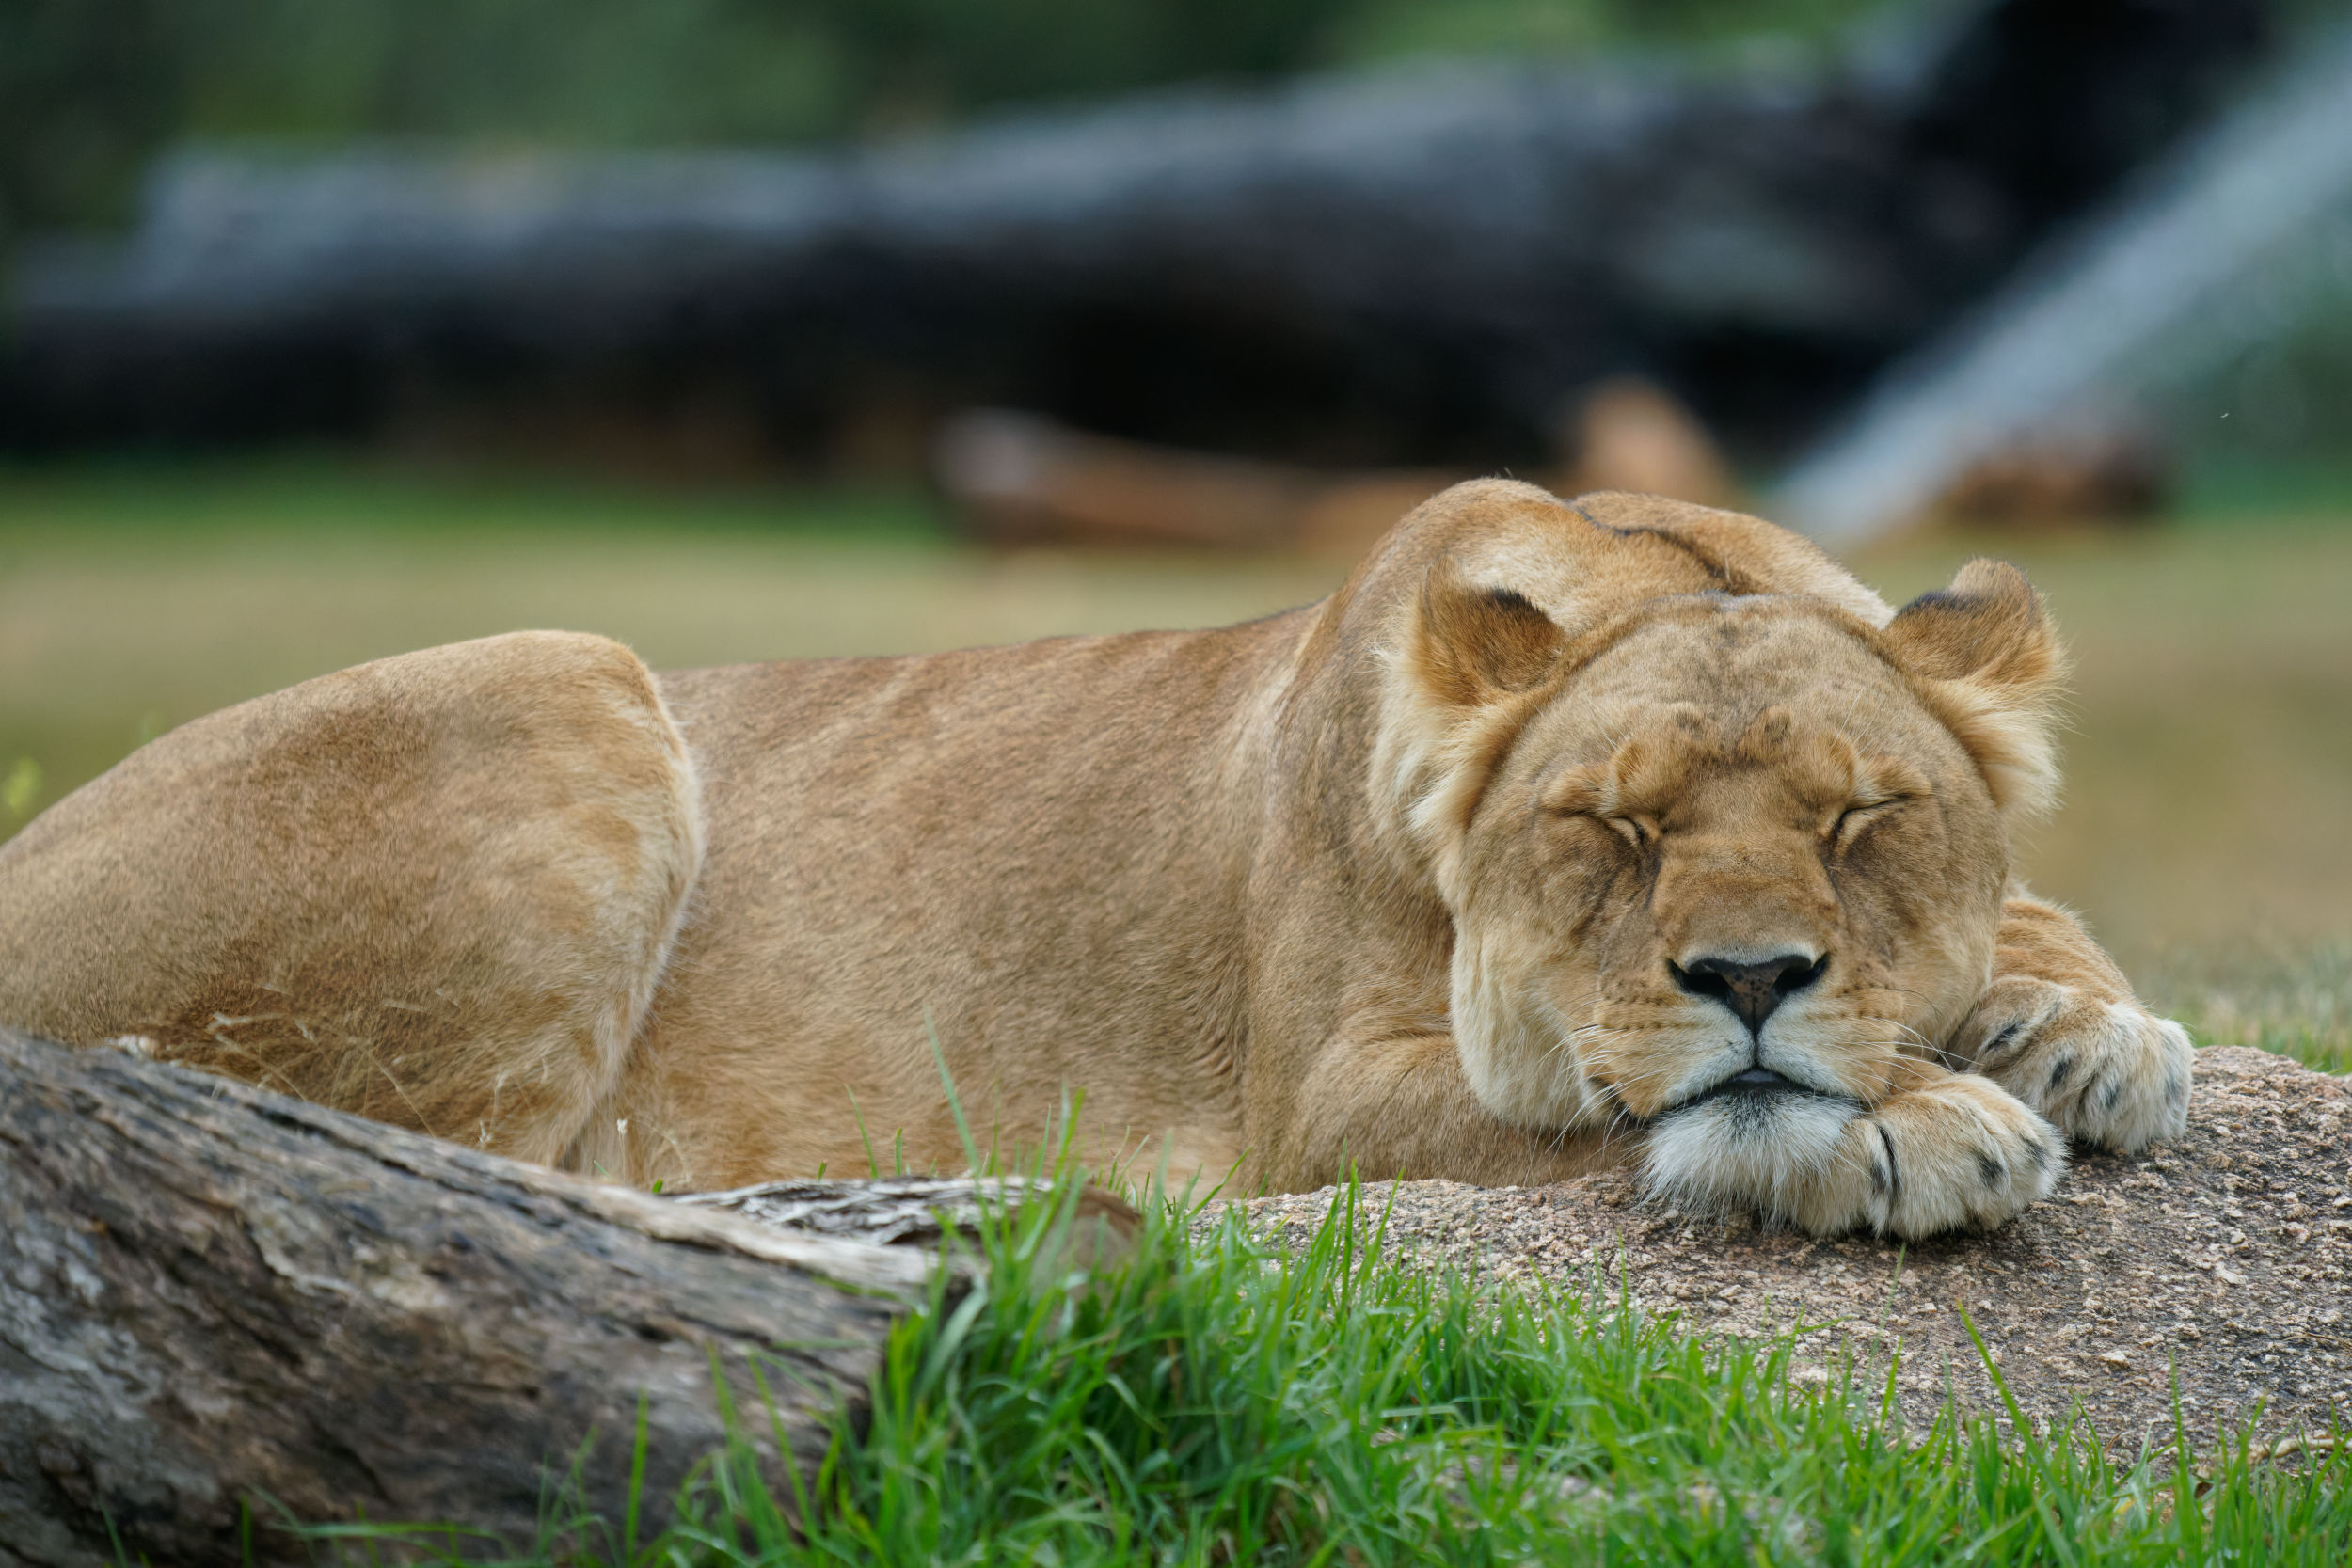
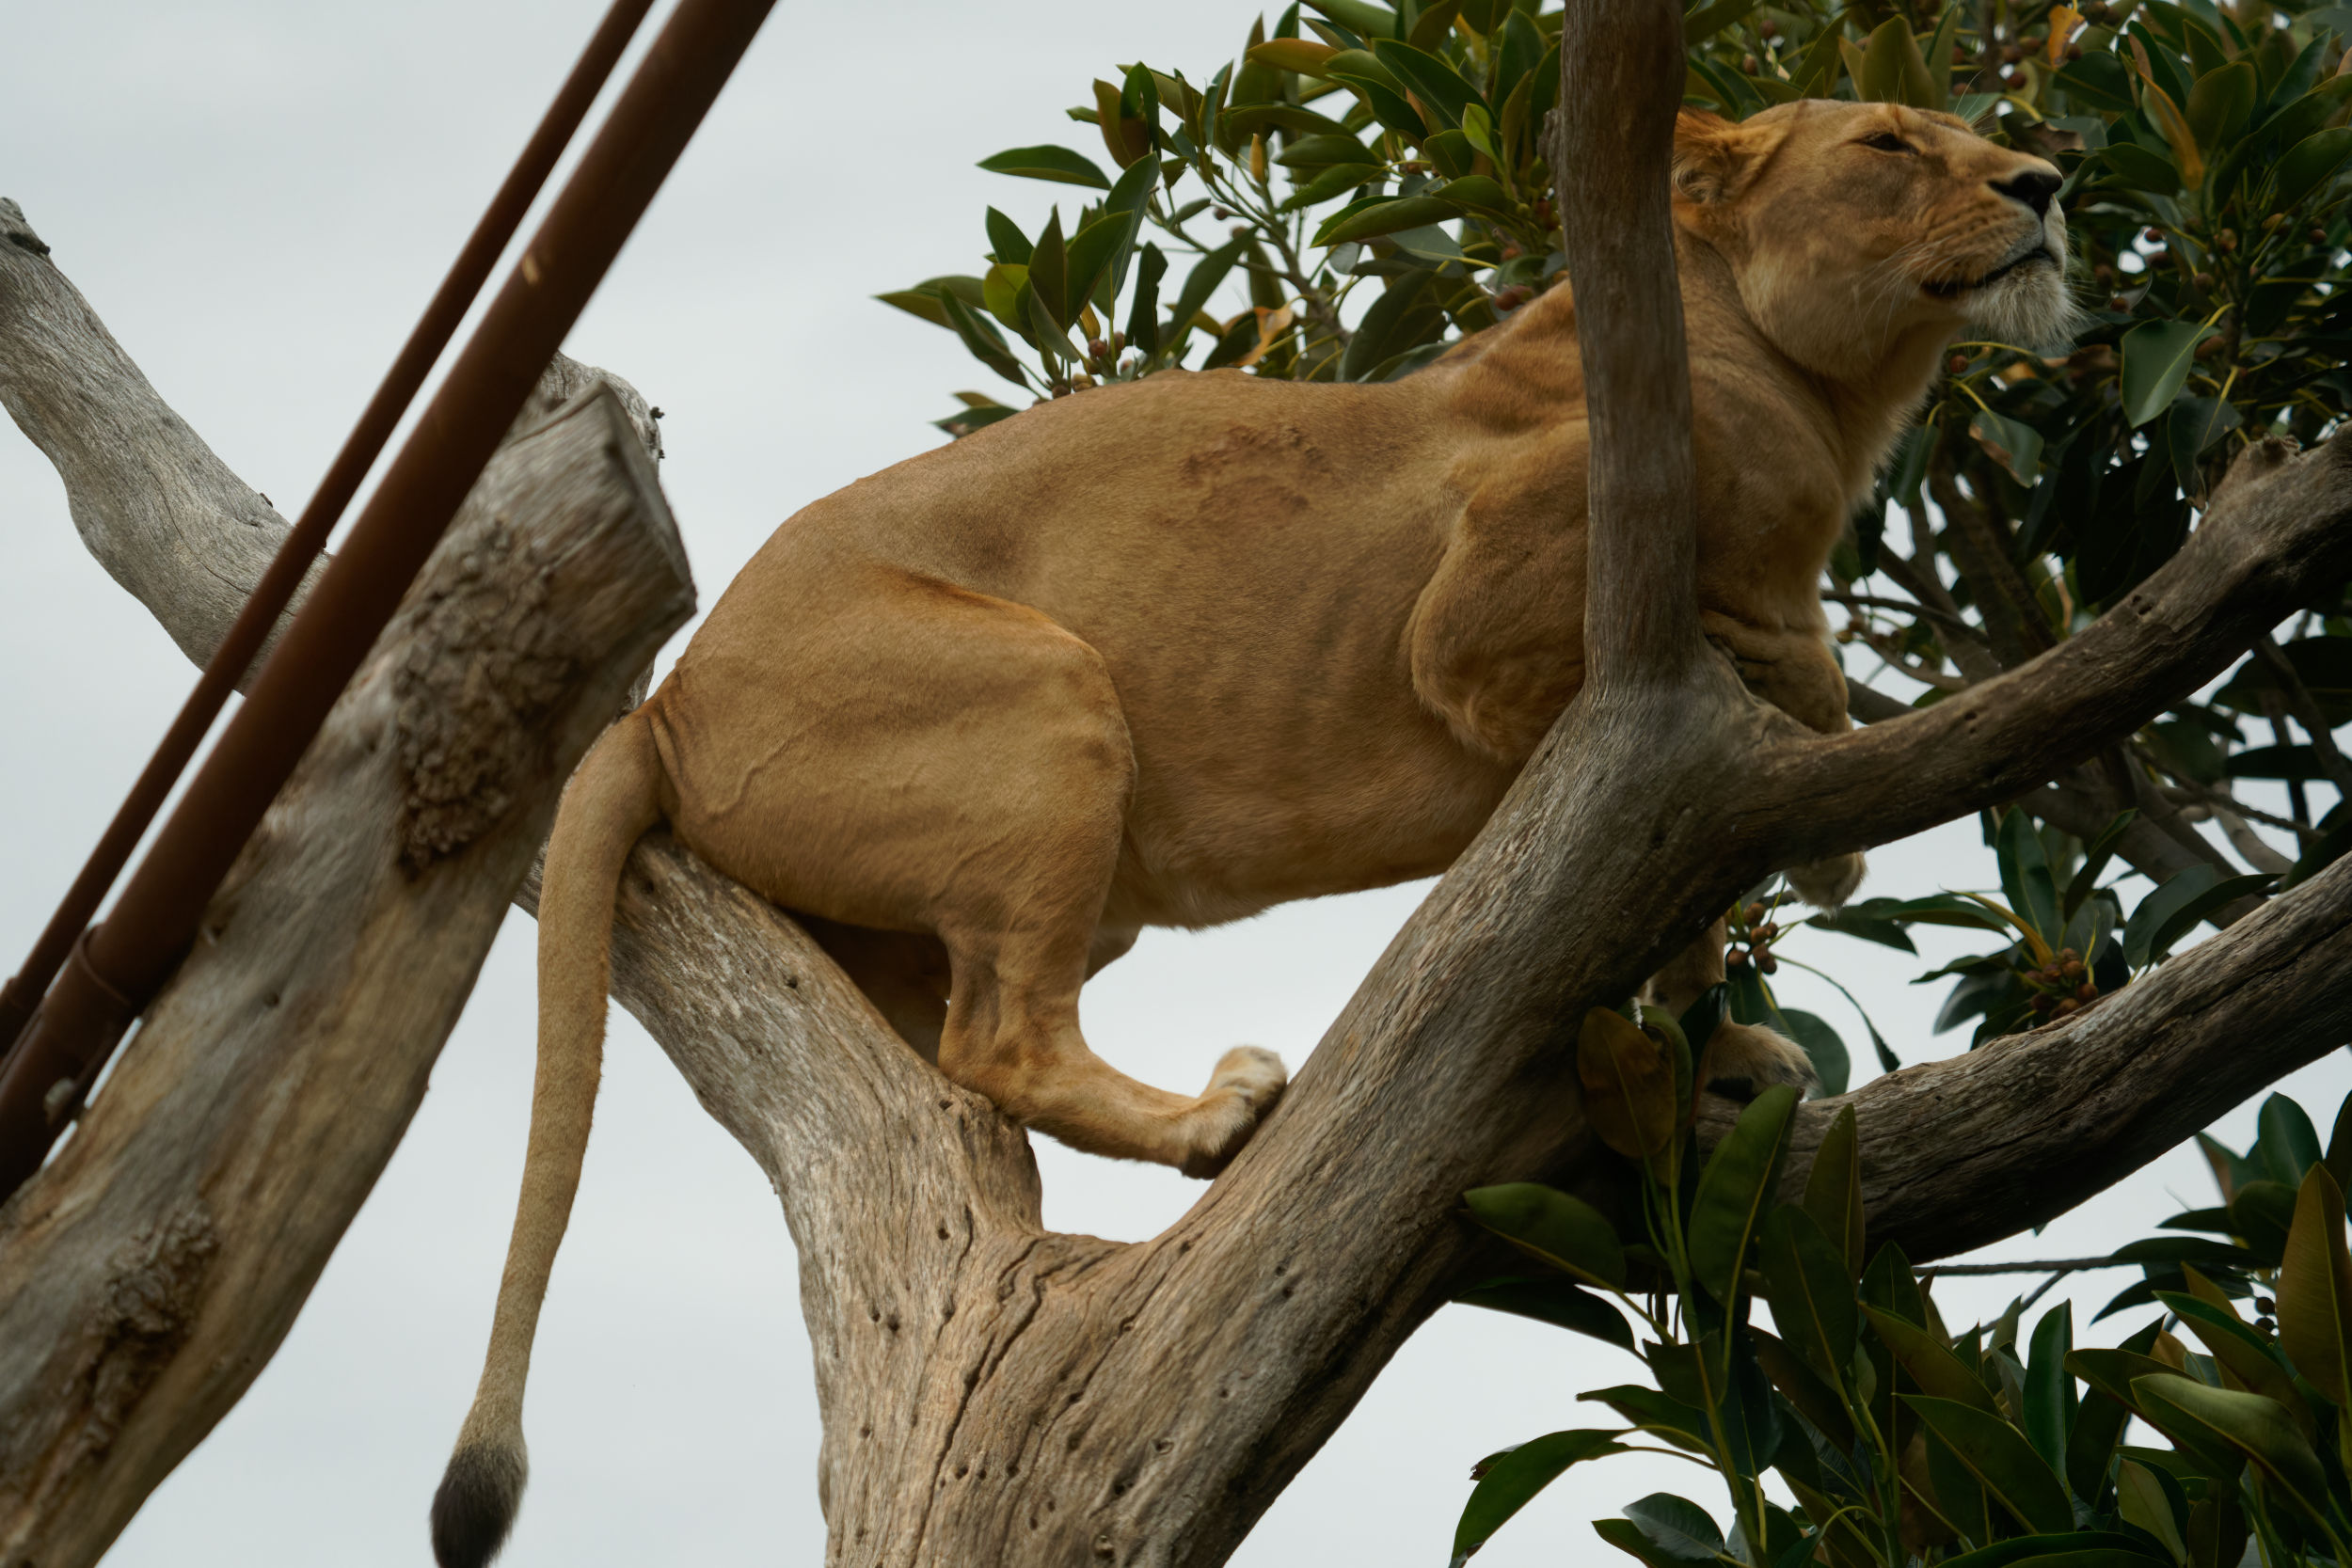
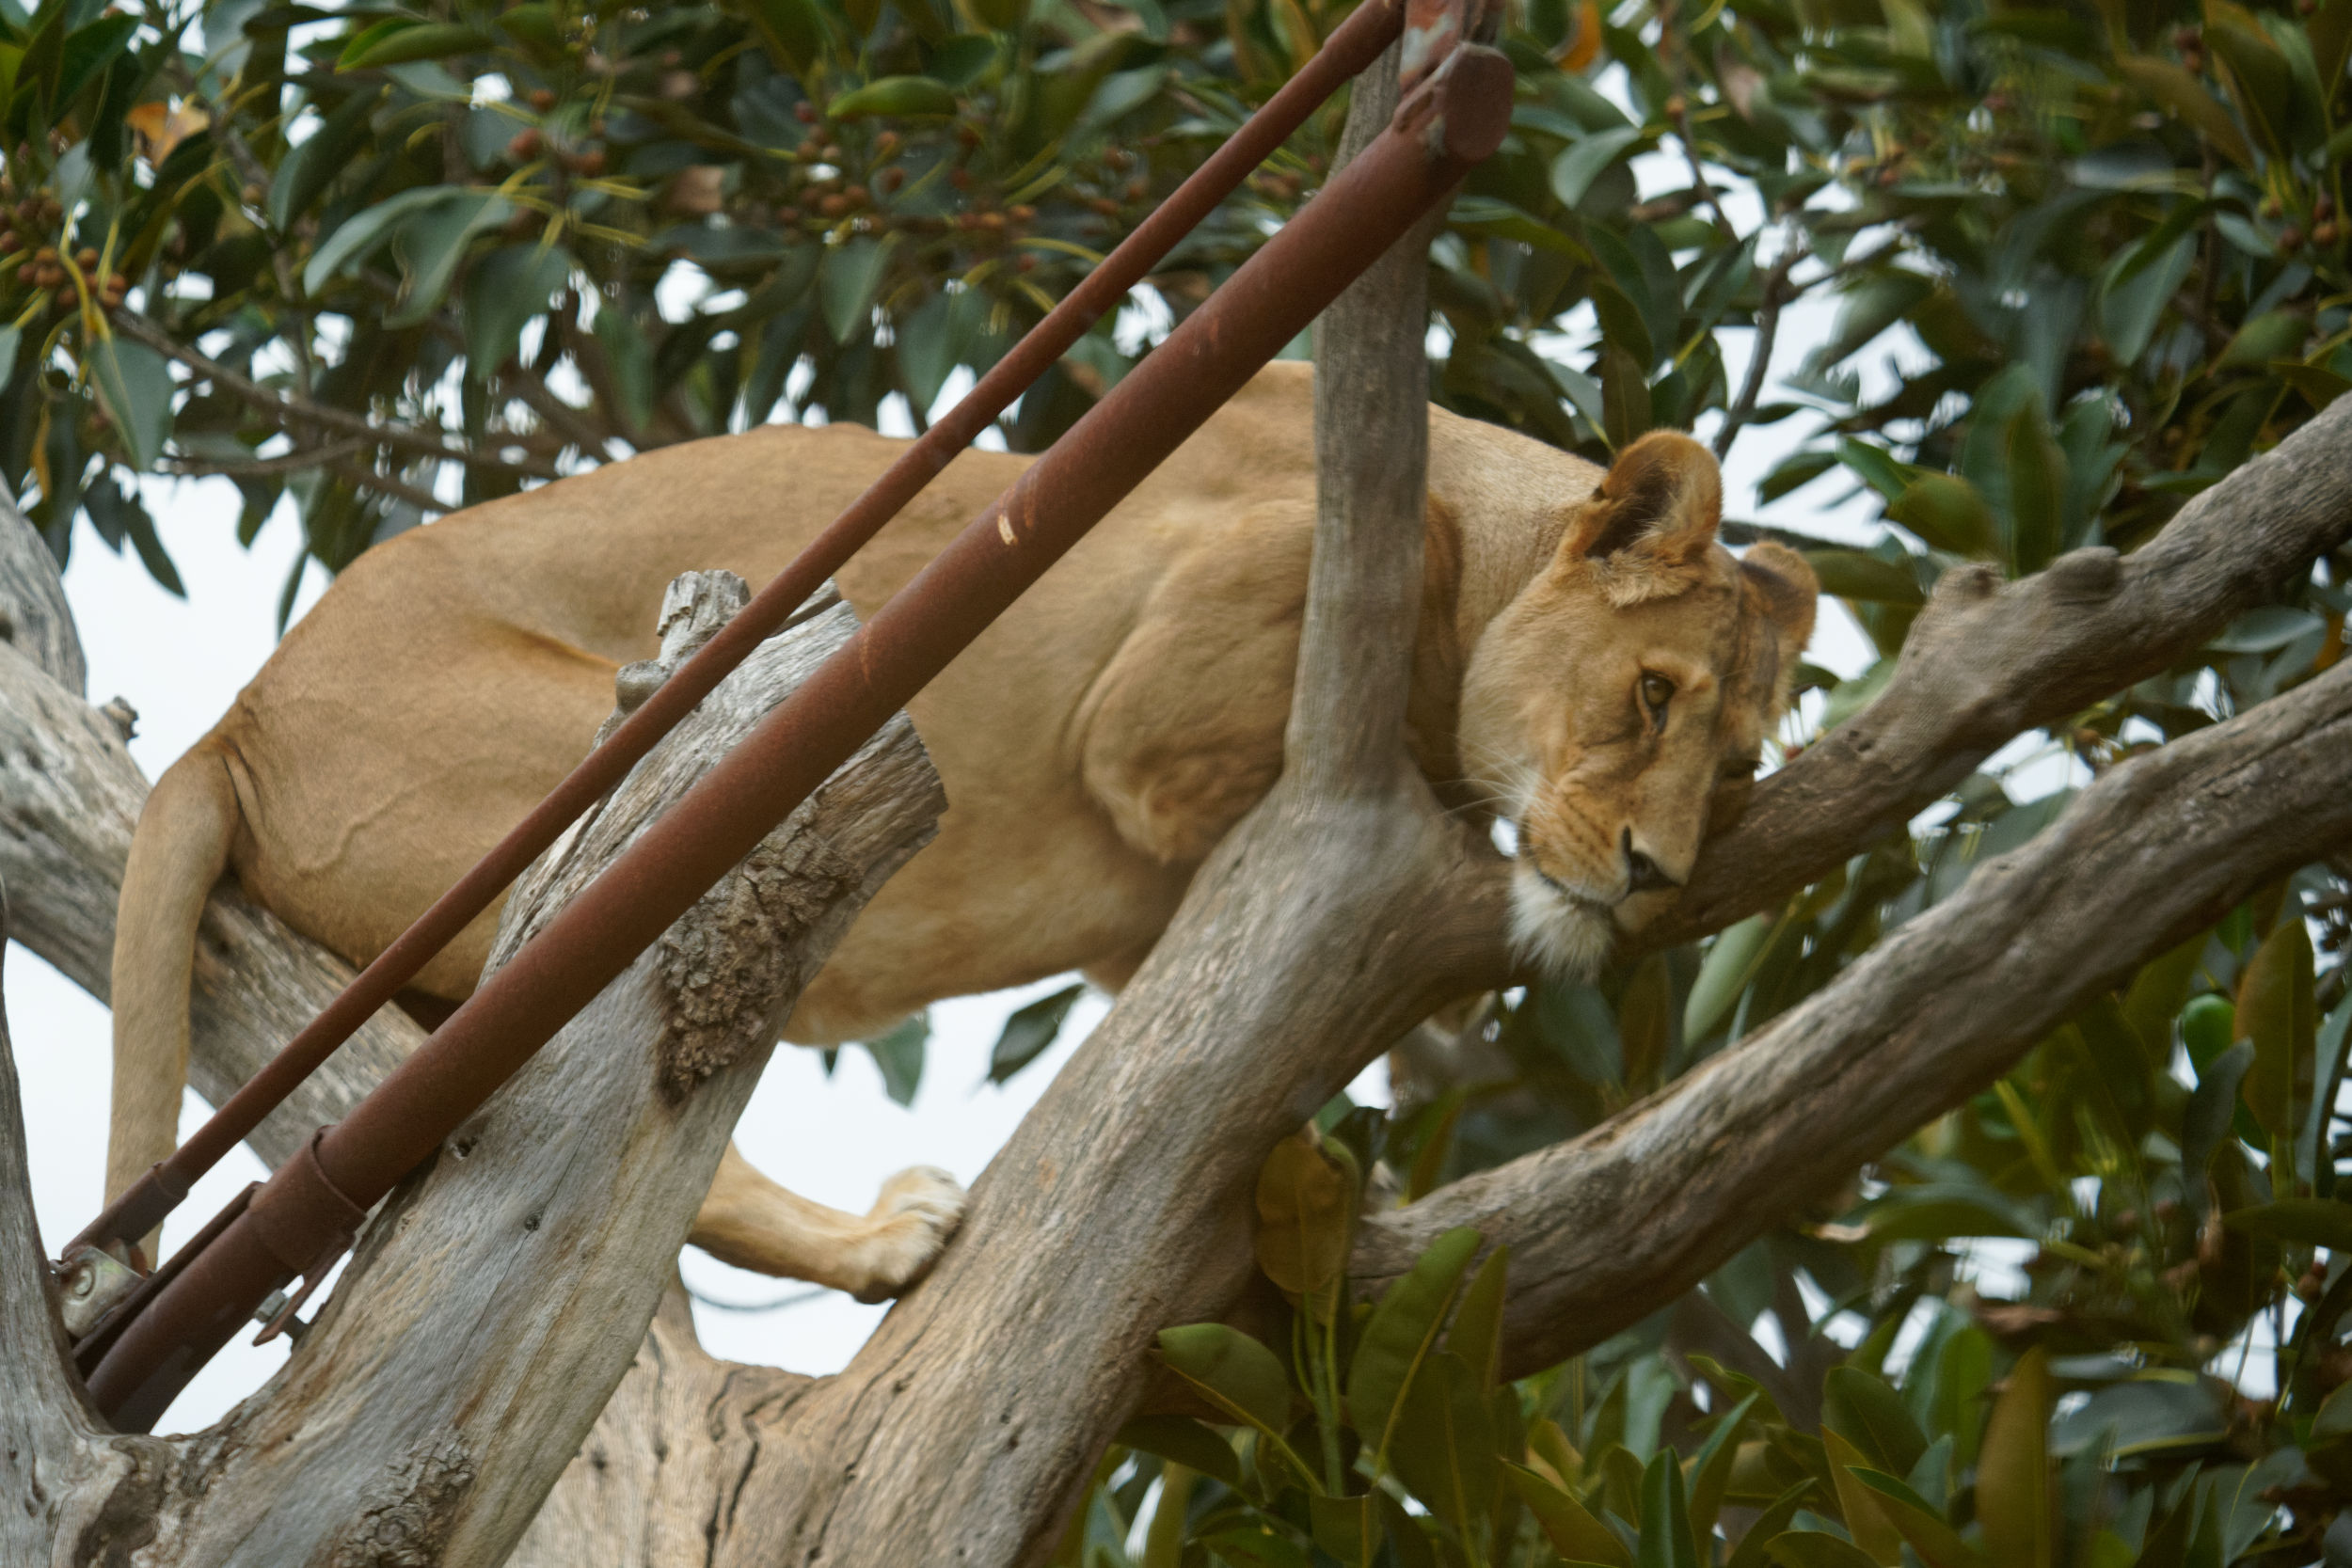
There are two female lions at Werribee Open Range Zoo, and they are mother and daughter. They were joined by a new male last year with a view to hearing the pitter patter of little paws – they are trying!
This day was heavily overcast, and the male didn’t seem to be interested in joining the ladies outside – perhaps he was overtired from the pursuit of pitter-patter?
Click on the images below to see them larger.
What are you looking at?I don’t like how that bird is looking at mezzzzzzzzzzzzLet’s get a view from higher upNow everyone is beneath me!
These images were all shot on the Sony 200-600mm G on a Sony A7RV in Animal subject recognition mode. It was not the ideal lens when one is rather close to lions, though – even 200mm can be a bit long sometimes!
In case you are wondering, the alert lioness is the mother, while the less alert is her daughter.
That final perch is a long way from the ground. I’m not sure if it’s 4 or 5 metres up. Quite intimidating when 100kg of lion is that high up!
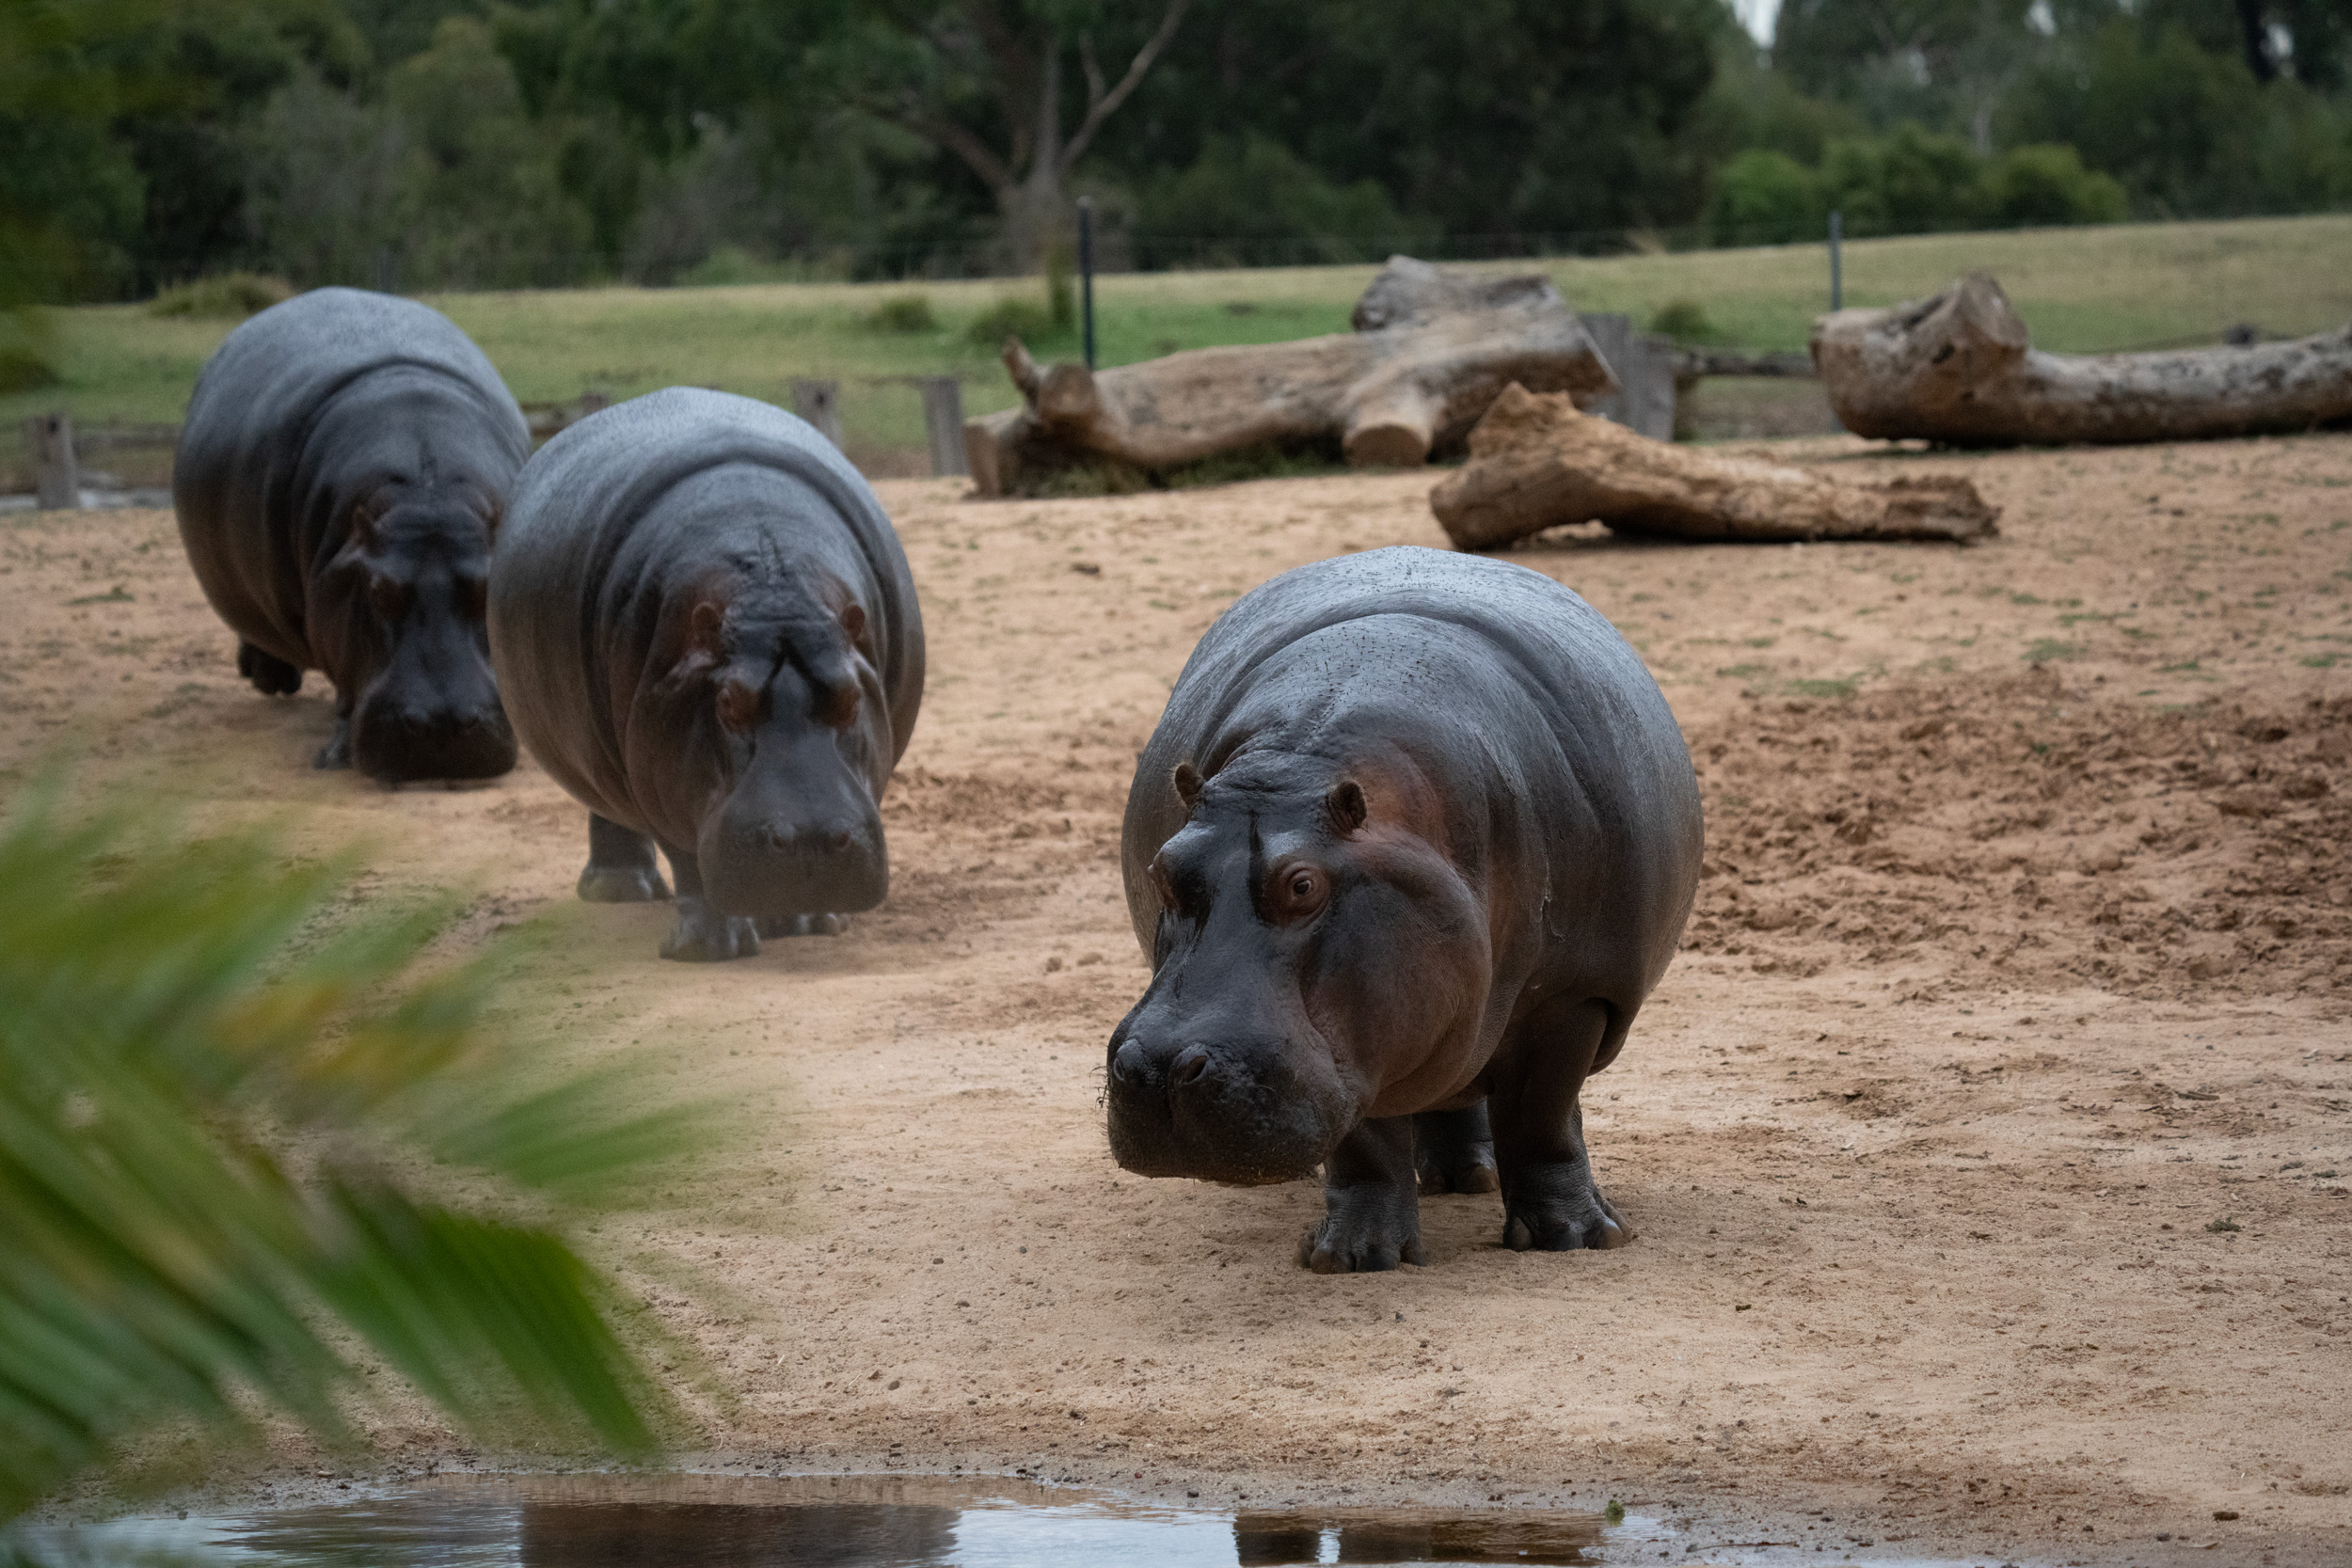
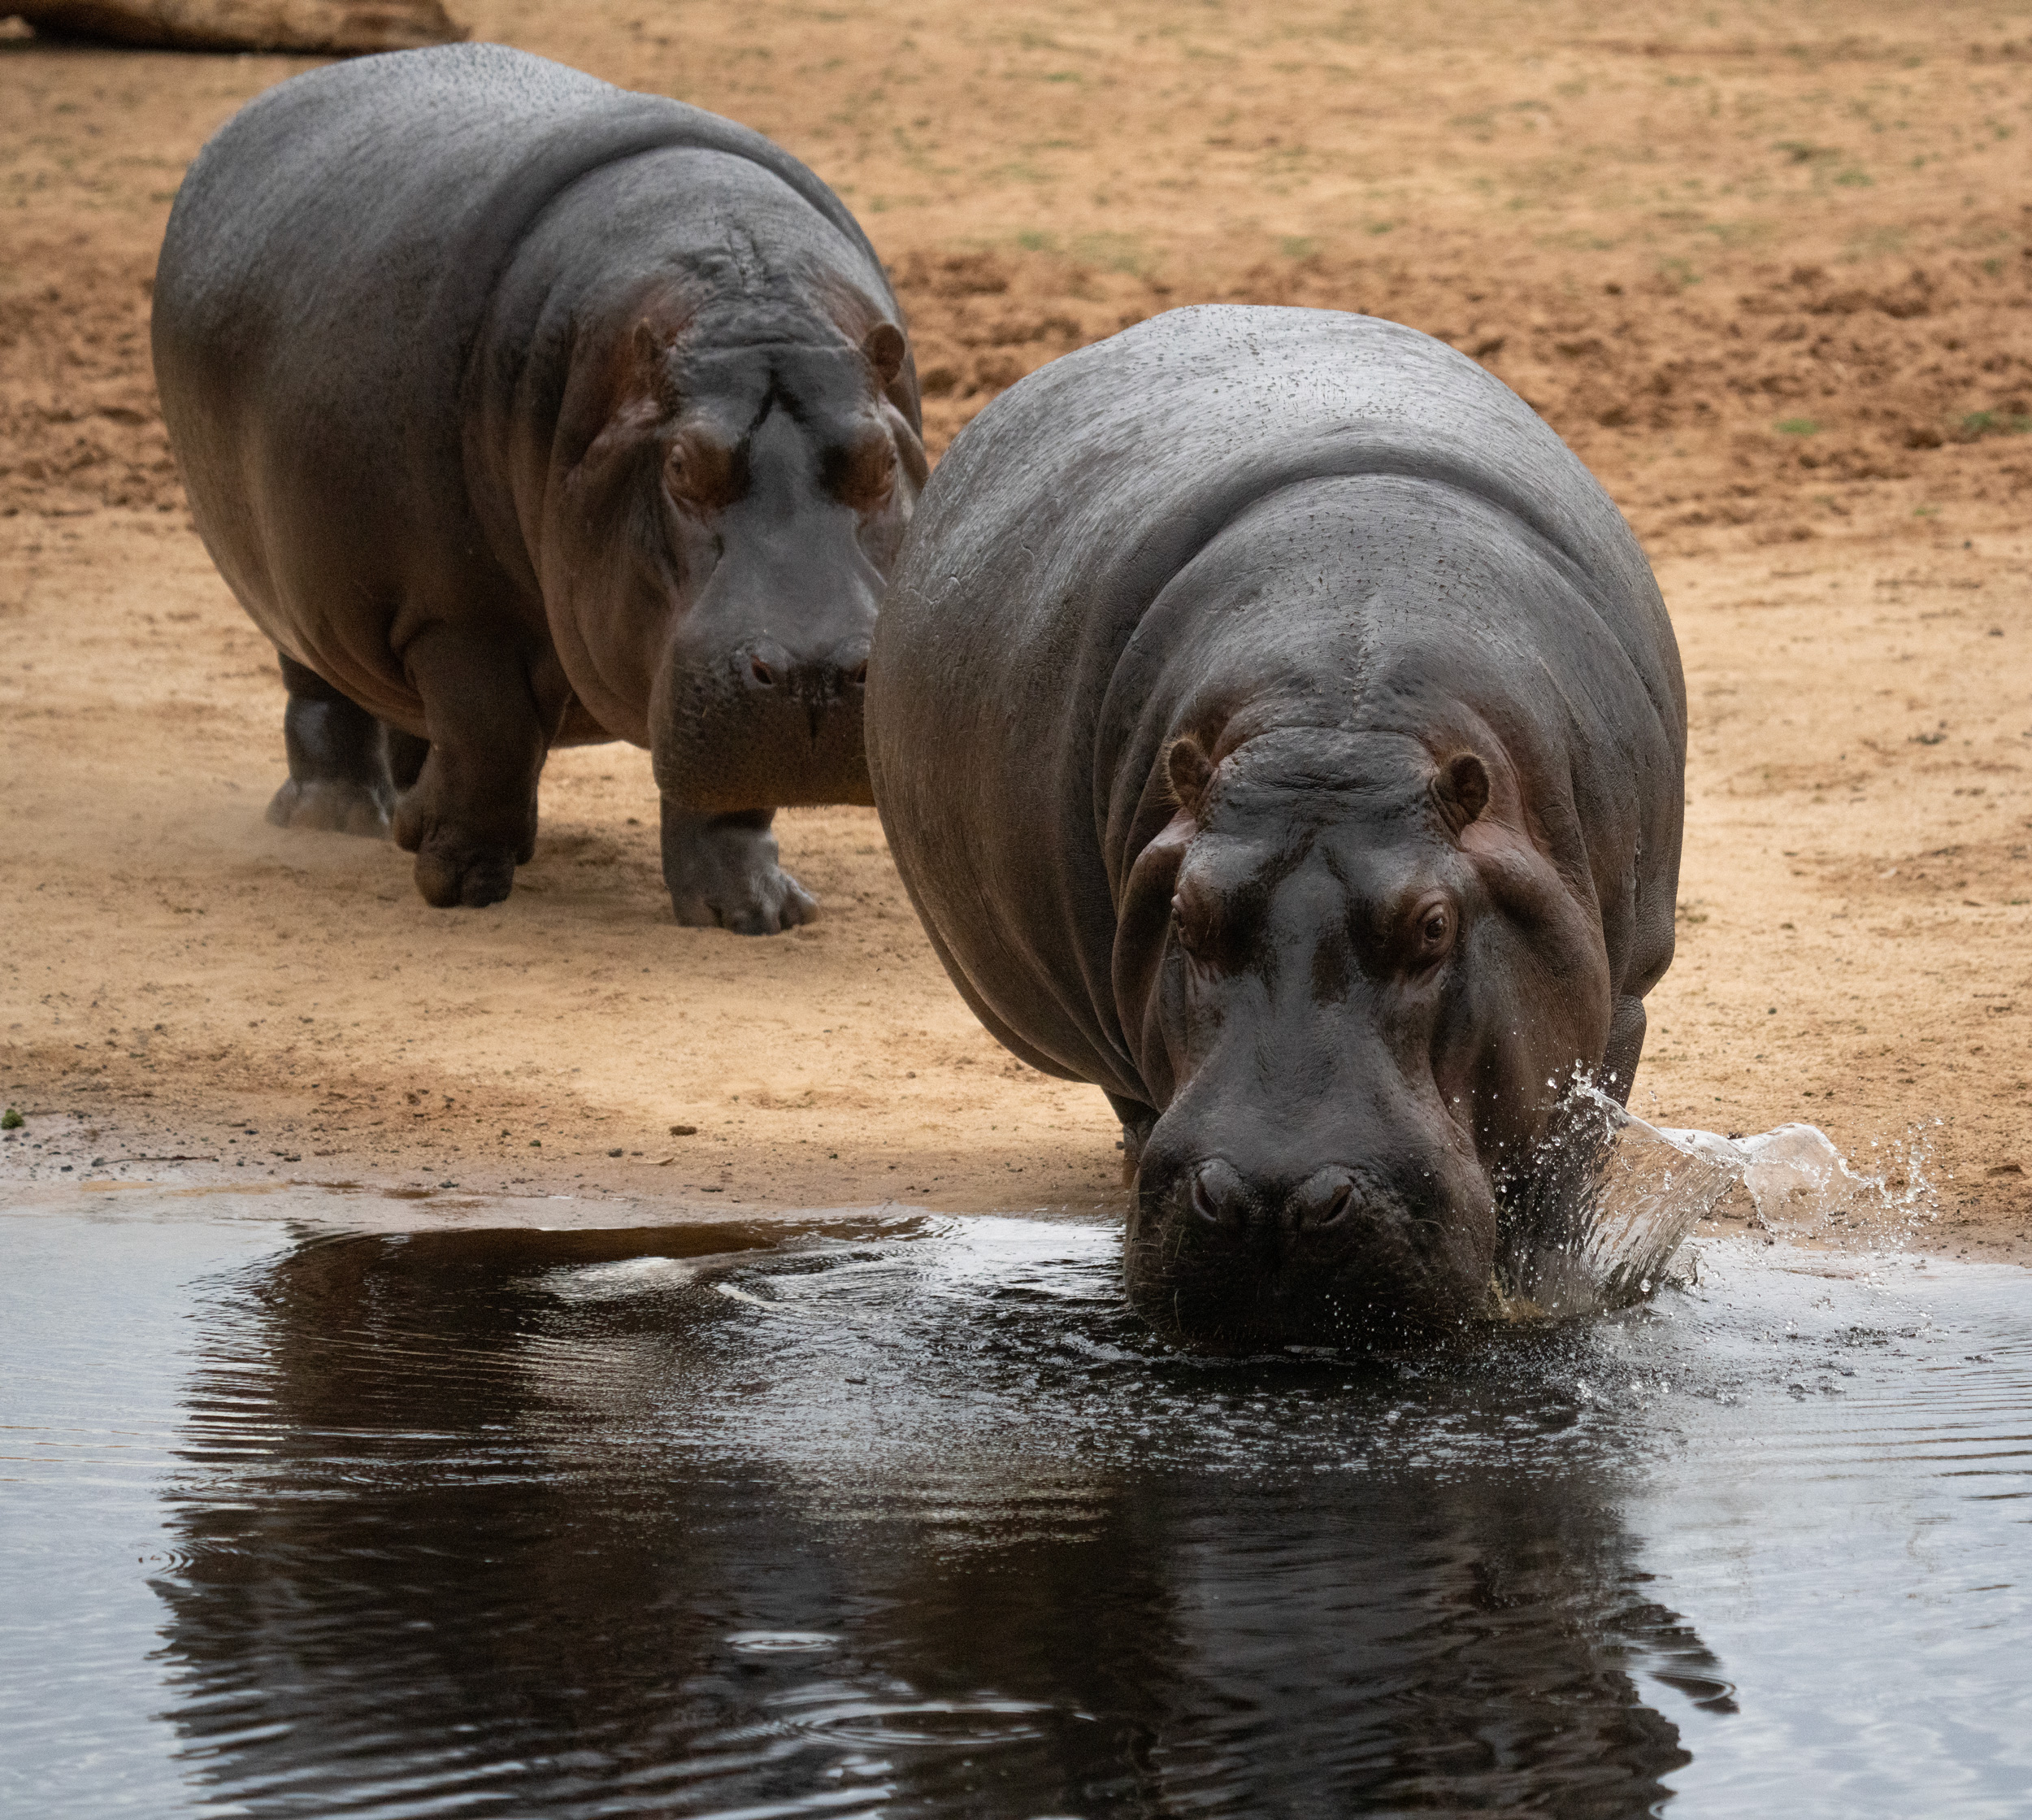
These hippos at Werribee Open Range Zoo are a mother and two daughters. They had been out for a bit, and decided it was time to get wet. Not a radical decision for a hippo.
Click on the images below to see them larger.
211mm, f/5.6, 1/2000, ISO 5000200mm, f/5.6, 1/2000, ISO 5000470mm, f/6.3, 1/1600, ISO 12800
These images were all shot on the Sony 200-600mm G on a Sony A7RV in Animal subject recognition mode, which locked onto the lead hippo’s eye in each case. I’ve put the exposure details on each image.
That’s quite a splash from a single hippo foot in the second image
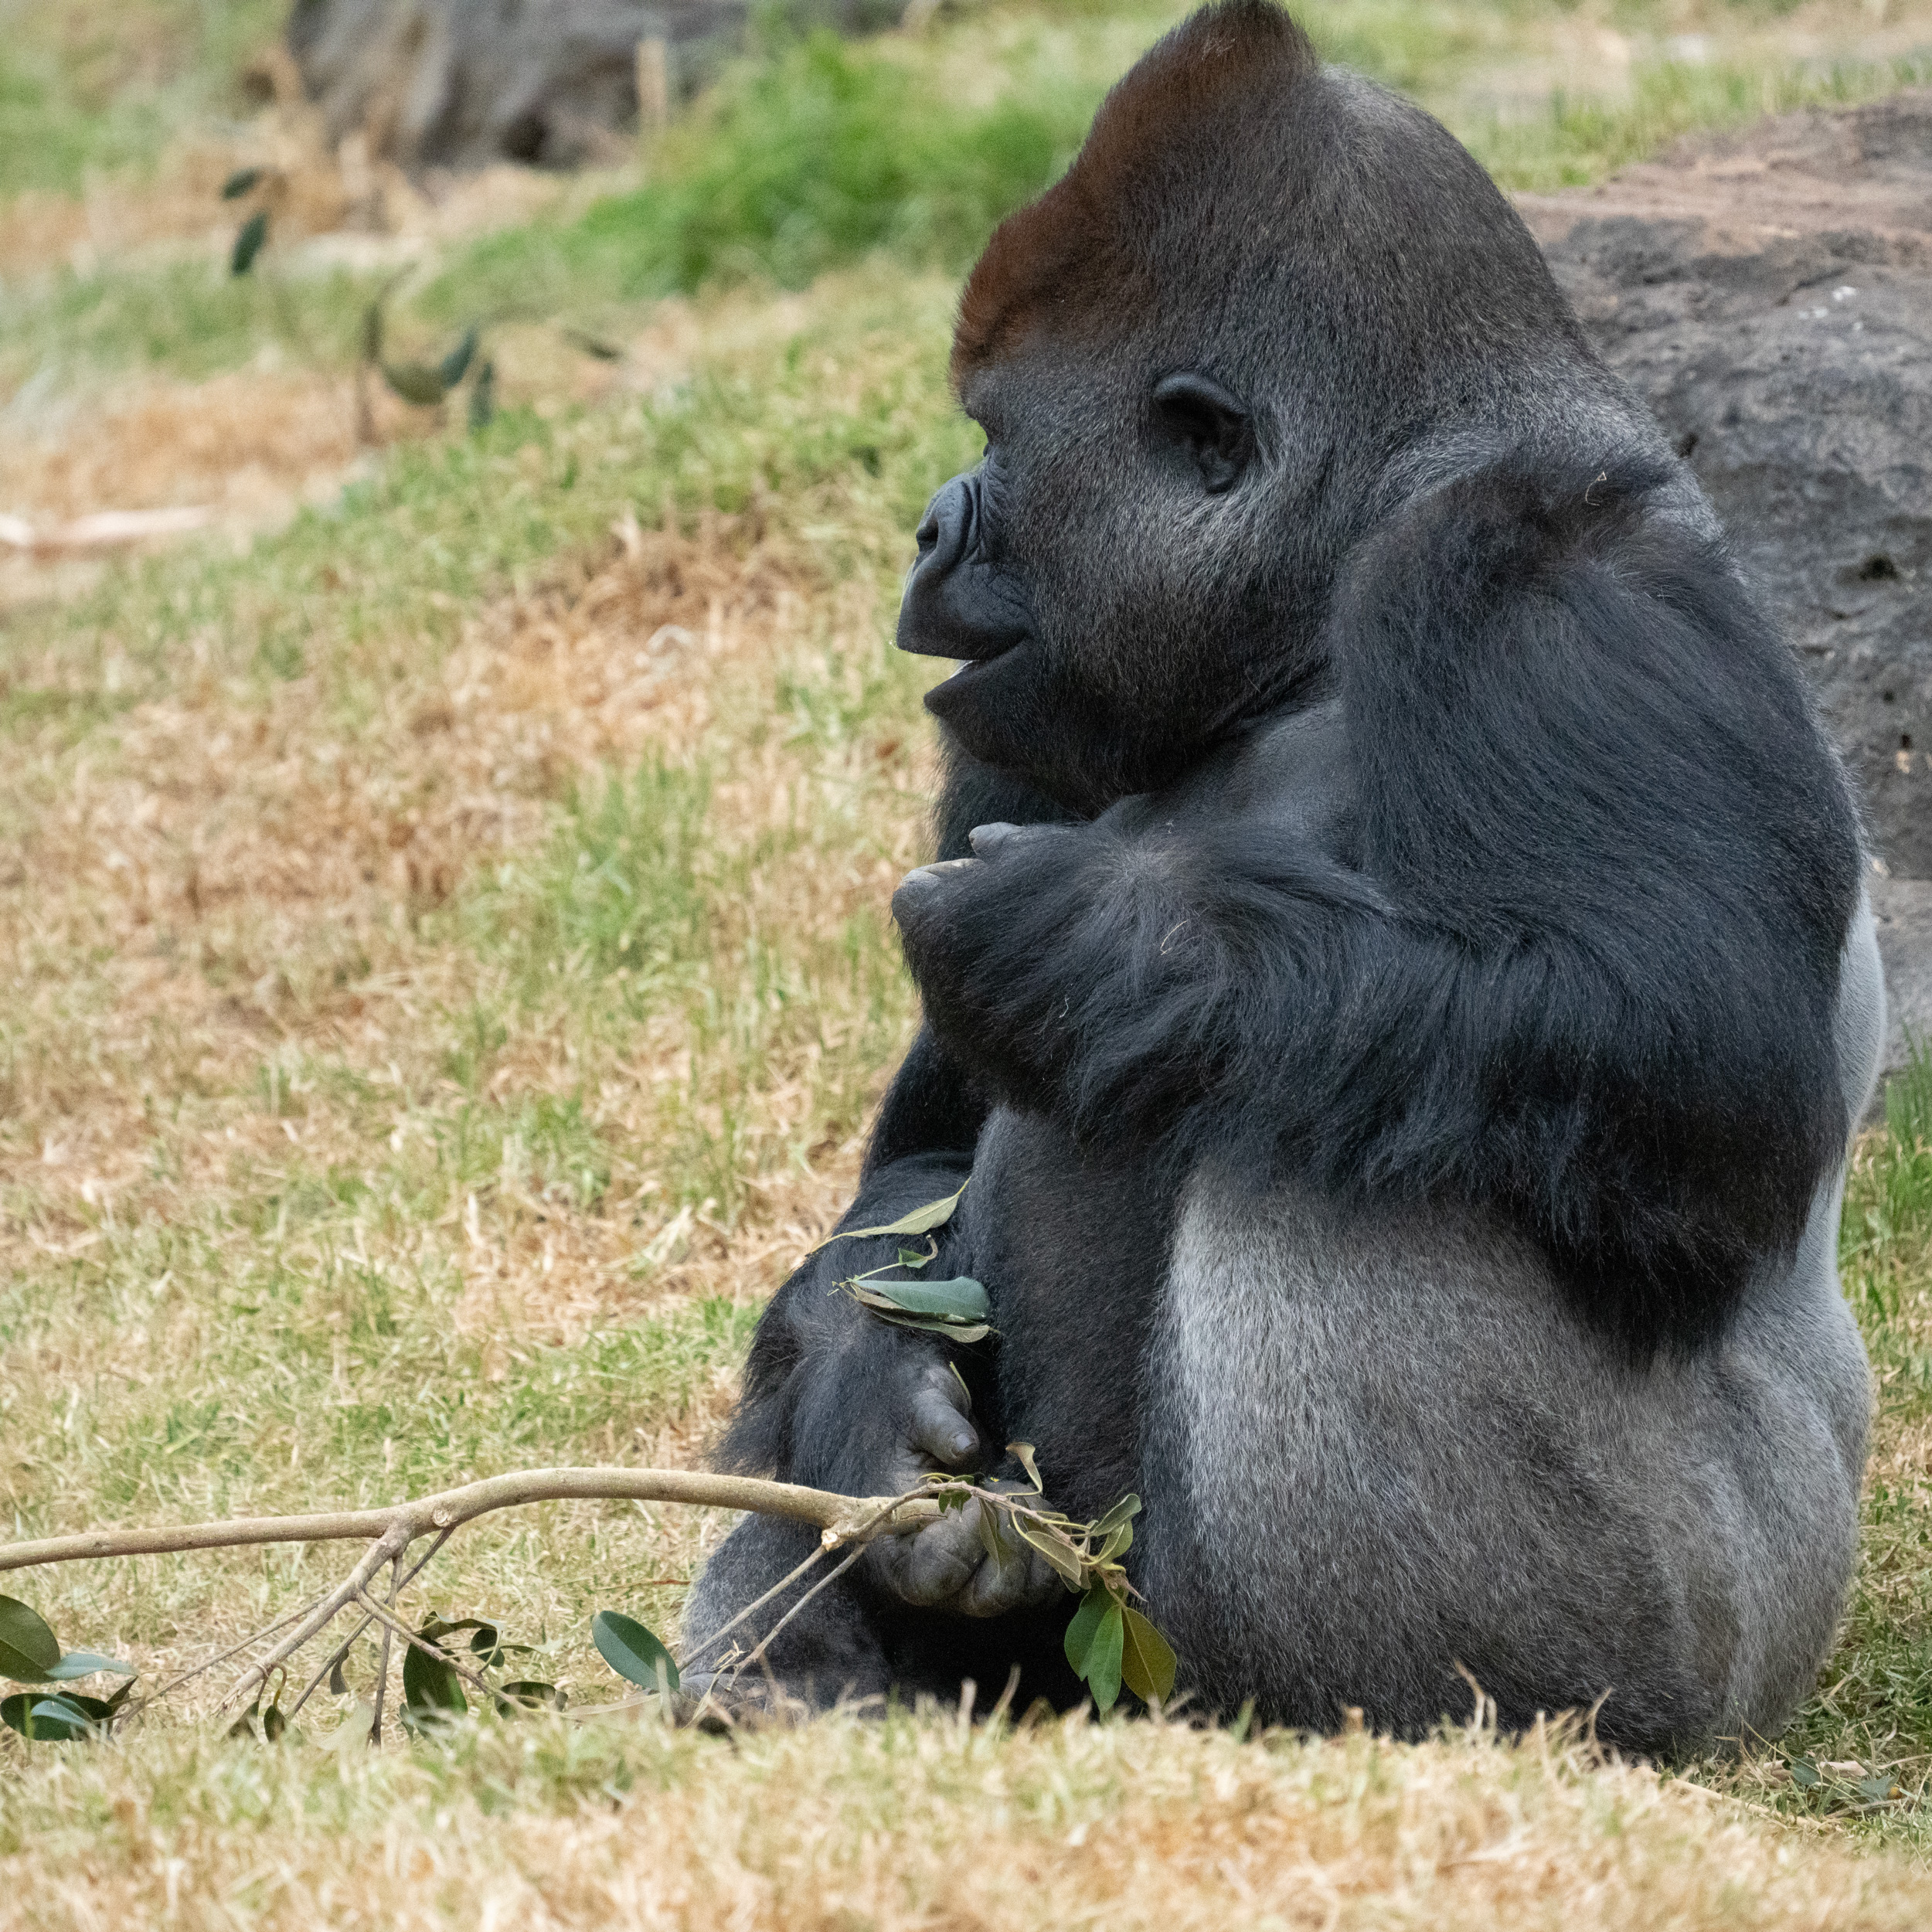
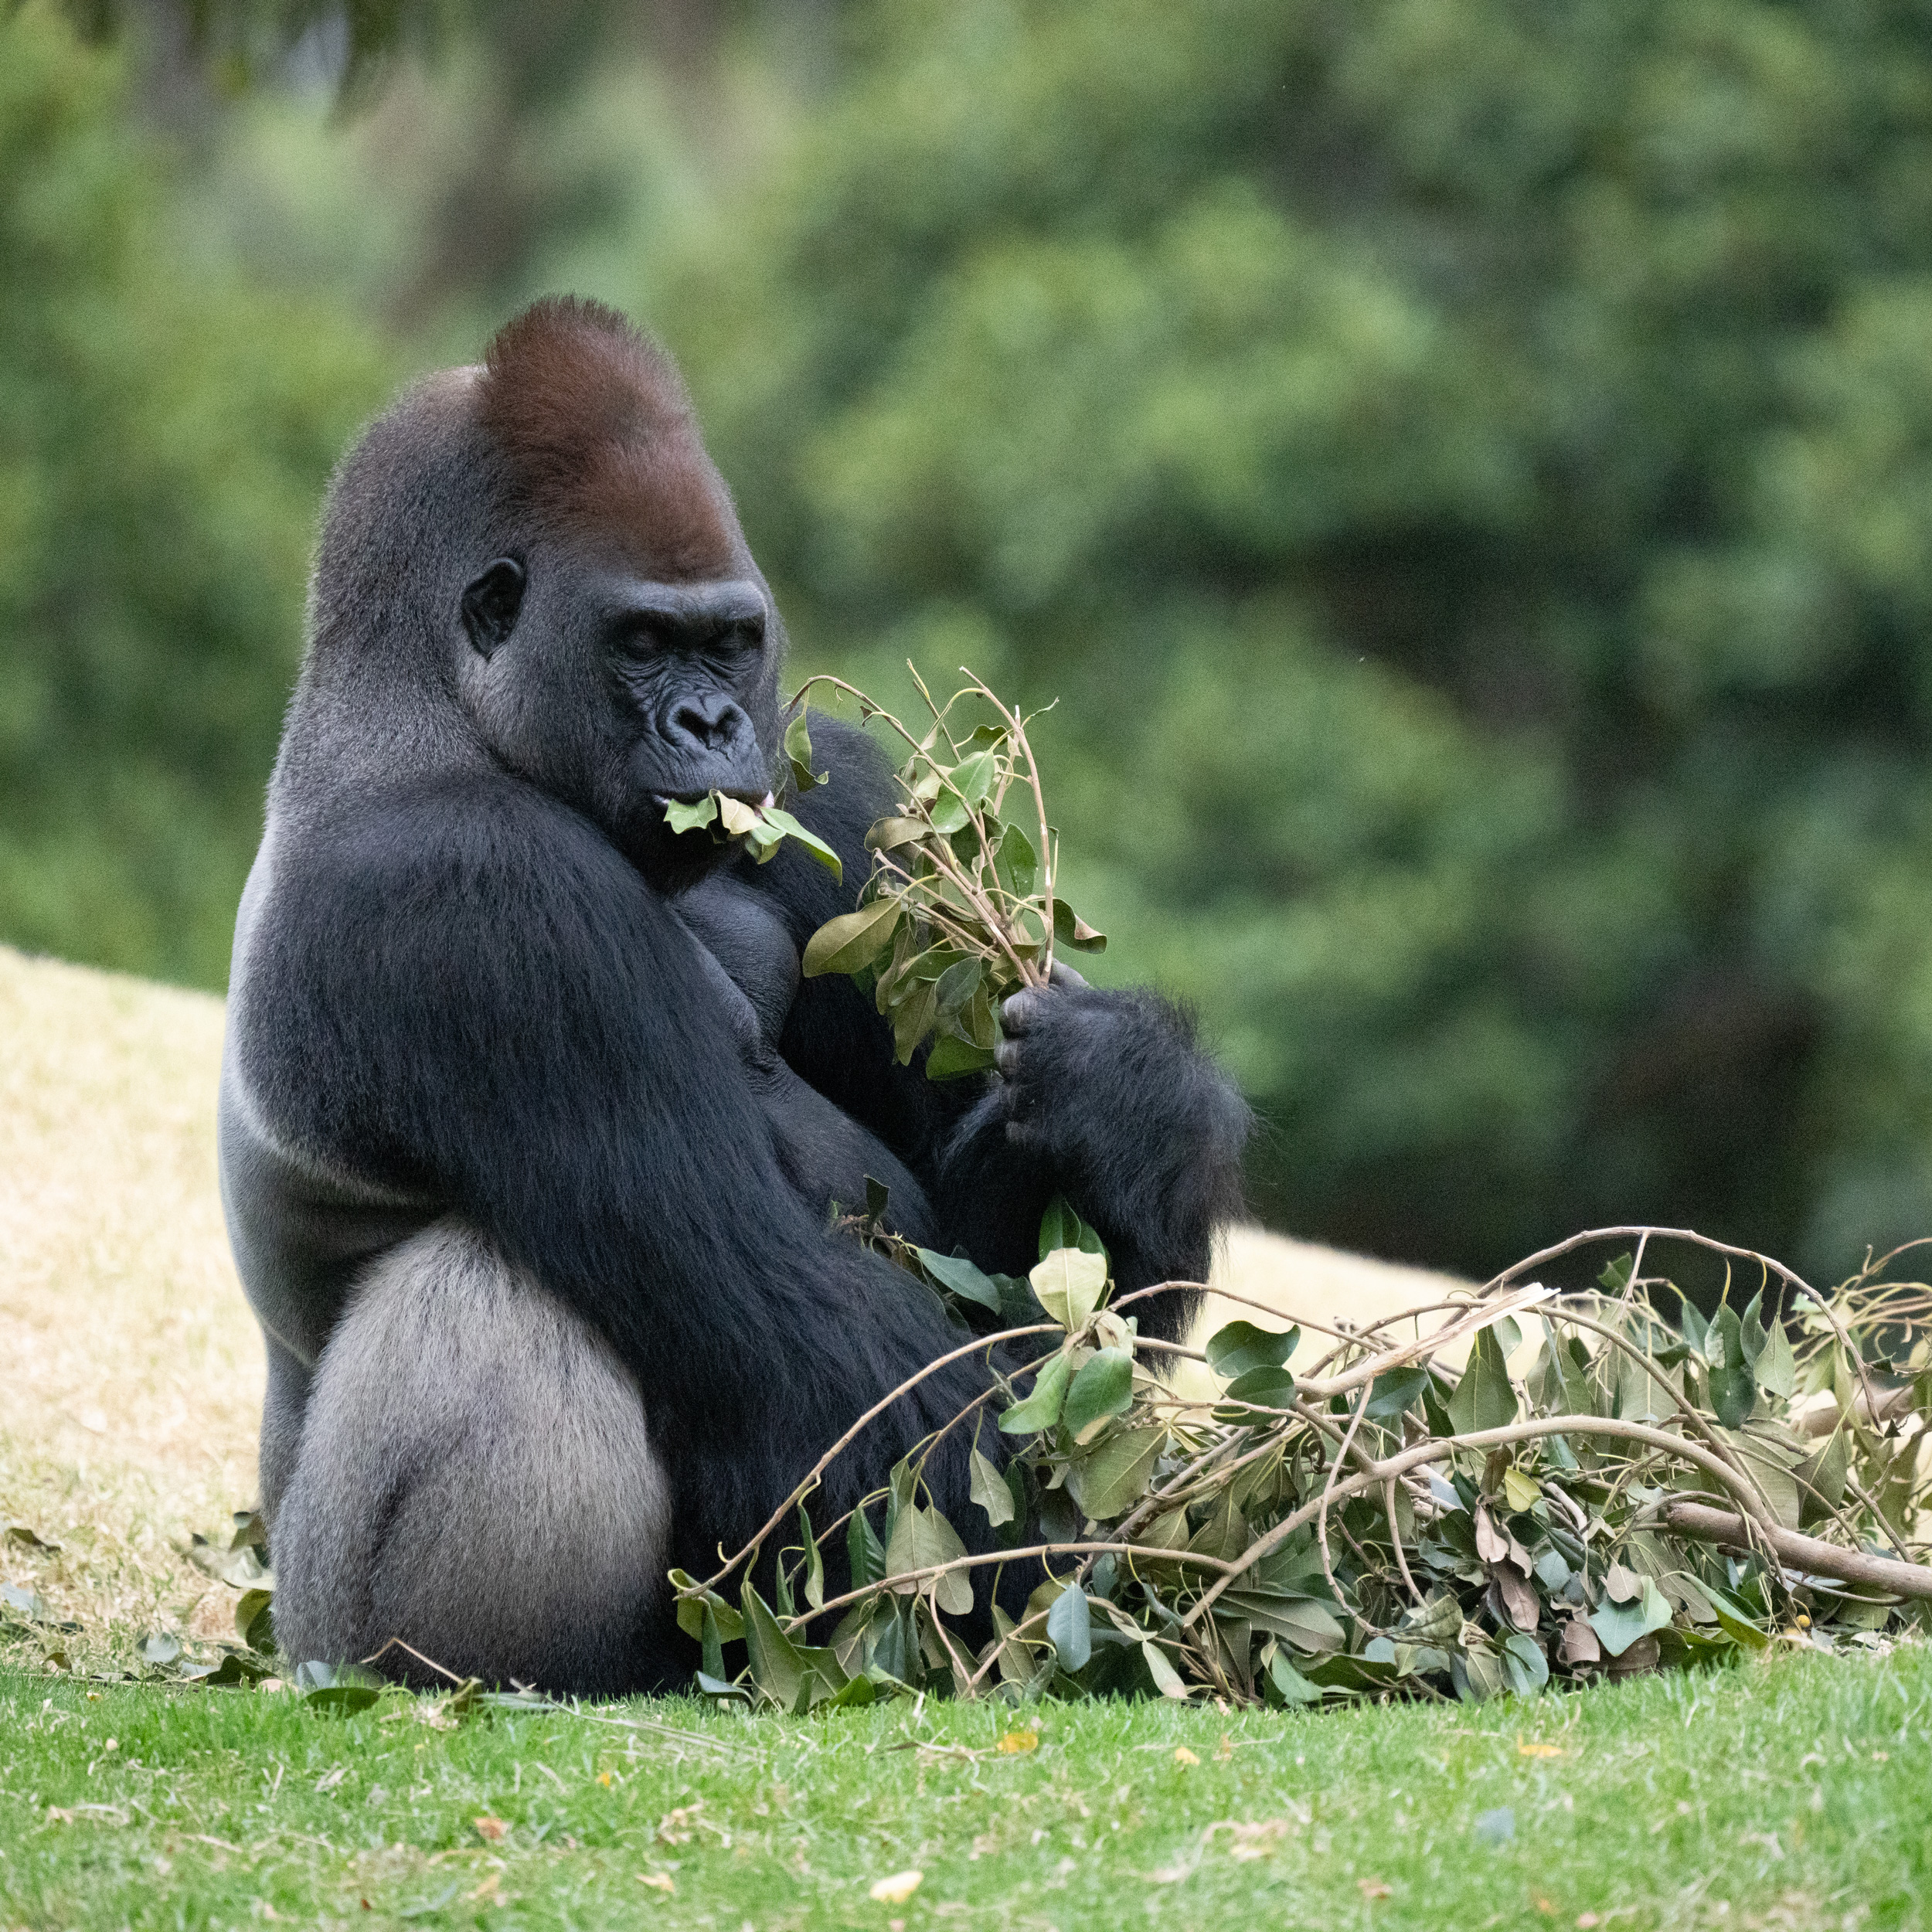
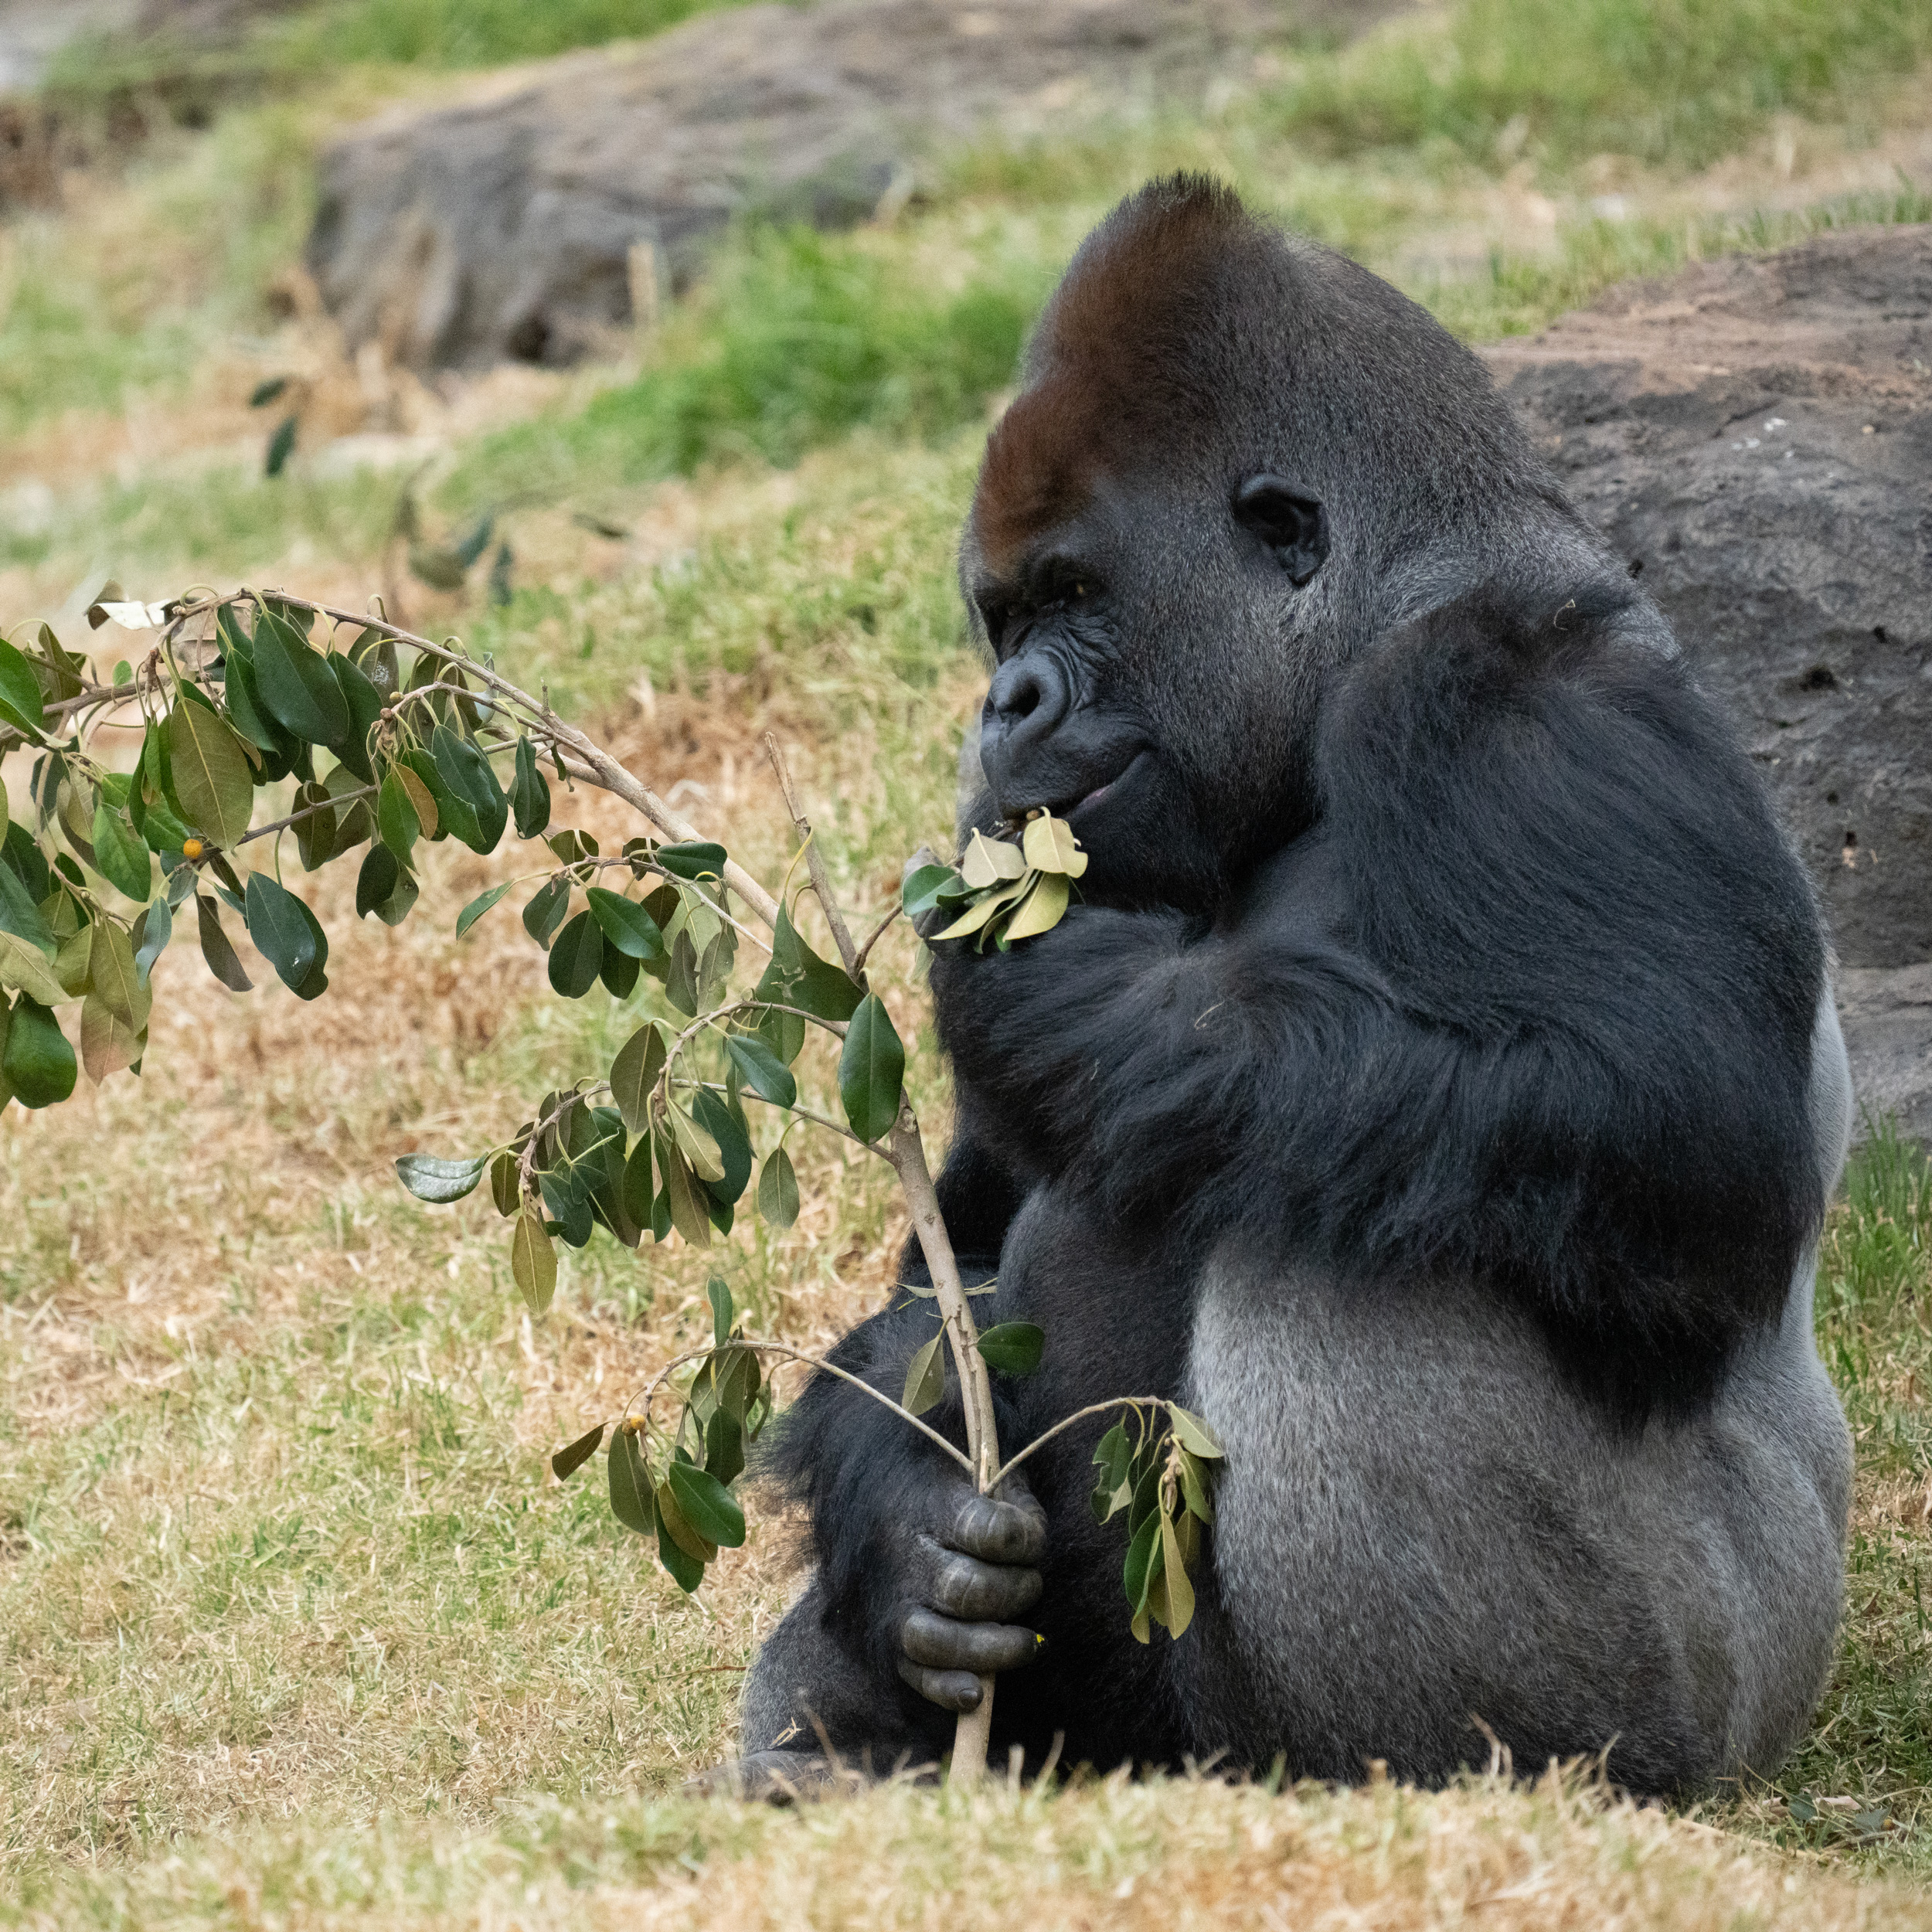
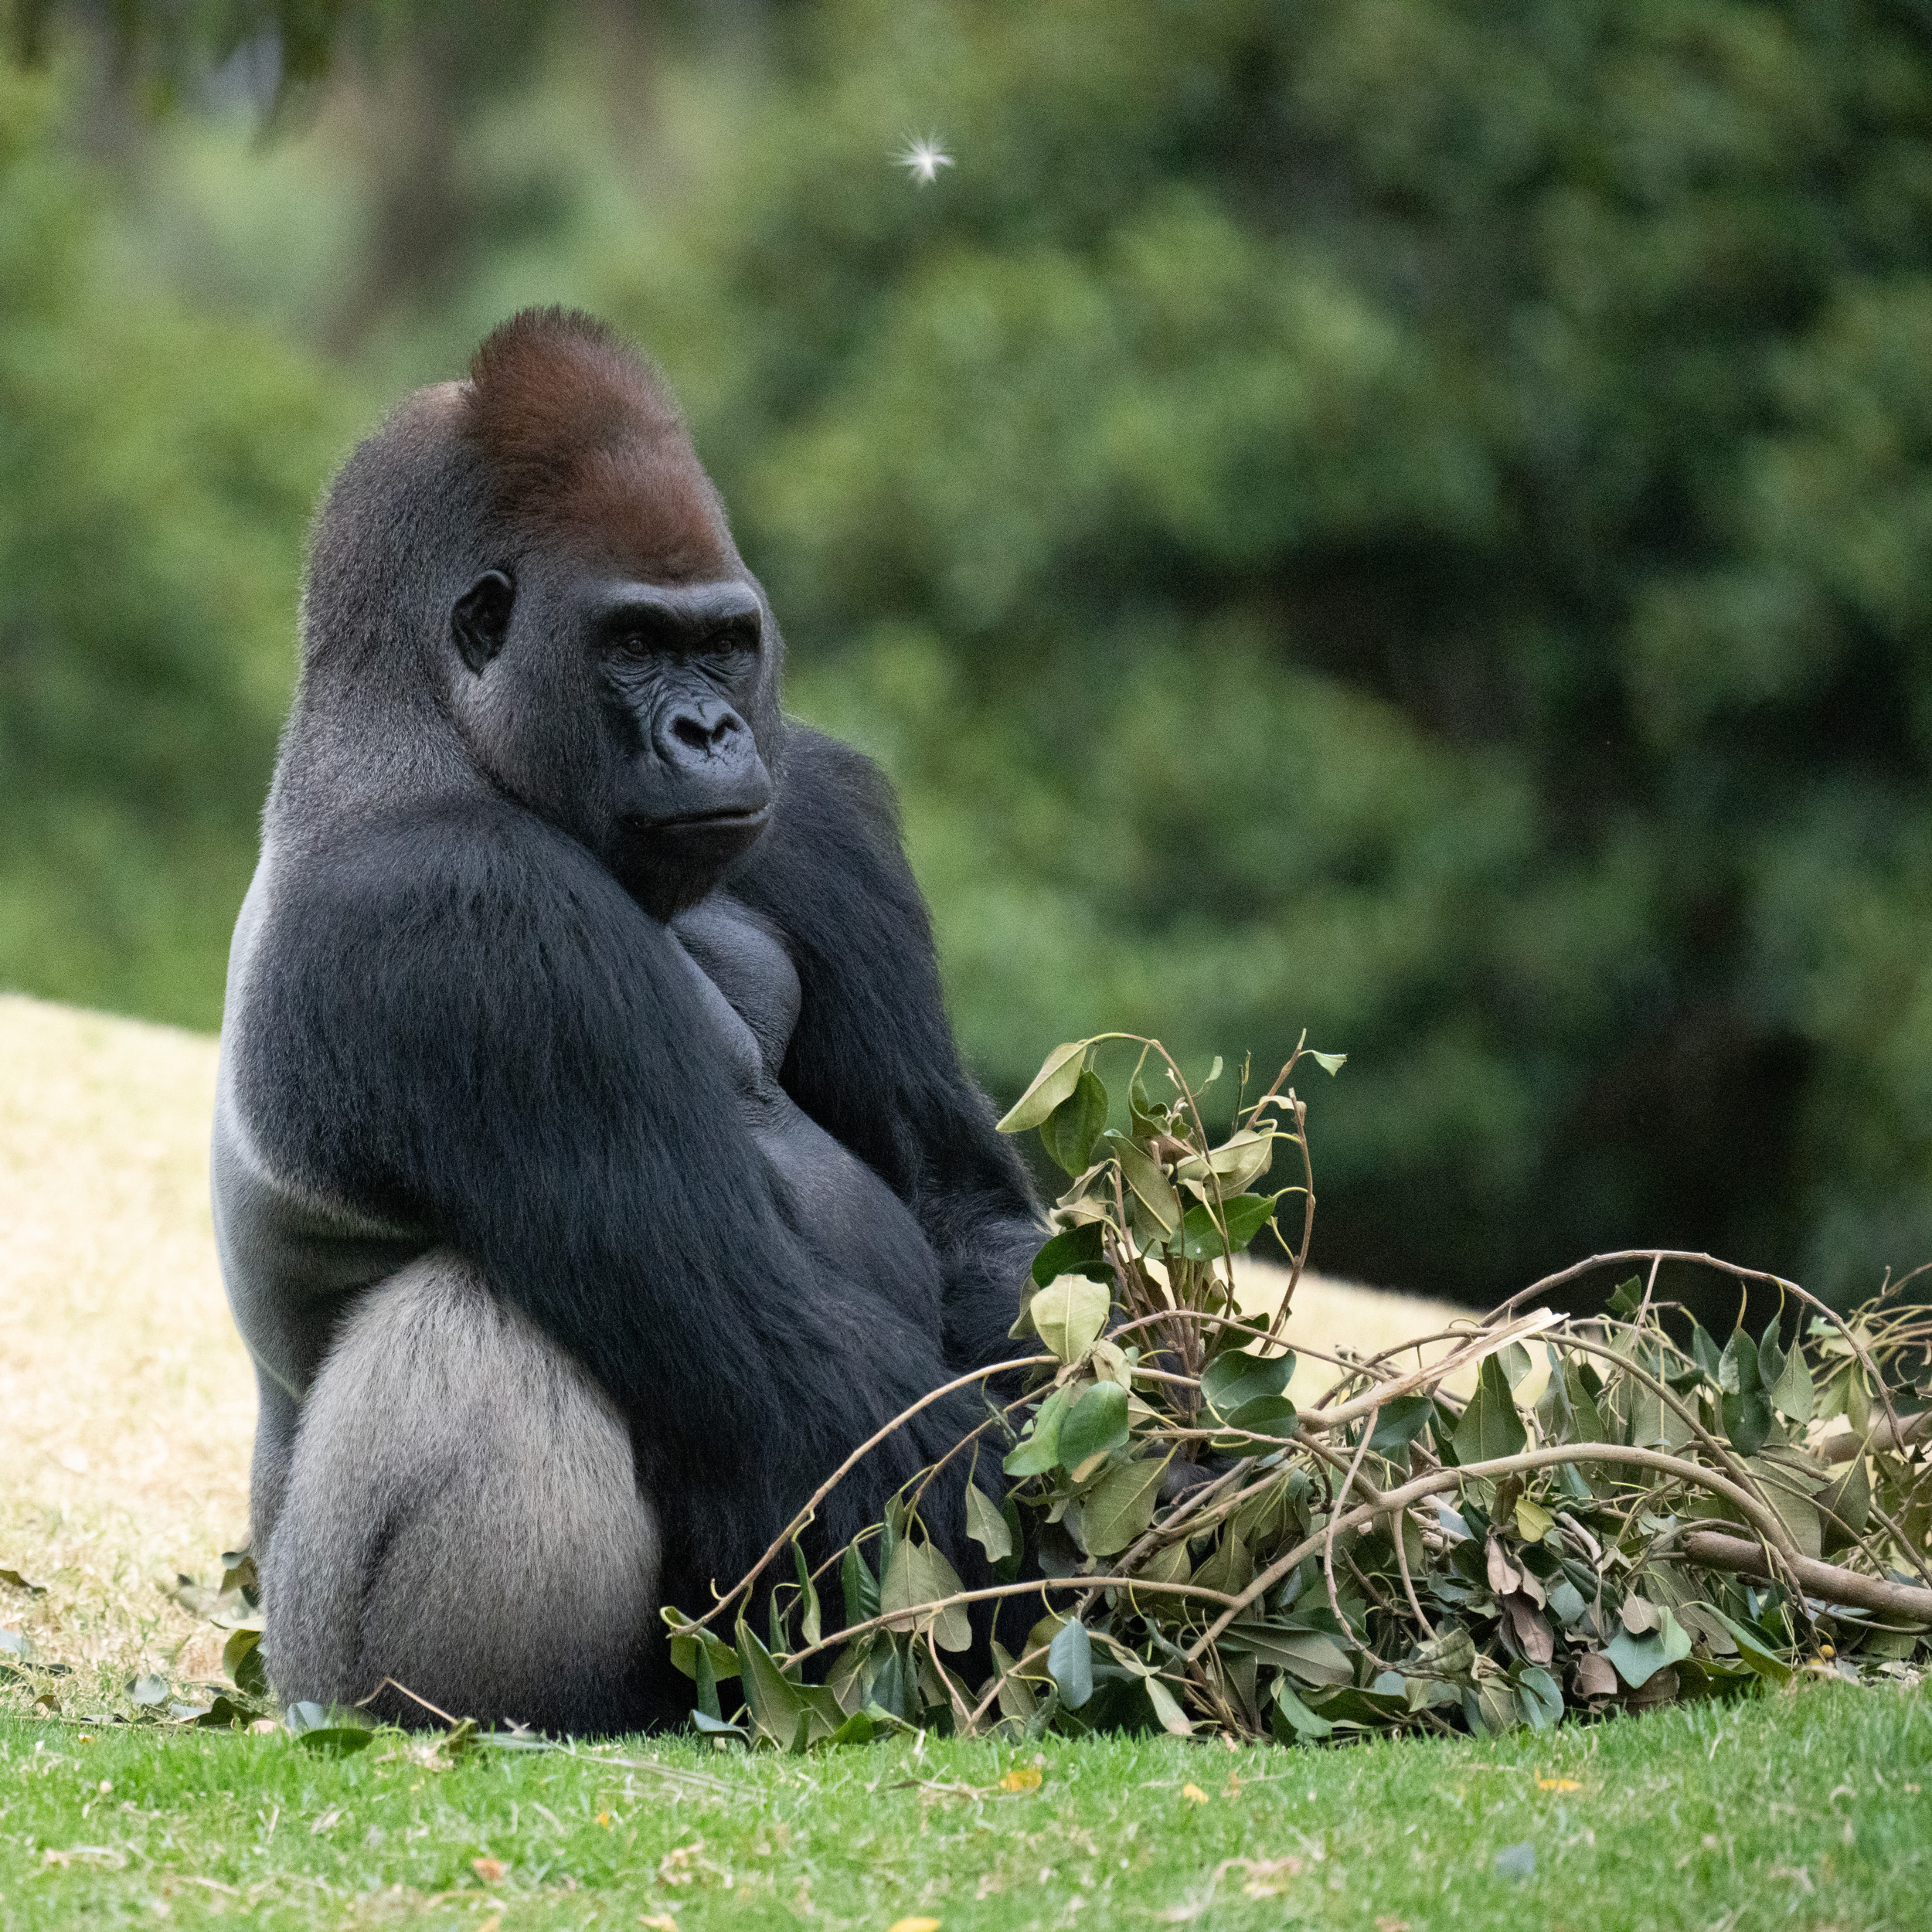
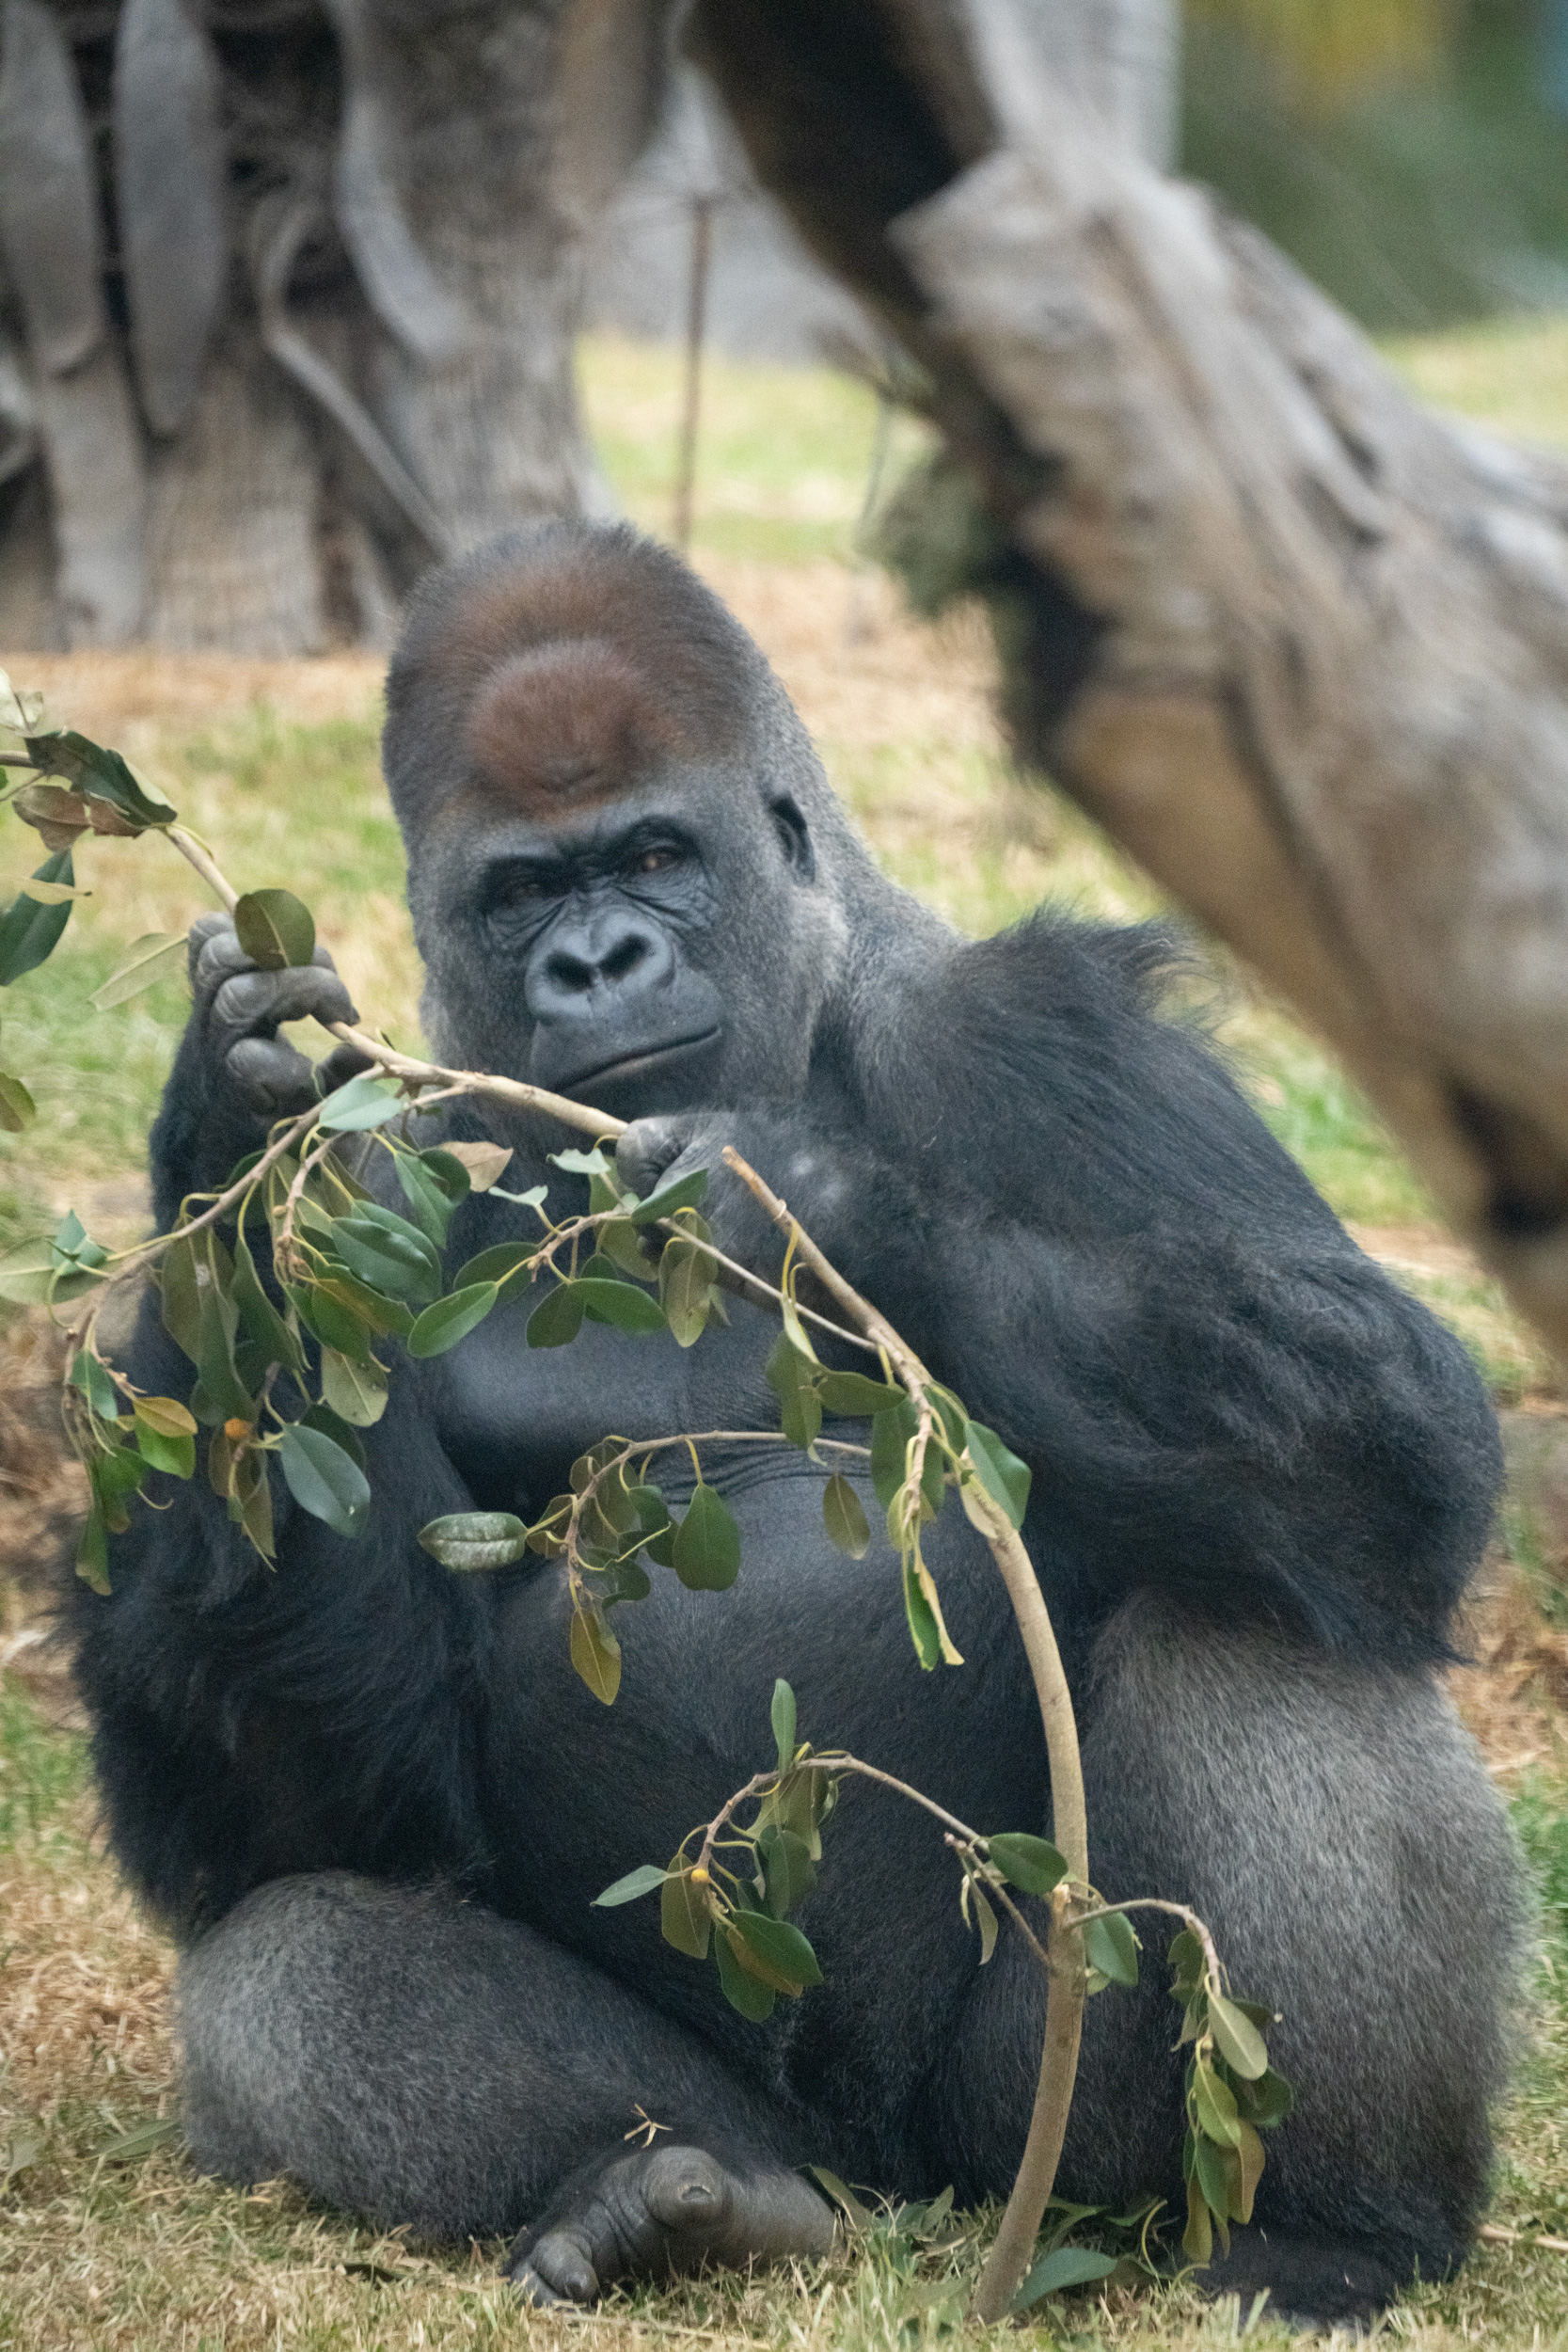
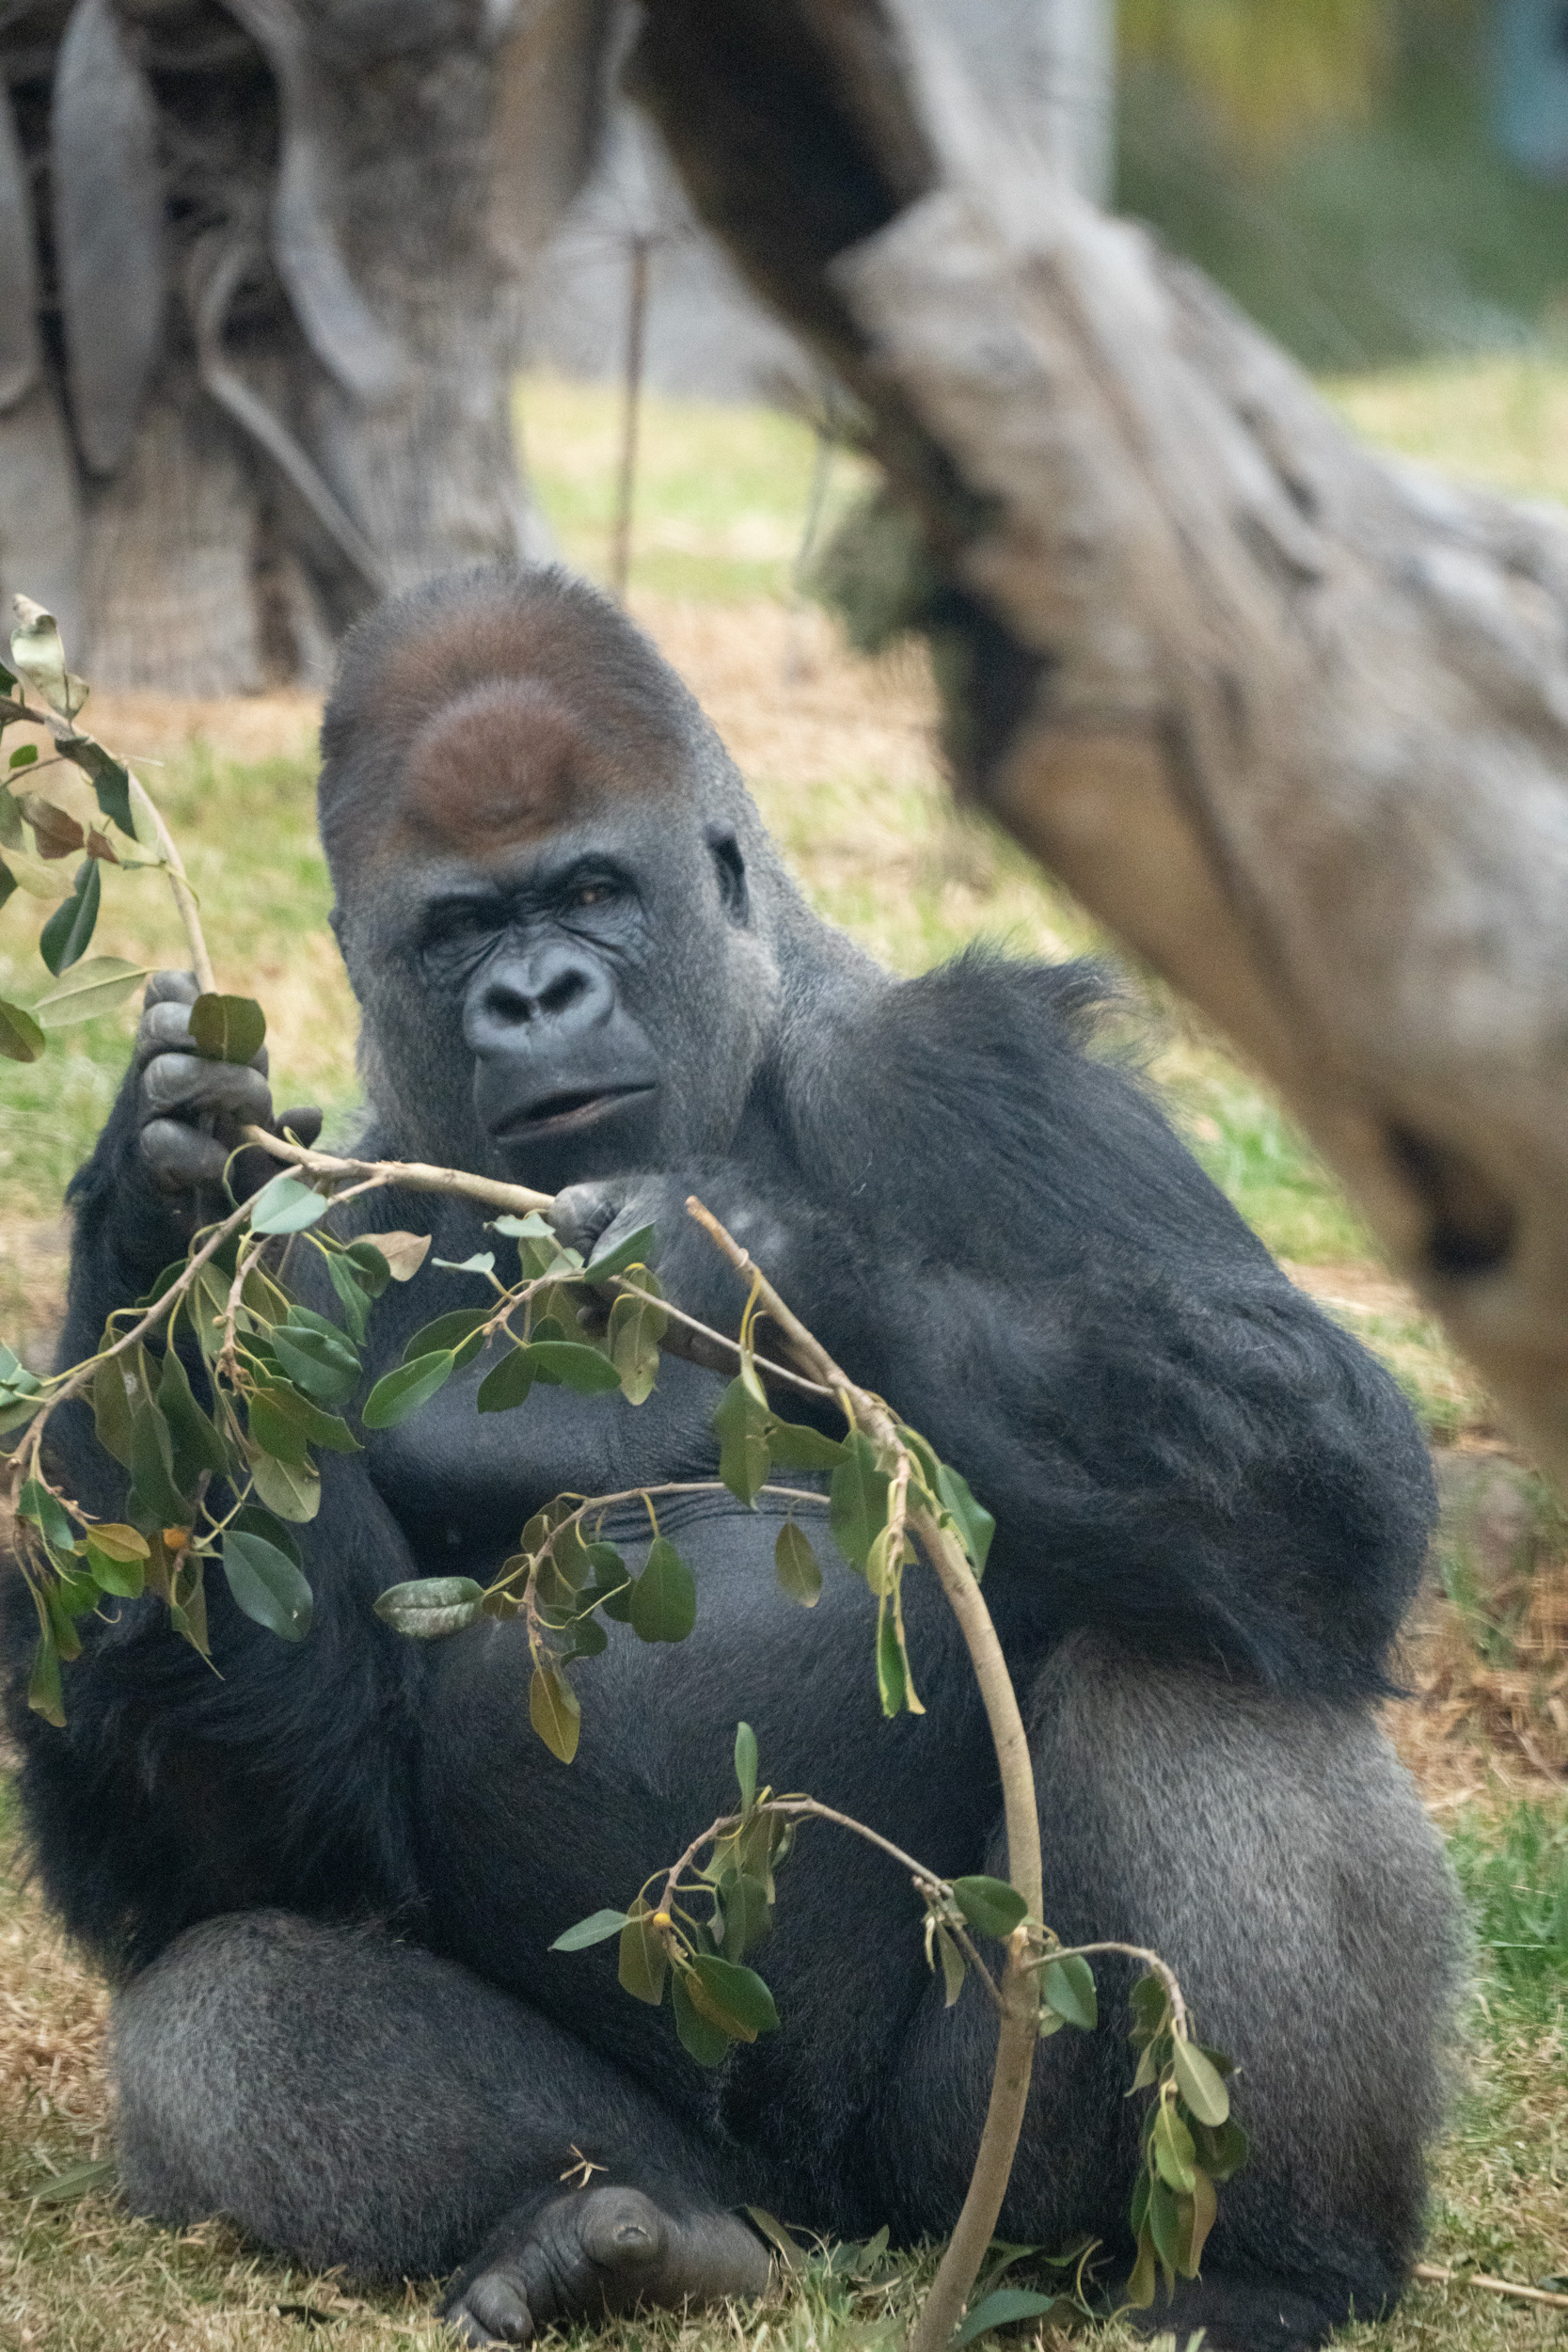
The gorillas at Werribee Open Range Zoo are a bachelor group, consisting of a father and an older and younger brother. When I visited late this morning they were enjoying an early lunch. I got a variety of expressions, and using the latest scientific tools (or an over-active imagination) determined what they were communicating over lunch.
You know what they call the gorilla who hogs most of the food?Munch, munch, what?Munch, FAT!WHAT??At least you can’t be referring to meCan you?
These images were all shot at 600mm on the Sony 200-600mm G, with the lens wide open at f/6.3. I used the Sony A7RV in Animal subject recognition mode. The images were all taken at 1/2000, with auto ISO selecting values from 8000 to 12800 (there was 100% cloud cover).
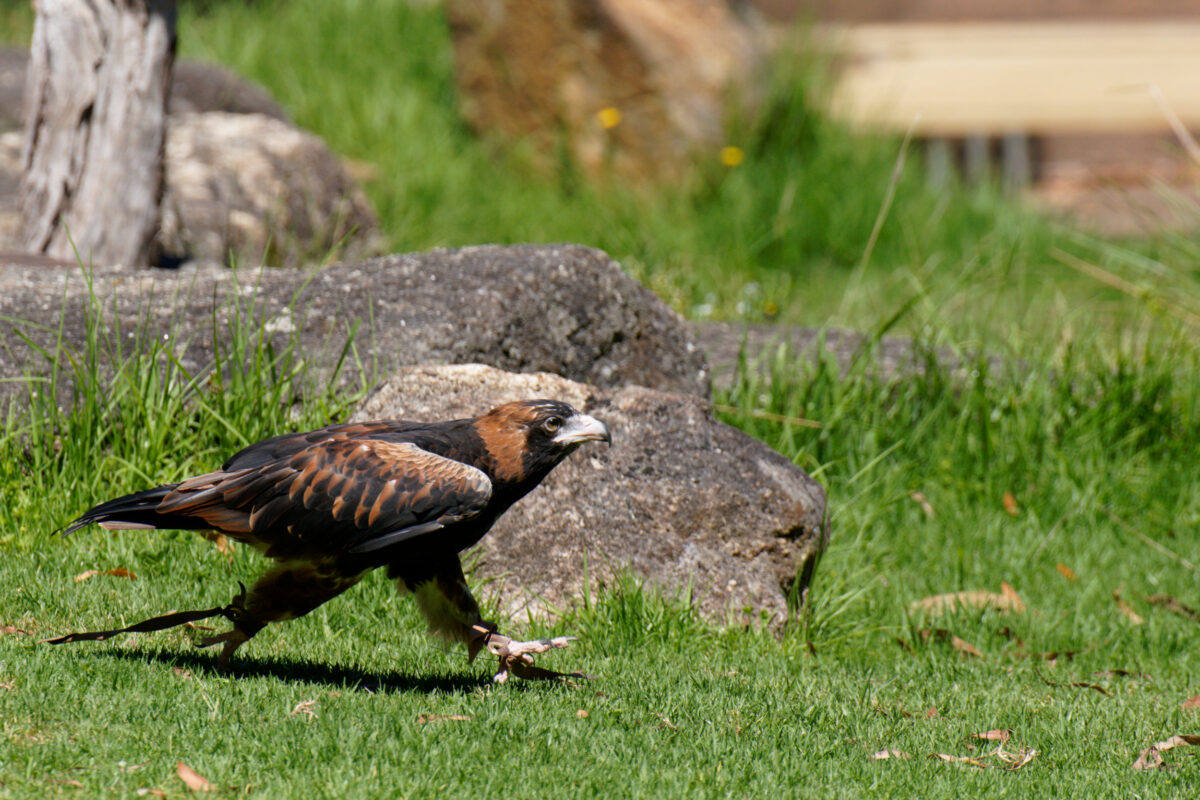
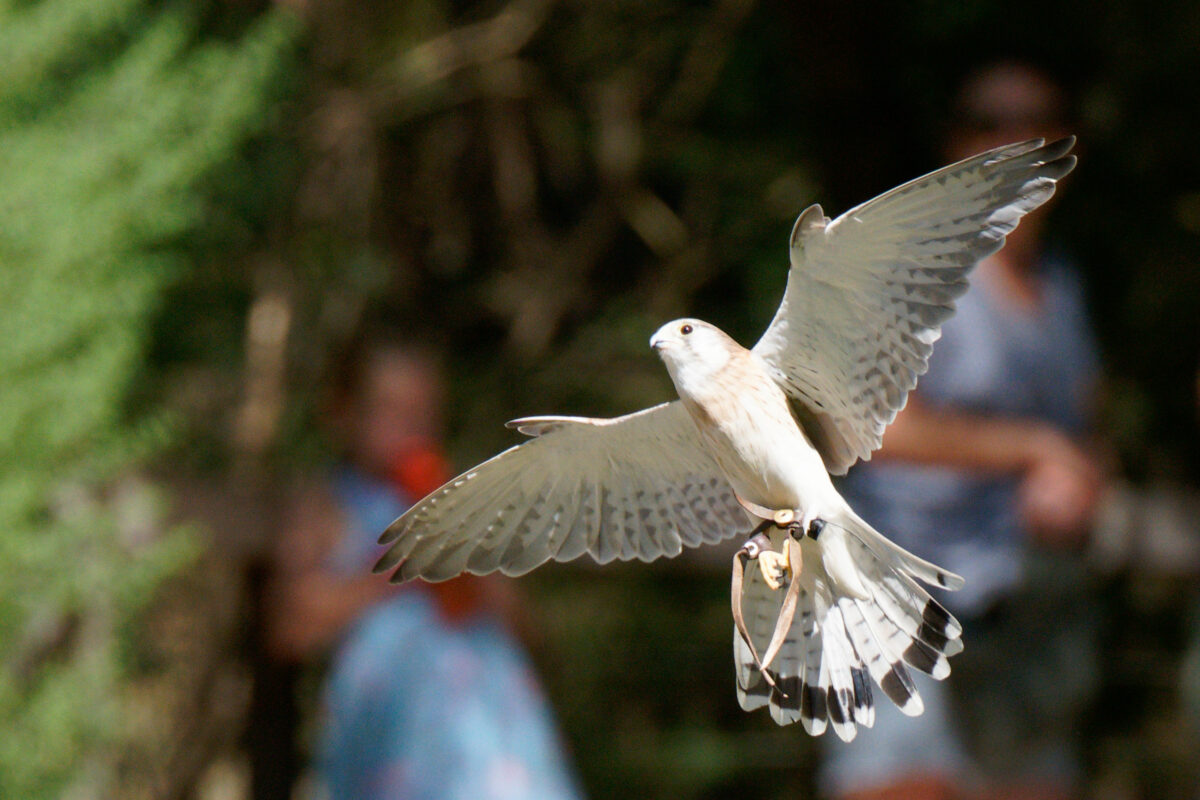
This bird spends more time on the ground than the other raptors we have been looking at. Here is one going for a brisk walk in the sunshine before a snack.
This was shot at ISO 400 at f/5.6, 1/2000 at 280mm on the 70-200mm GM II with a 1.4x teleconverter. I’m using the A7RV, and loving the powerful auto-focus. I’m processing these image using the most recent update of DxO PhotoLab version 5, but I turned off all the options so you can see the image as shot. This is a serious crop from 9505 x 6336 down to 5100 x 3400.
The image above was cropped from a 60Mpixel frame all the way down to just 6Mpixels. It’s quite clear how well the bird eye autofocus is working on the A7RV.
This was shot at ISO 4000 at f/4 at 200mm, 1/2000 using the 70-200mm GM II, without a teleconverter. I’m processing these images using the most recent update of DxO PhotoLab version 5, but the only modification I did was use DeepPrime processing to reduce some noise in the background. I was in an aviary with some light, but not a lot; that is what drove the ISO up to 4000.
You can see why these are also known as rainbow finches.
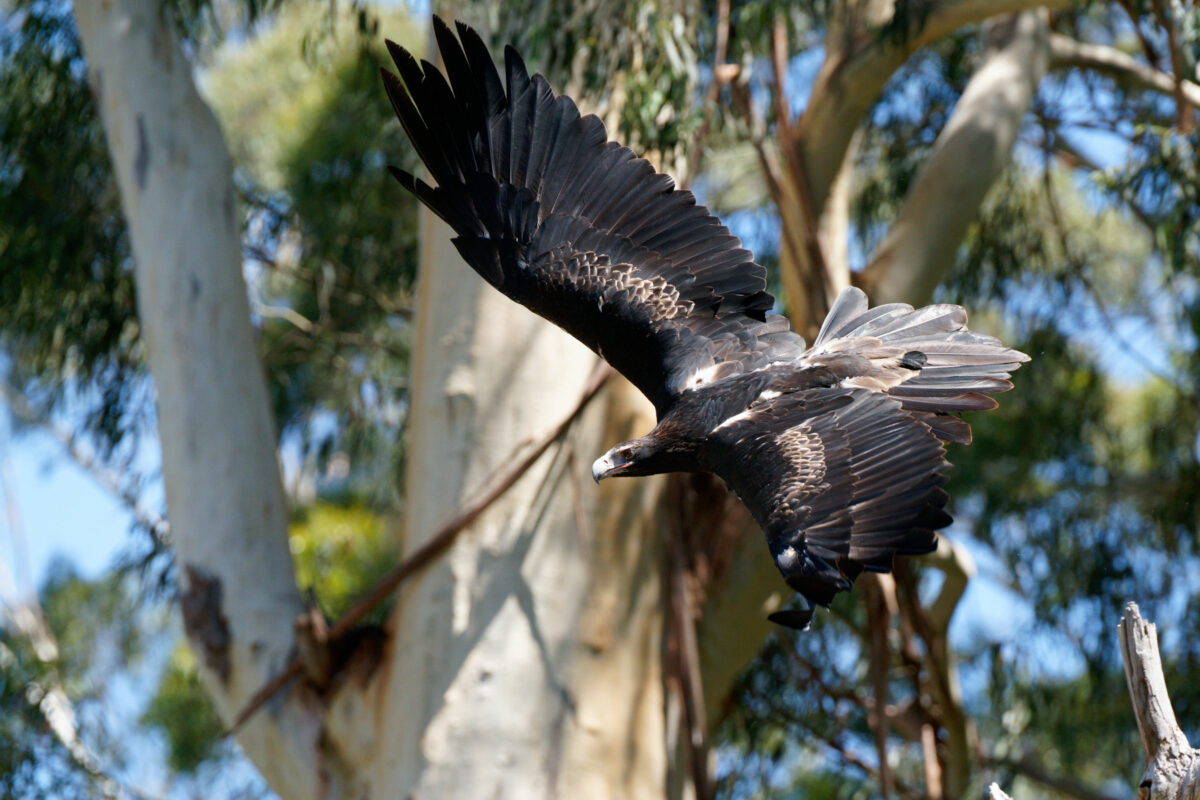
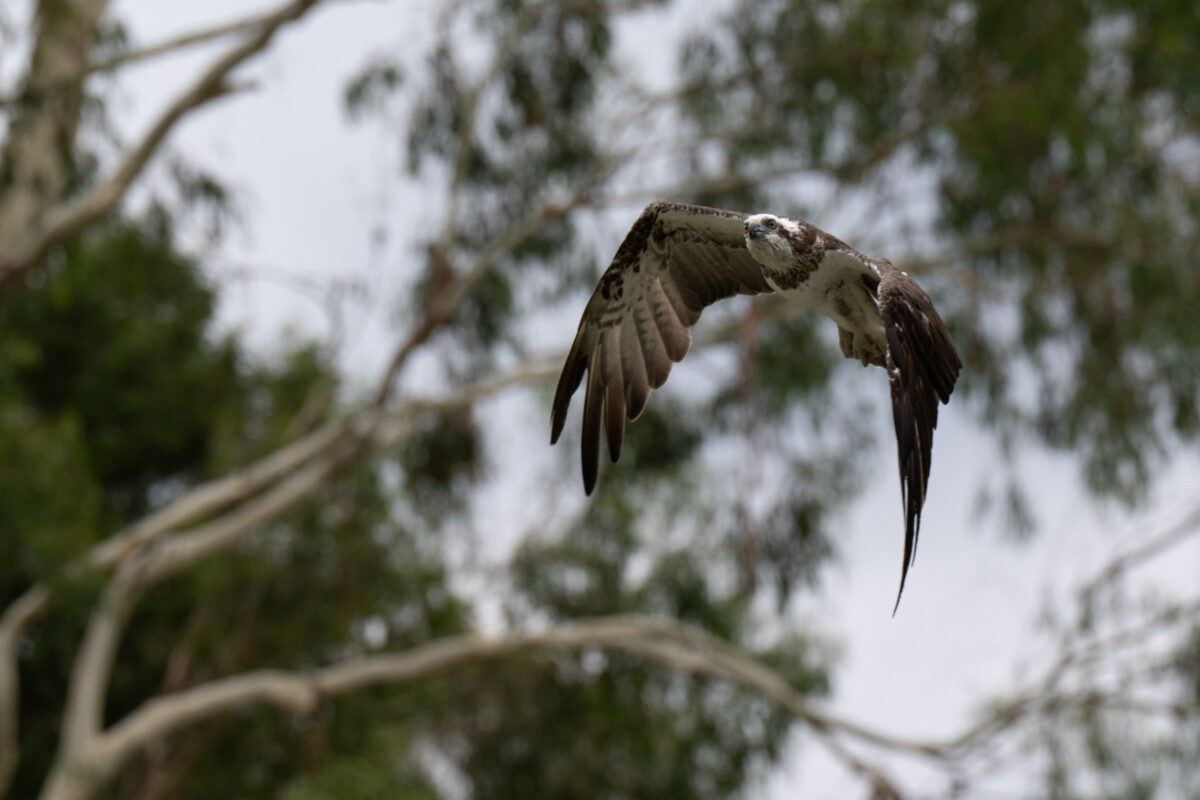
Another image shot at Healesville Sanctuary, using the Sony 70-200mm f/2.8 GM II lens on a 1.4x teleconverter on a Sony A7RV. Last one was the smallest Australian raptor, so let’s jump up to the largest. The last image was heavily cropped, this one is barely cropped: this is a crop from 9504 pixels wide to 8000. One thing the two images do share is the excellent focus achieved by the A7RV.
This was shot at ISO 1000 at f/5.6 at 280mm (full zoom on the lens x 1.4x TC), 1/2000. I’m processing these images using the most recent update of DxO PhotoLab version 5, which is the first to support the A7RV, although I am using none of the corrections that PhotoLab provides.
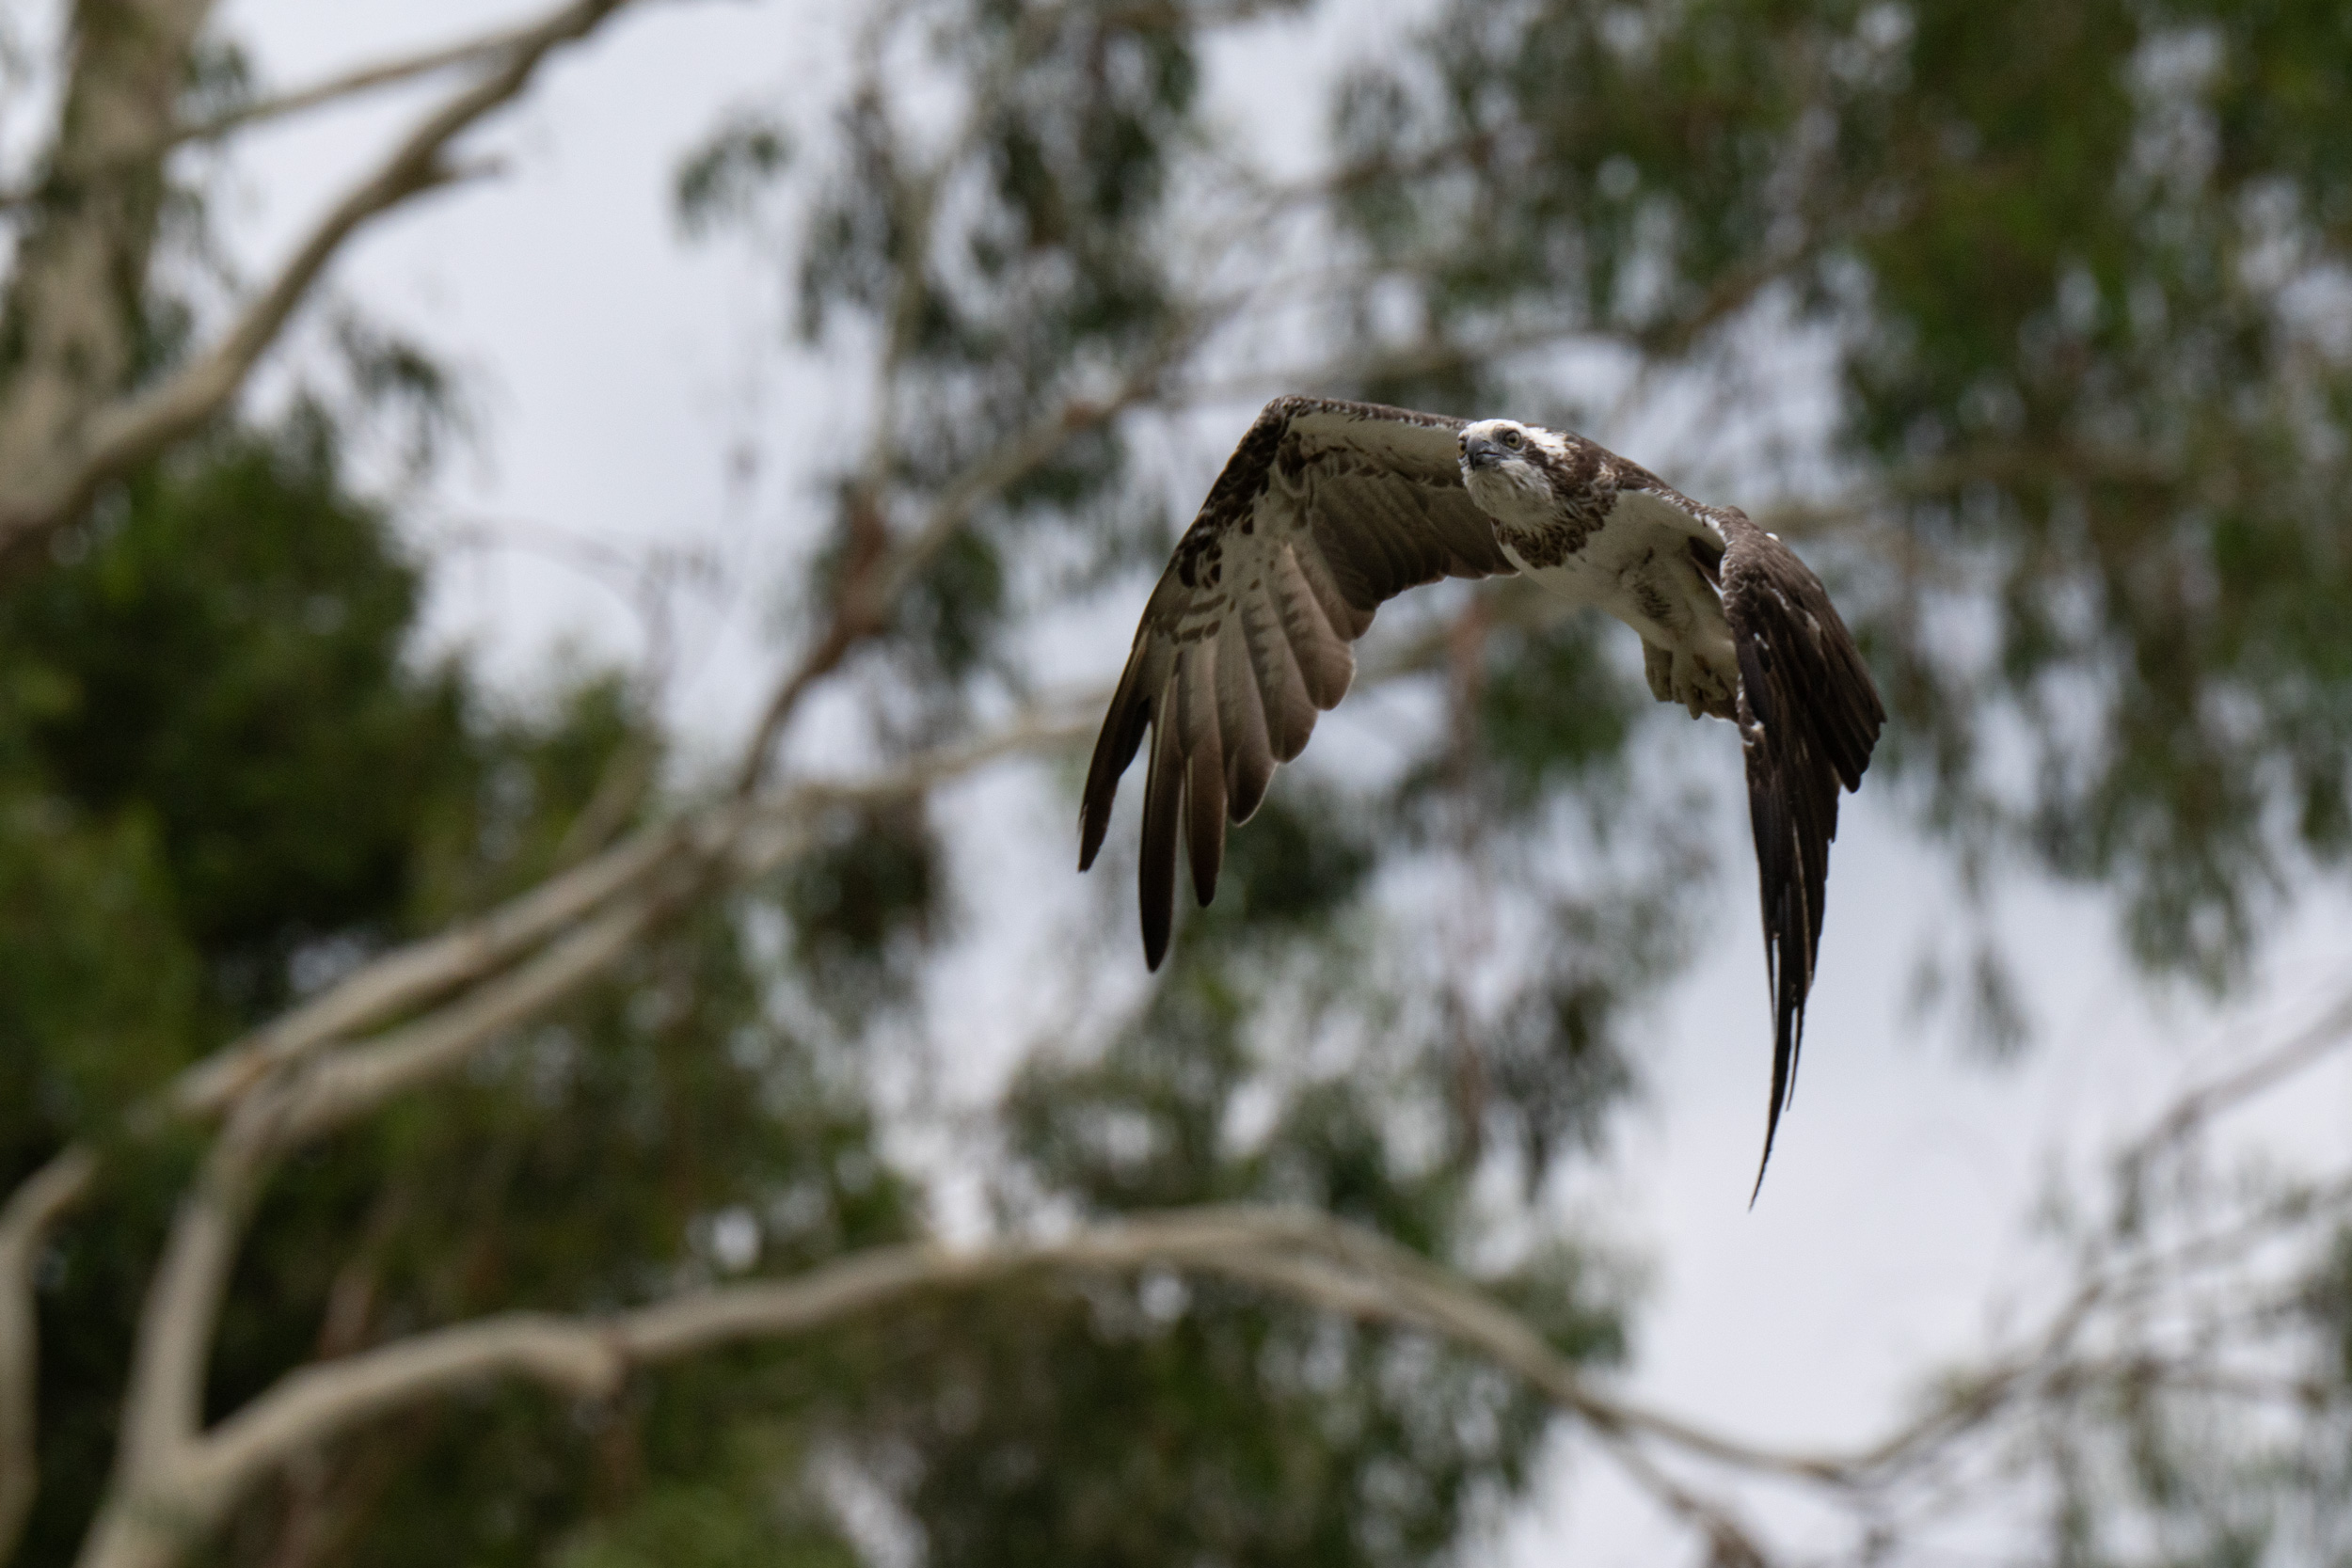
This bird in flight was captured at Healesville Sanctuary, using the Sony 70-200mm f/2.8 GM II lens on a 1.4x teleconverter on a Sony A7RV. I have shown you other birds captured using this combination, but this shot is exceptional.
The A7RV is using a much slower sensor than the A1. The A1 sensor captures an entire frame in 1/260 of a second, courtesy of its stacked design. The A7RV sensor takes about 1/10 of a second to capture an entire frame, and the A7RV is doing a lot more with the data to be able to do its subject recognition.
So clearly it is completely unreasonable to expect the A7RV to do eye auto-focus on the tiniest raptor in Australia (this is a 140g bird), moving erratically at high speed. especially when the bird is tiny in the frame – correct? Er, no… What?? I won’t tell you that every shot is like this, because they aren’t. But the fact that this camera can pull this off at all is really impressive, and this wasn’t the only one.
I cropped this image from the full 9504×6336 all the way down to 2500×1666 – I am showing you the actual pixels captured around Rusty the kestrel. I’ll show you the full frame and this massive crop below. Click on the gallery to see the images larger. Please
This was shot at ISO 640 at f/5.6 at 280mm (full zoom on the lens x 1.4x TC), 1/2000. I have done minimal editing on the image. I want you to see what I saw when I zoomed in on this.
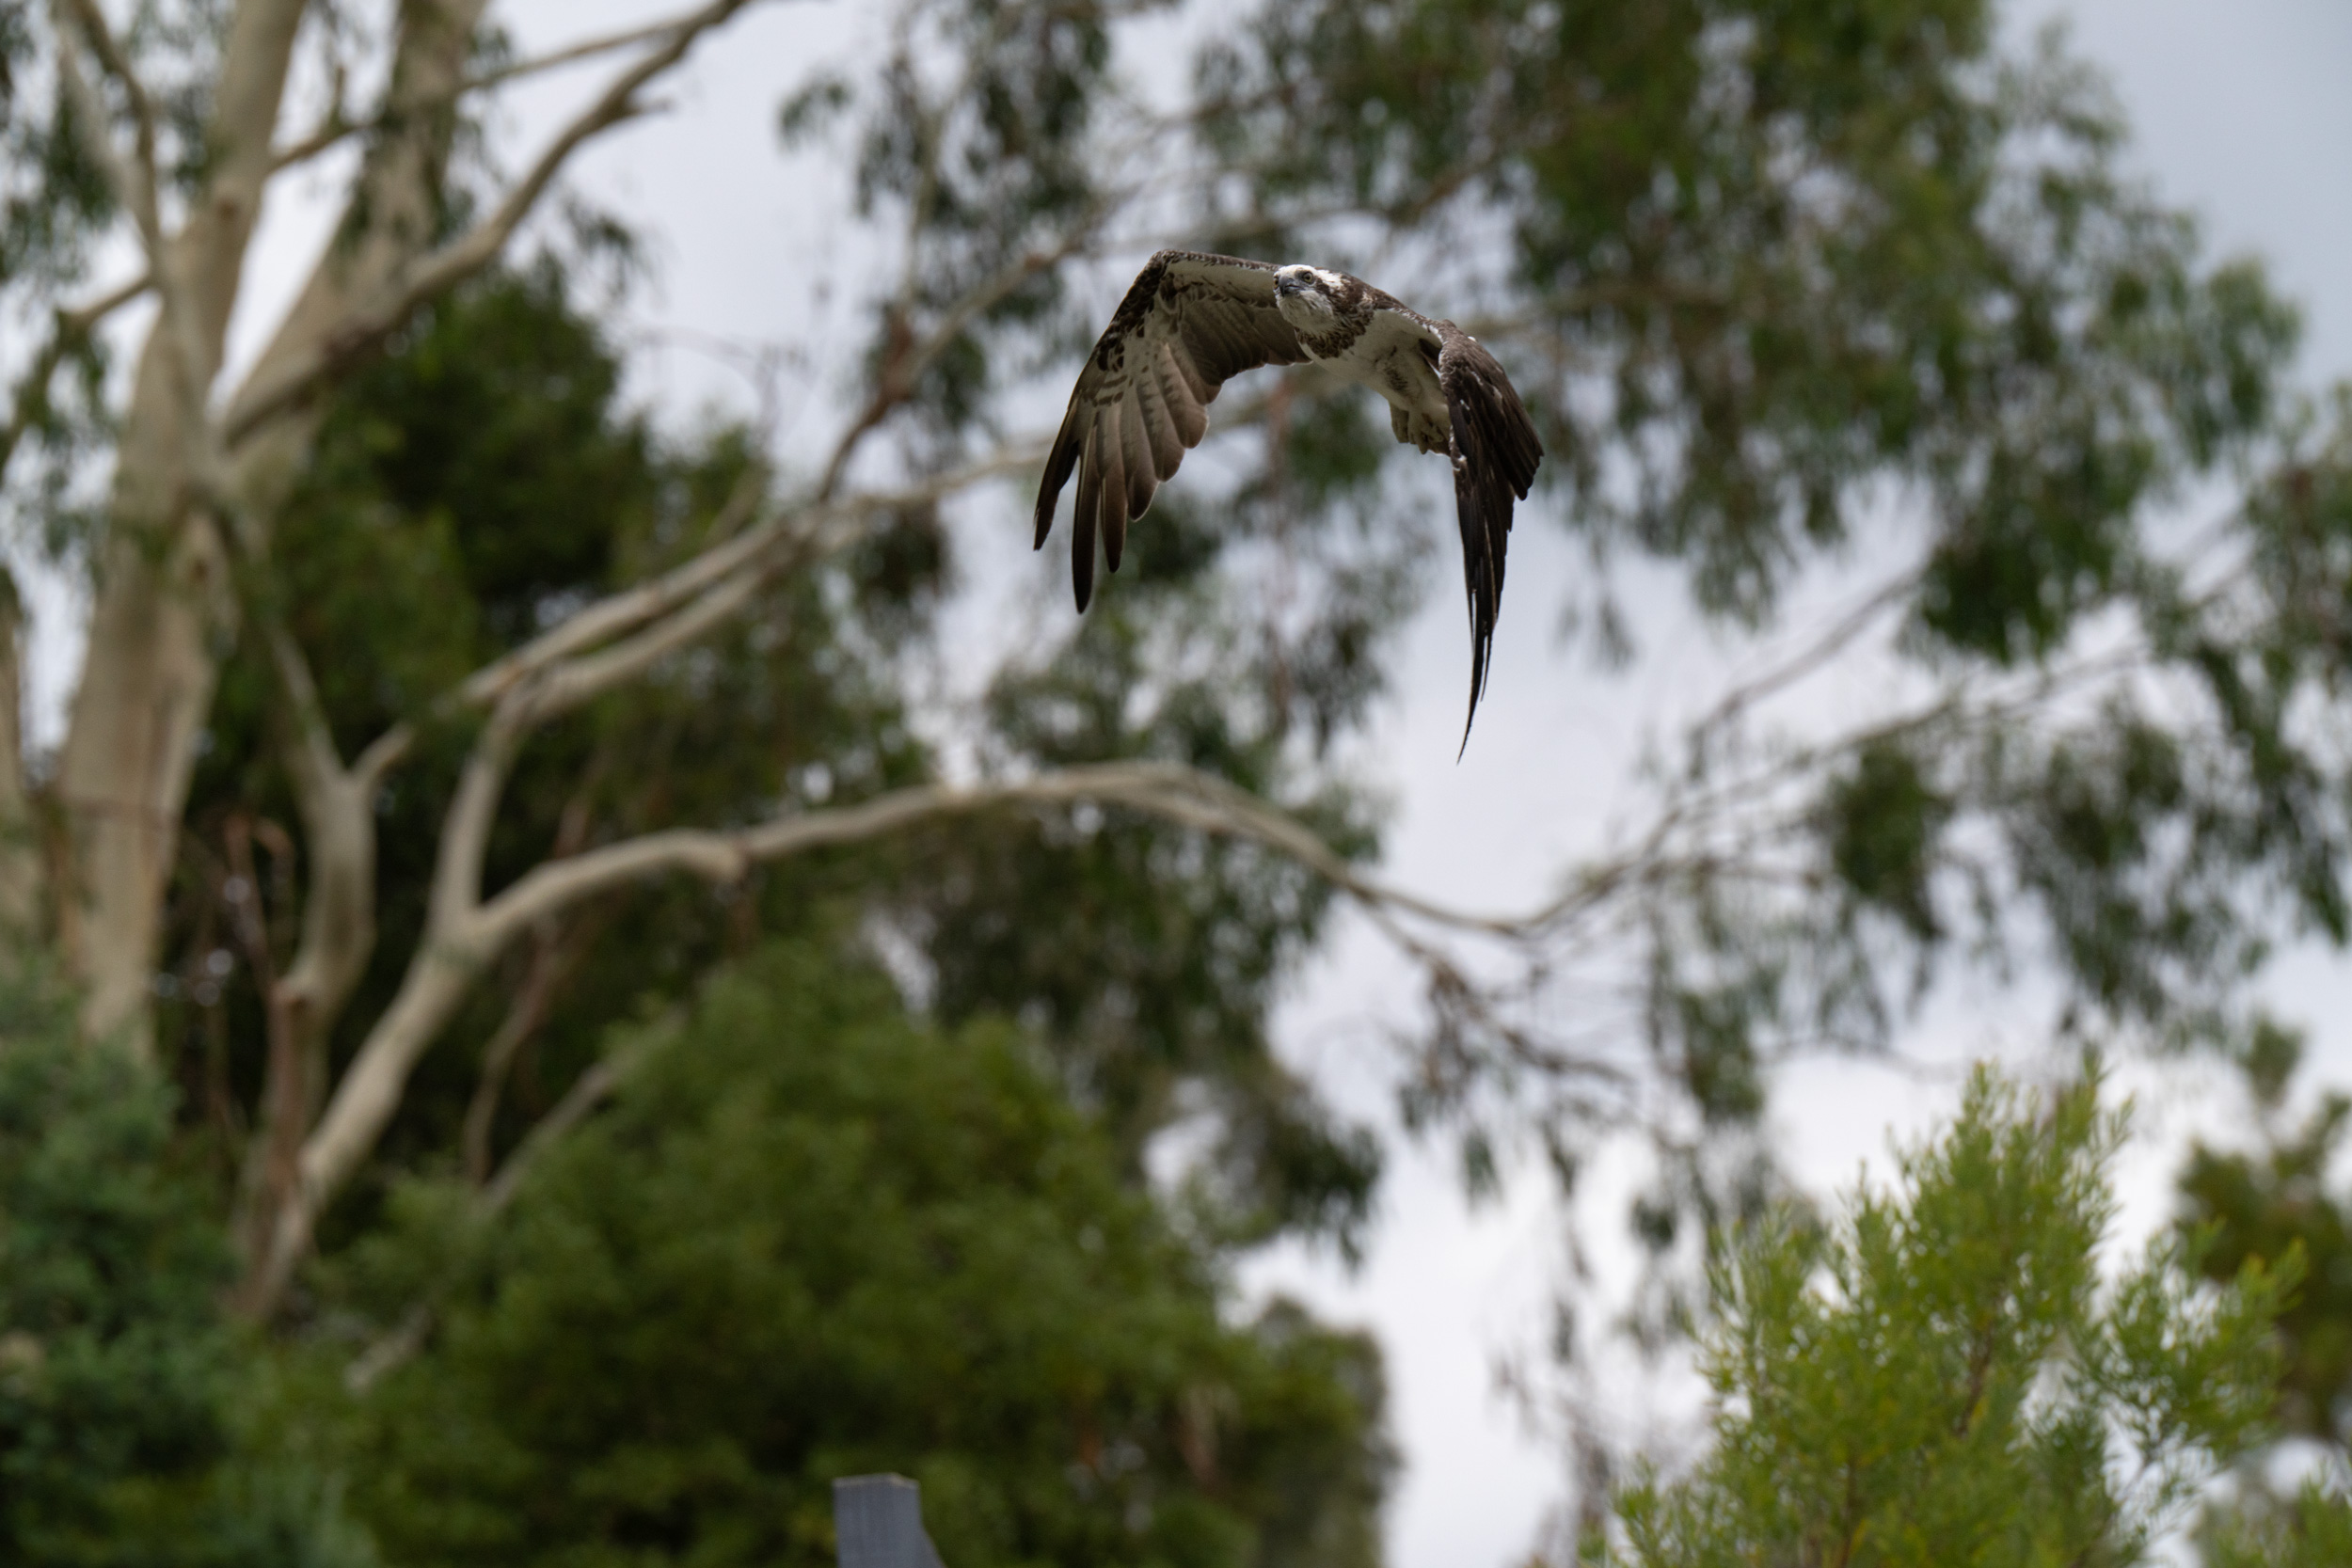
This bird in flight was captured at Healesville Sanctuary, using the Sony 70-200mm f/2.8 GM II lens on a 1.4x teleconverter on a Sony A7RV. The lens was at f/8, and this was shot at 1/2000, ISO 800. I am still learning how to use the A7RV to photograph birds in flight – I wonder if the A1 has made my skills rusty? The A7RV’s new AF isn’t as fast as the A1, but given a little time, can be more accurate.
I cropped this image from the full 9504×6336 down to 6000×4000 (keeping 24 megapixels from the original 60). I’ll show you the full frame below. Click on the gallery to see the images larger.
This was taken at Healesville Sanctuary, using the Sony 70-200mm f/2.8 GM II lens wide open at 192mm on a Sony A7RV at 1/2000, ISO 800. I used the new Animal / Bird AF and I’m quite happy with the accuracy of the focus and the level of detail picked up. This image is slightly cropped.
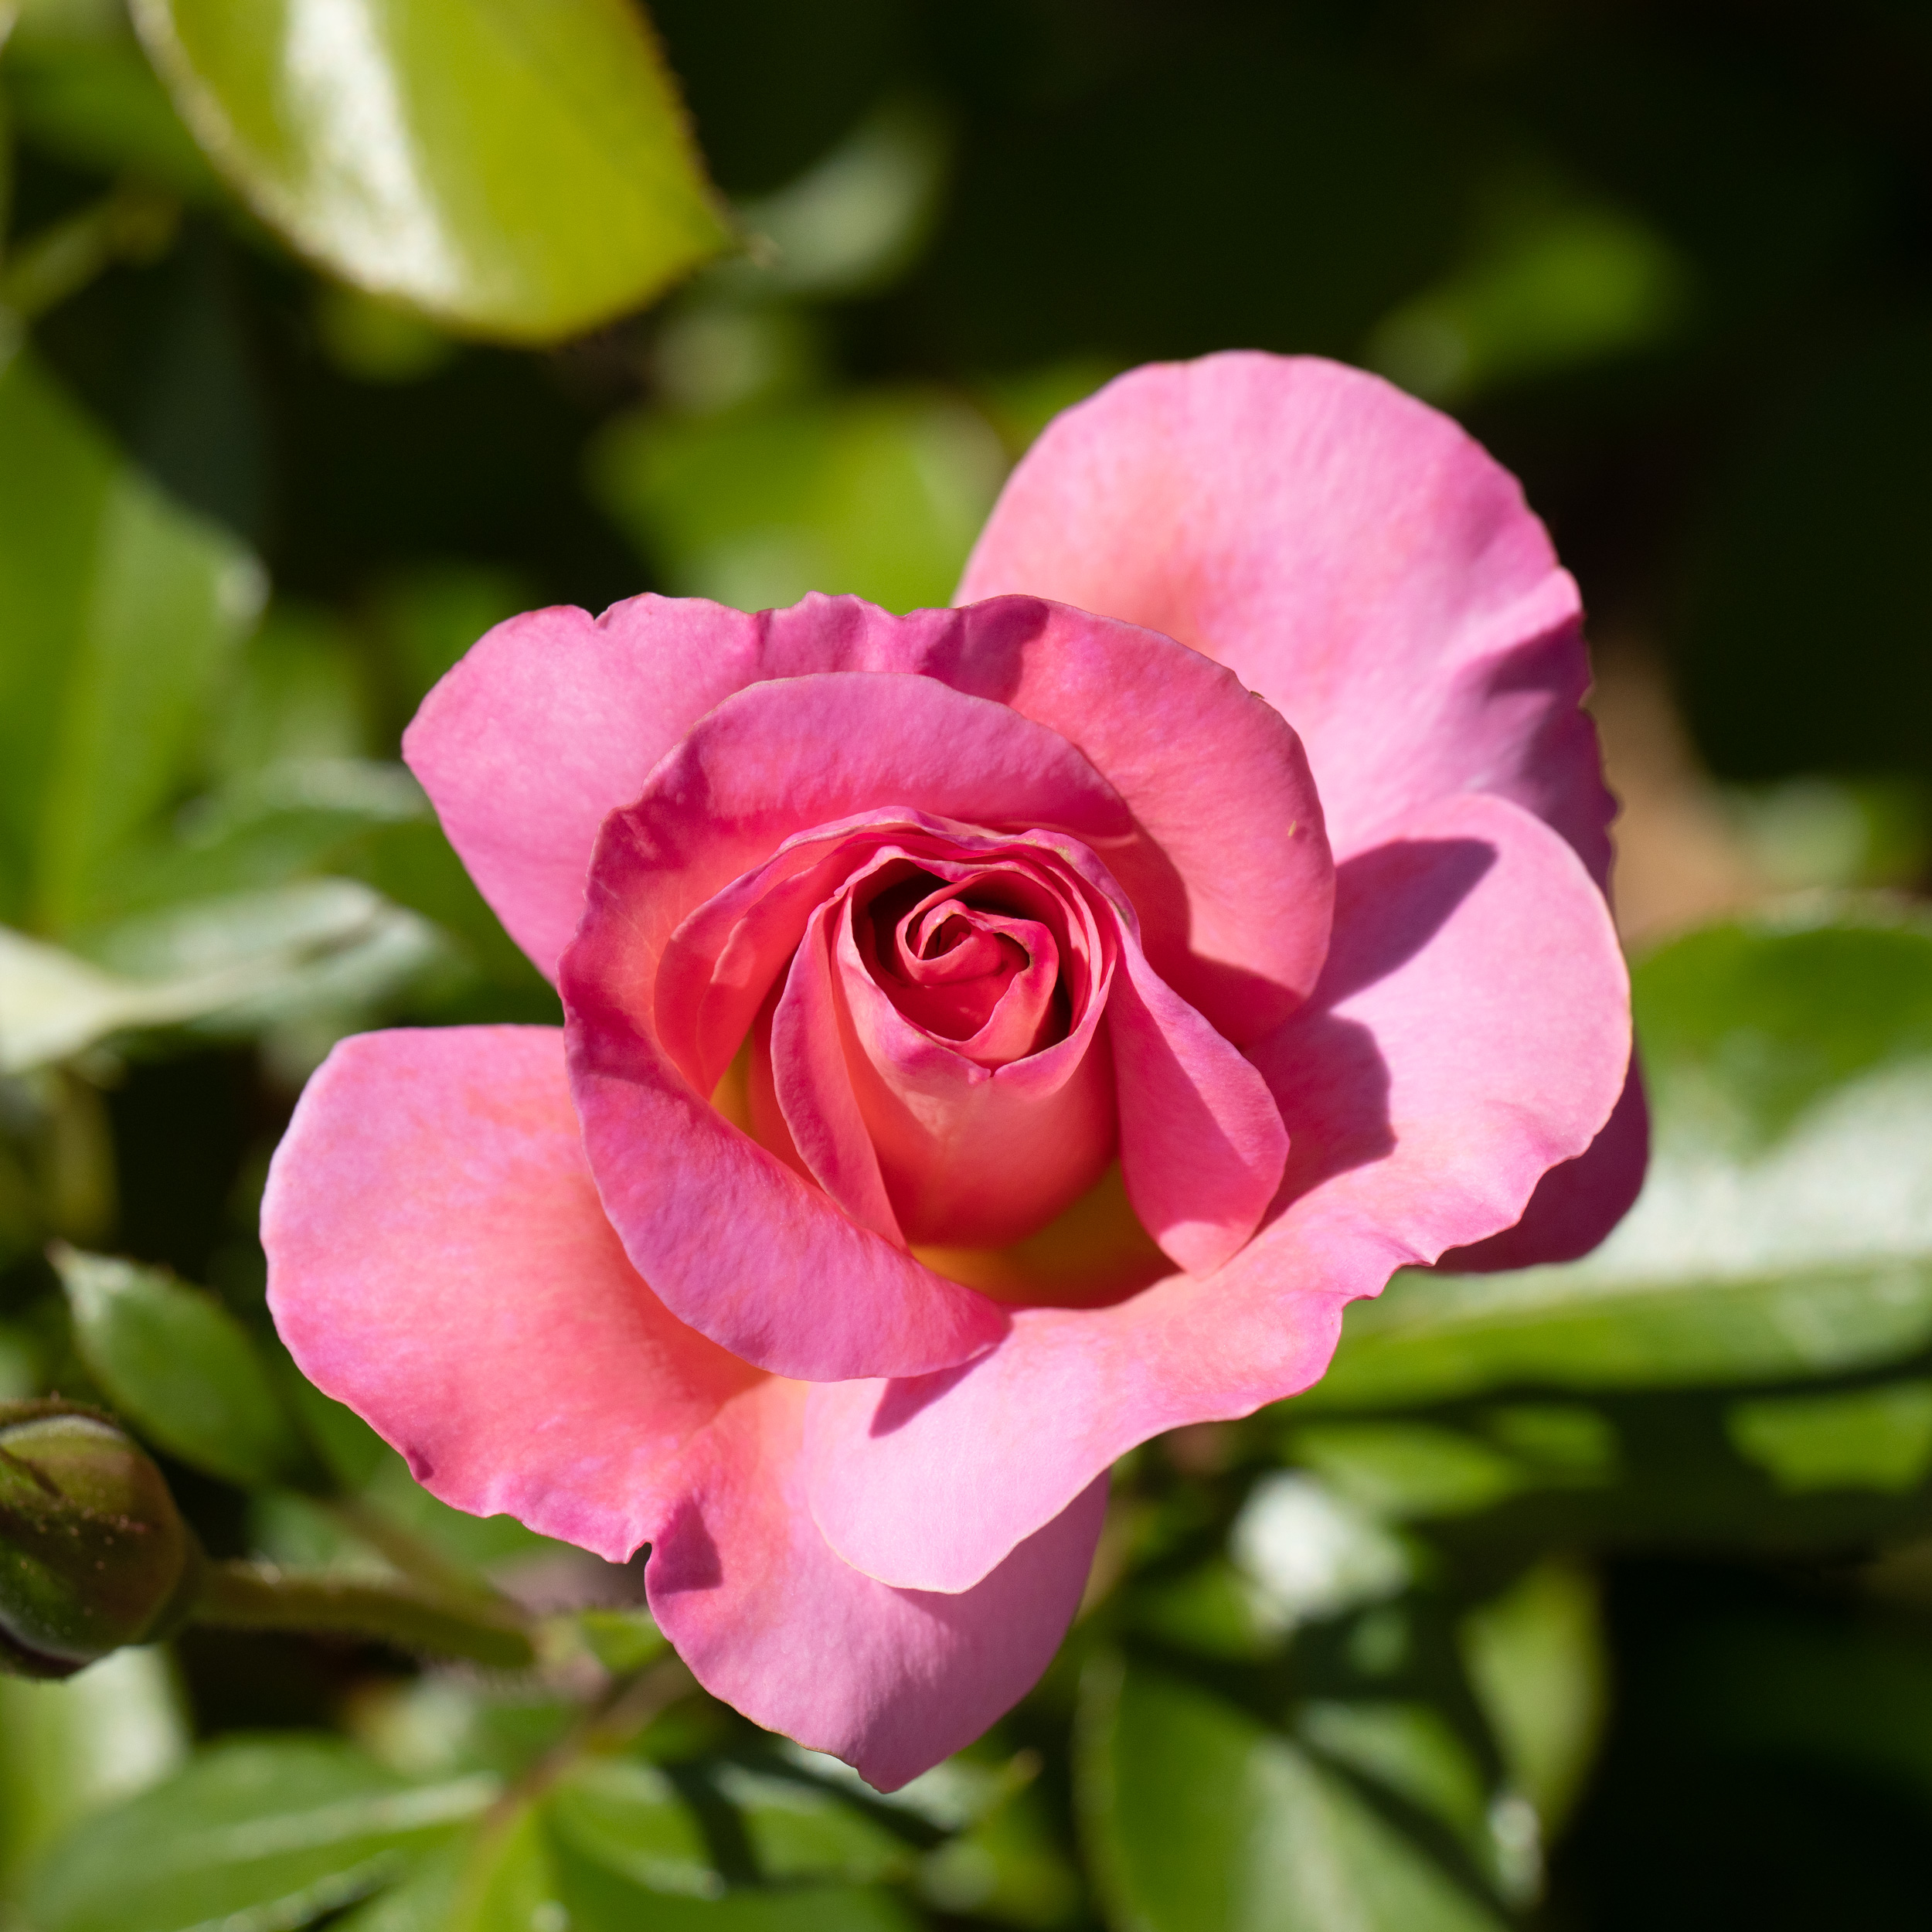
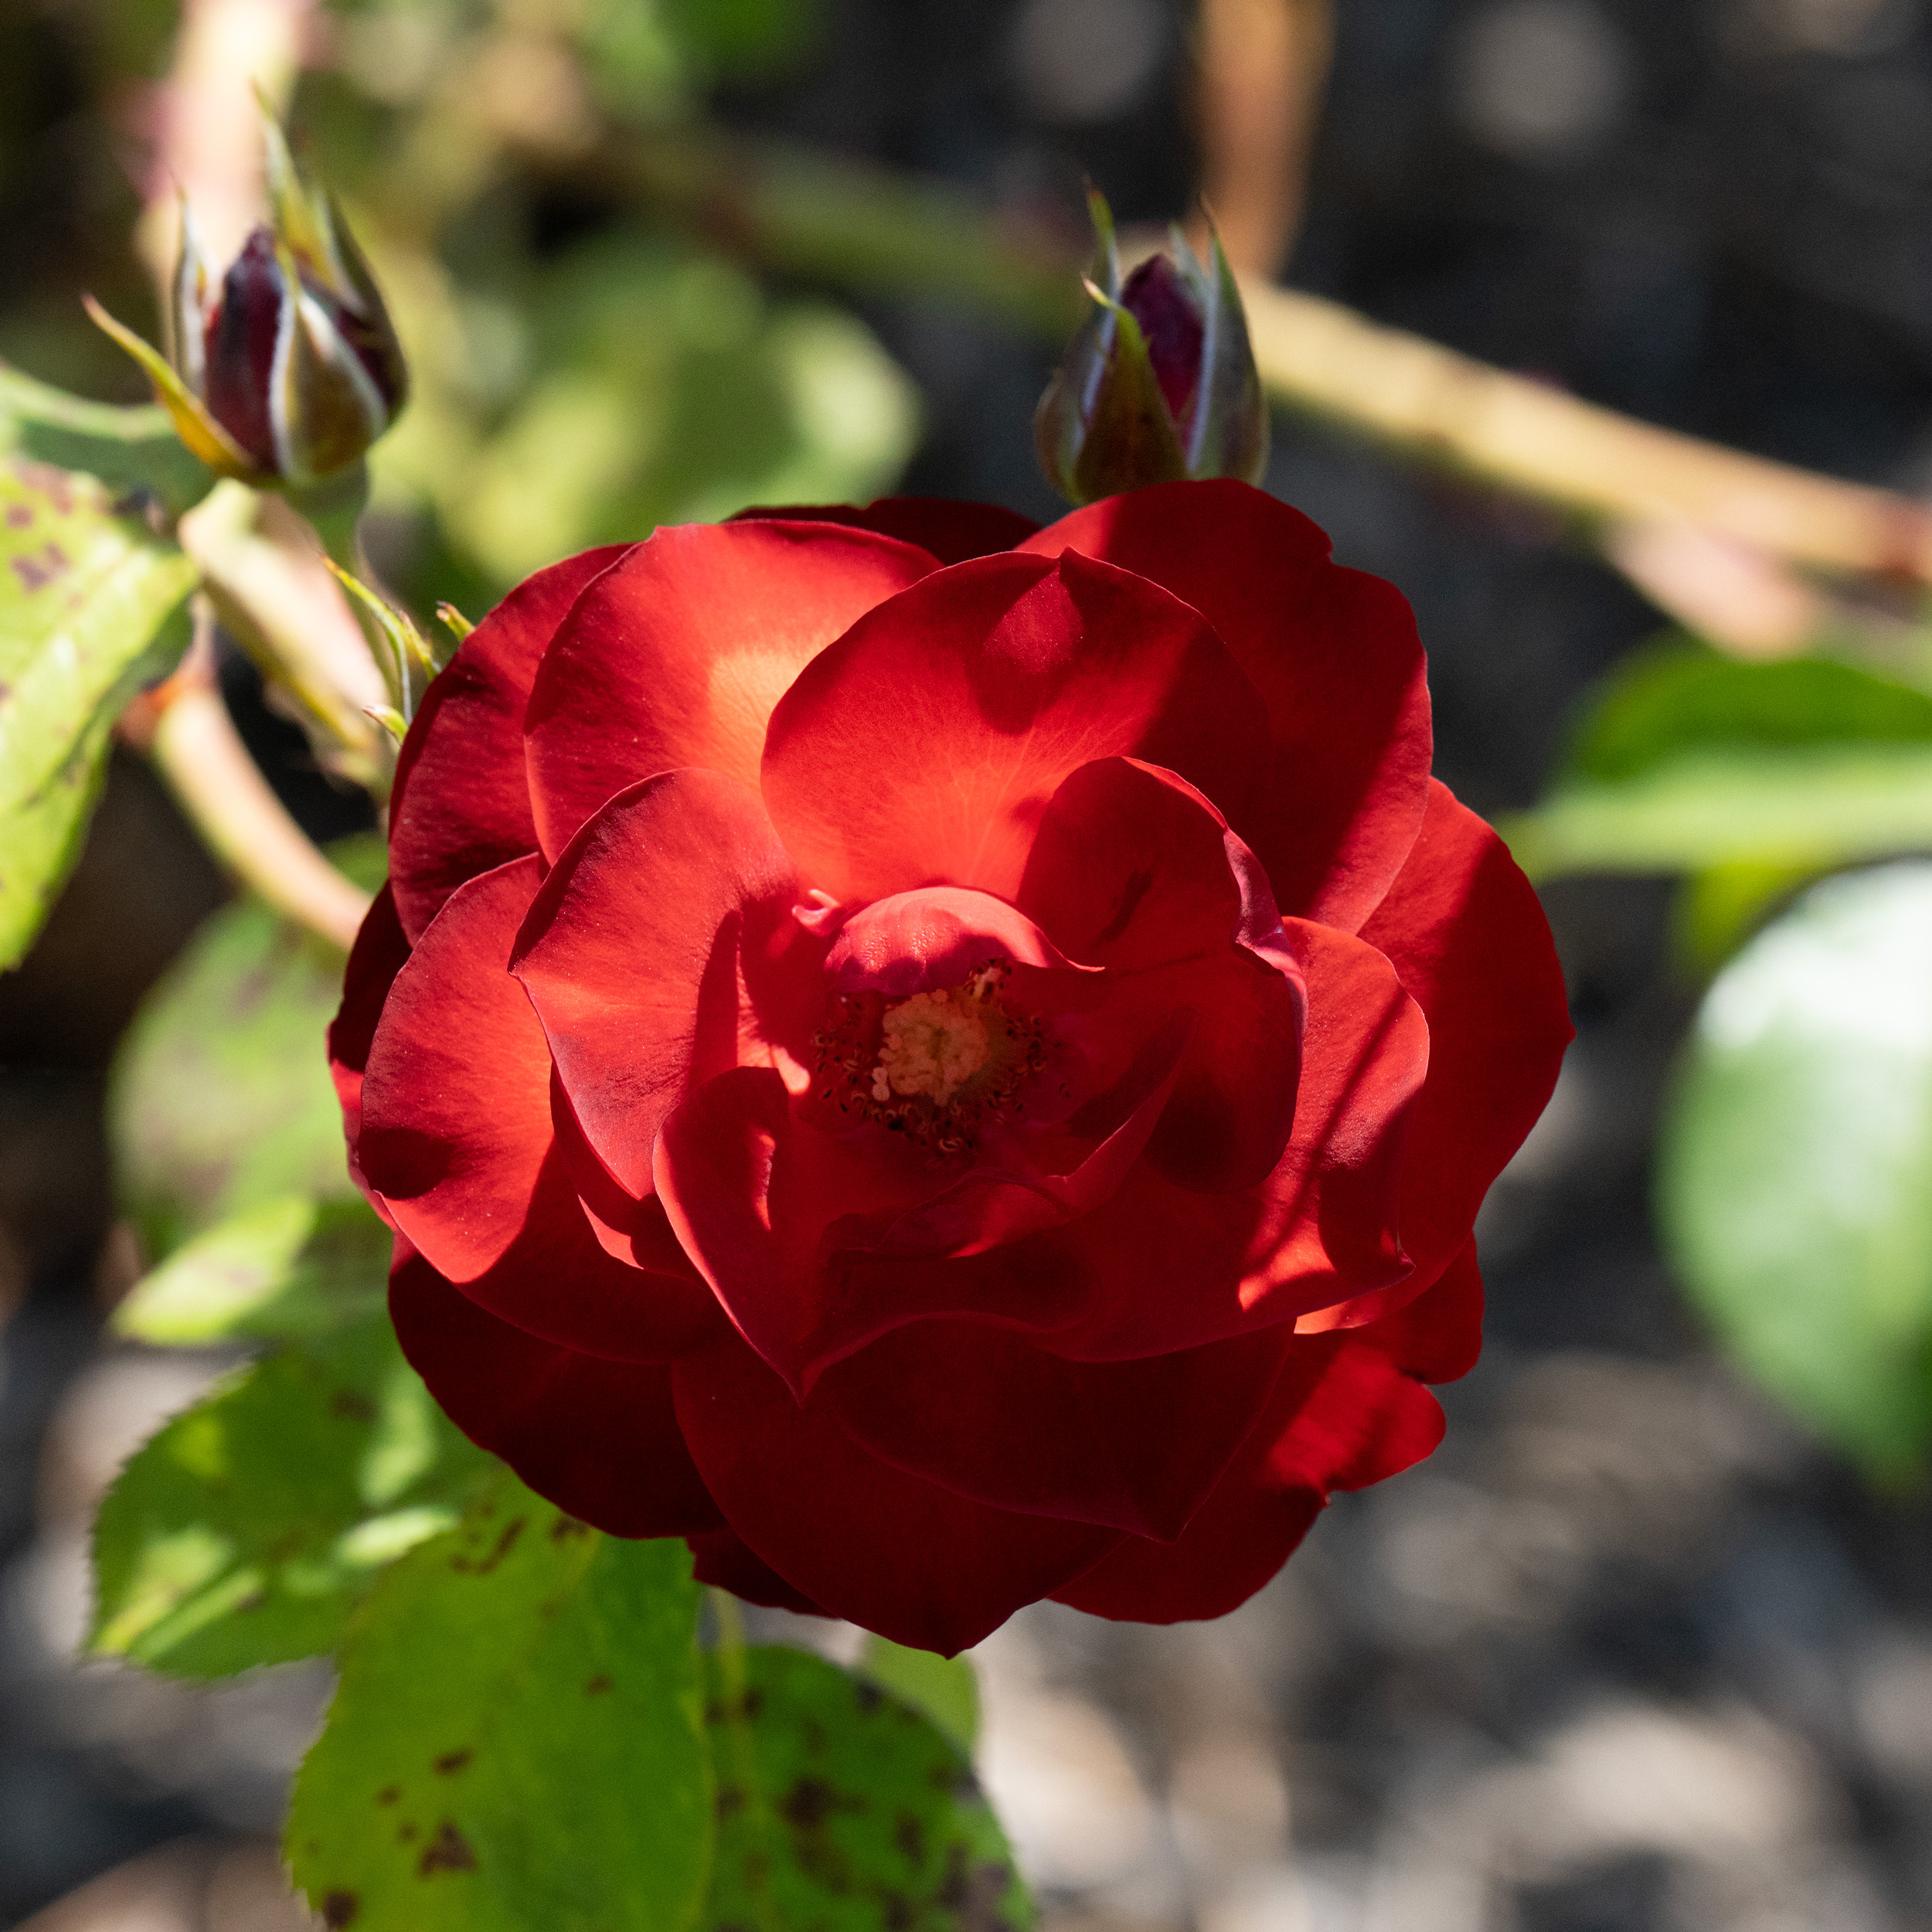
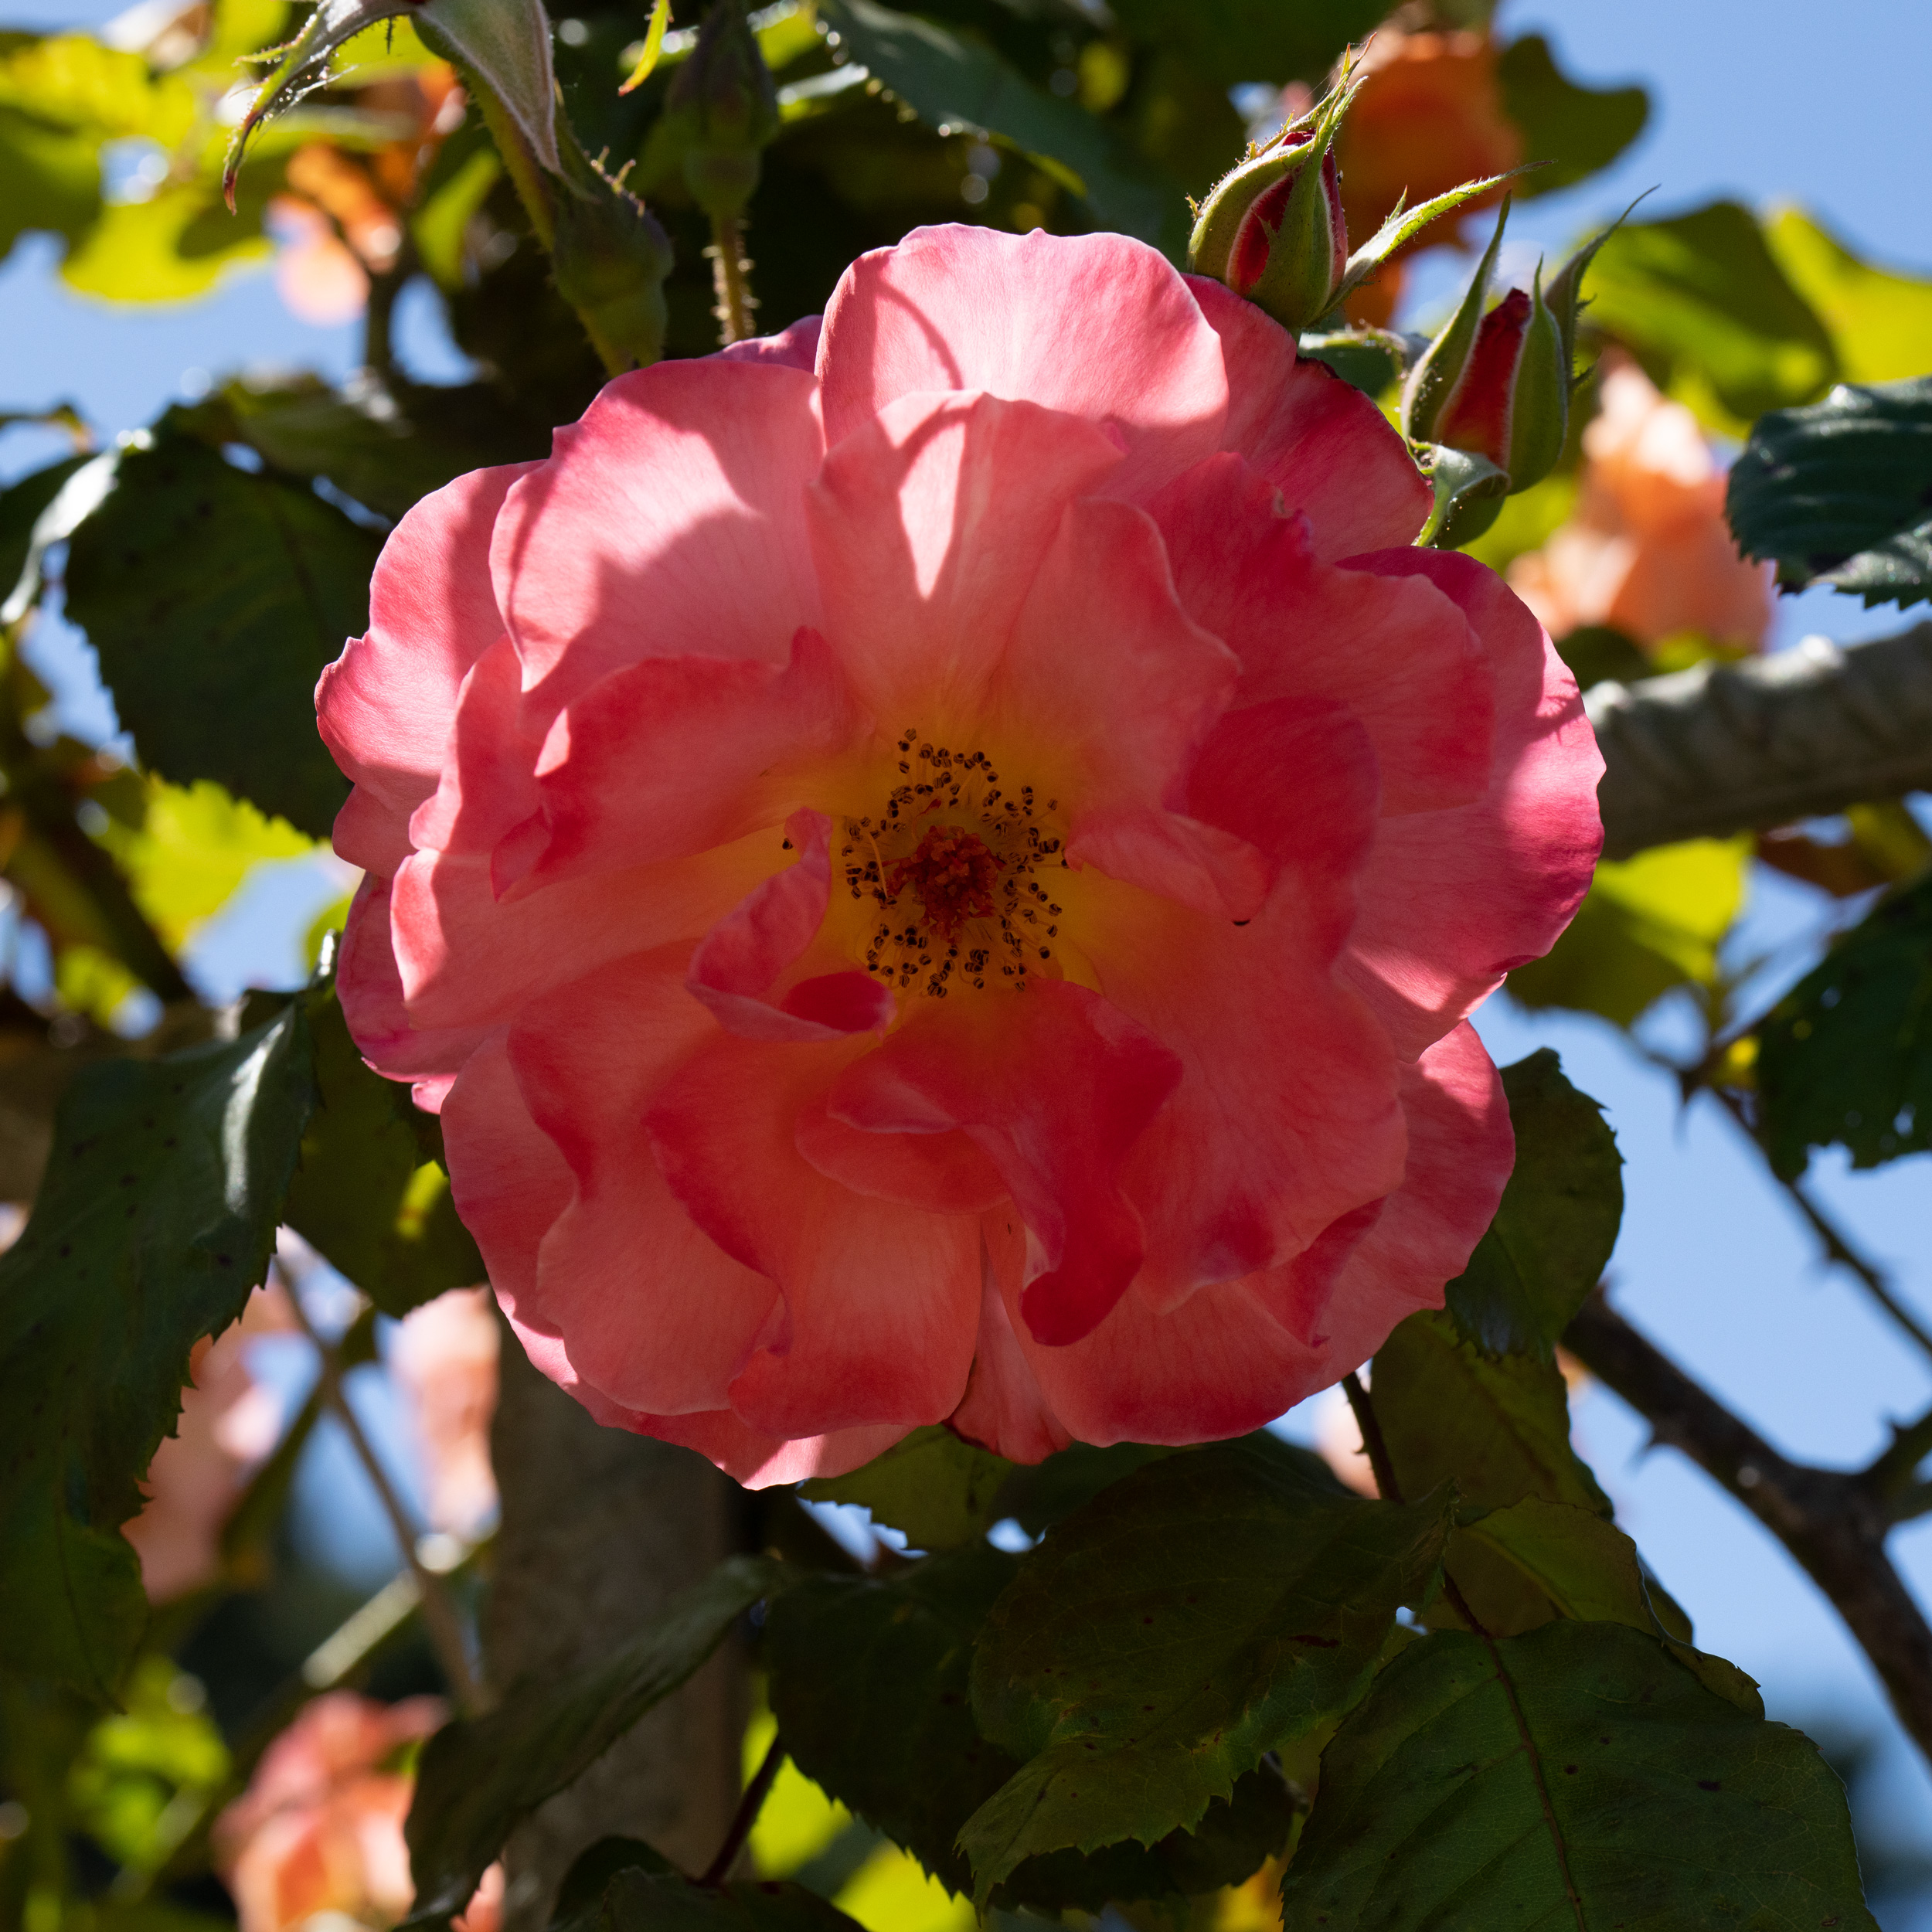
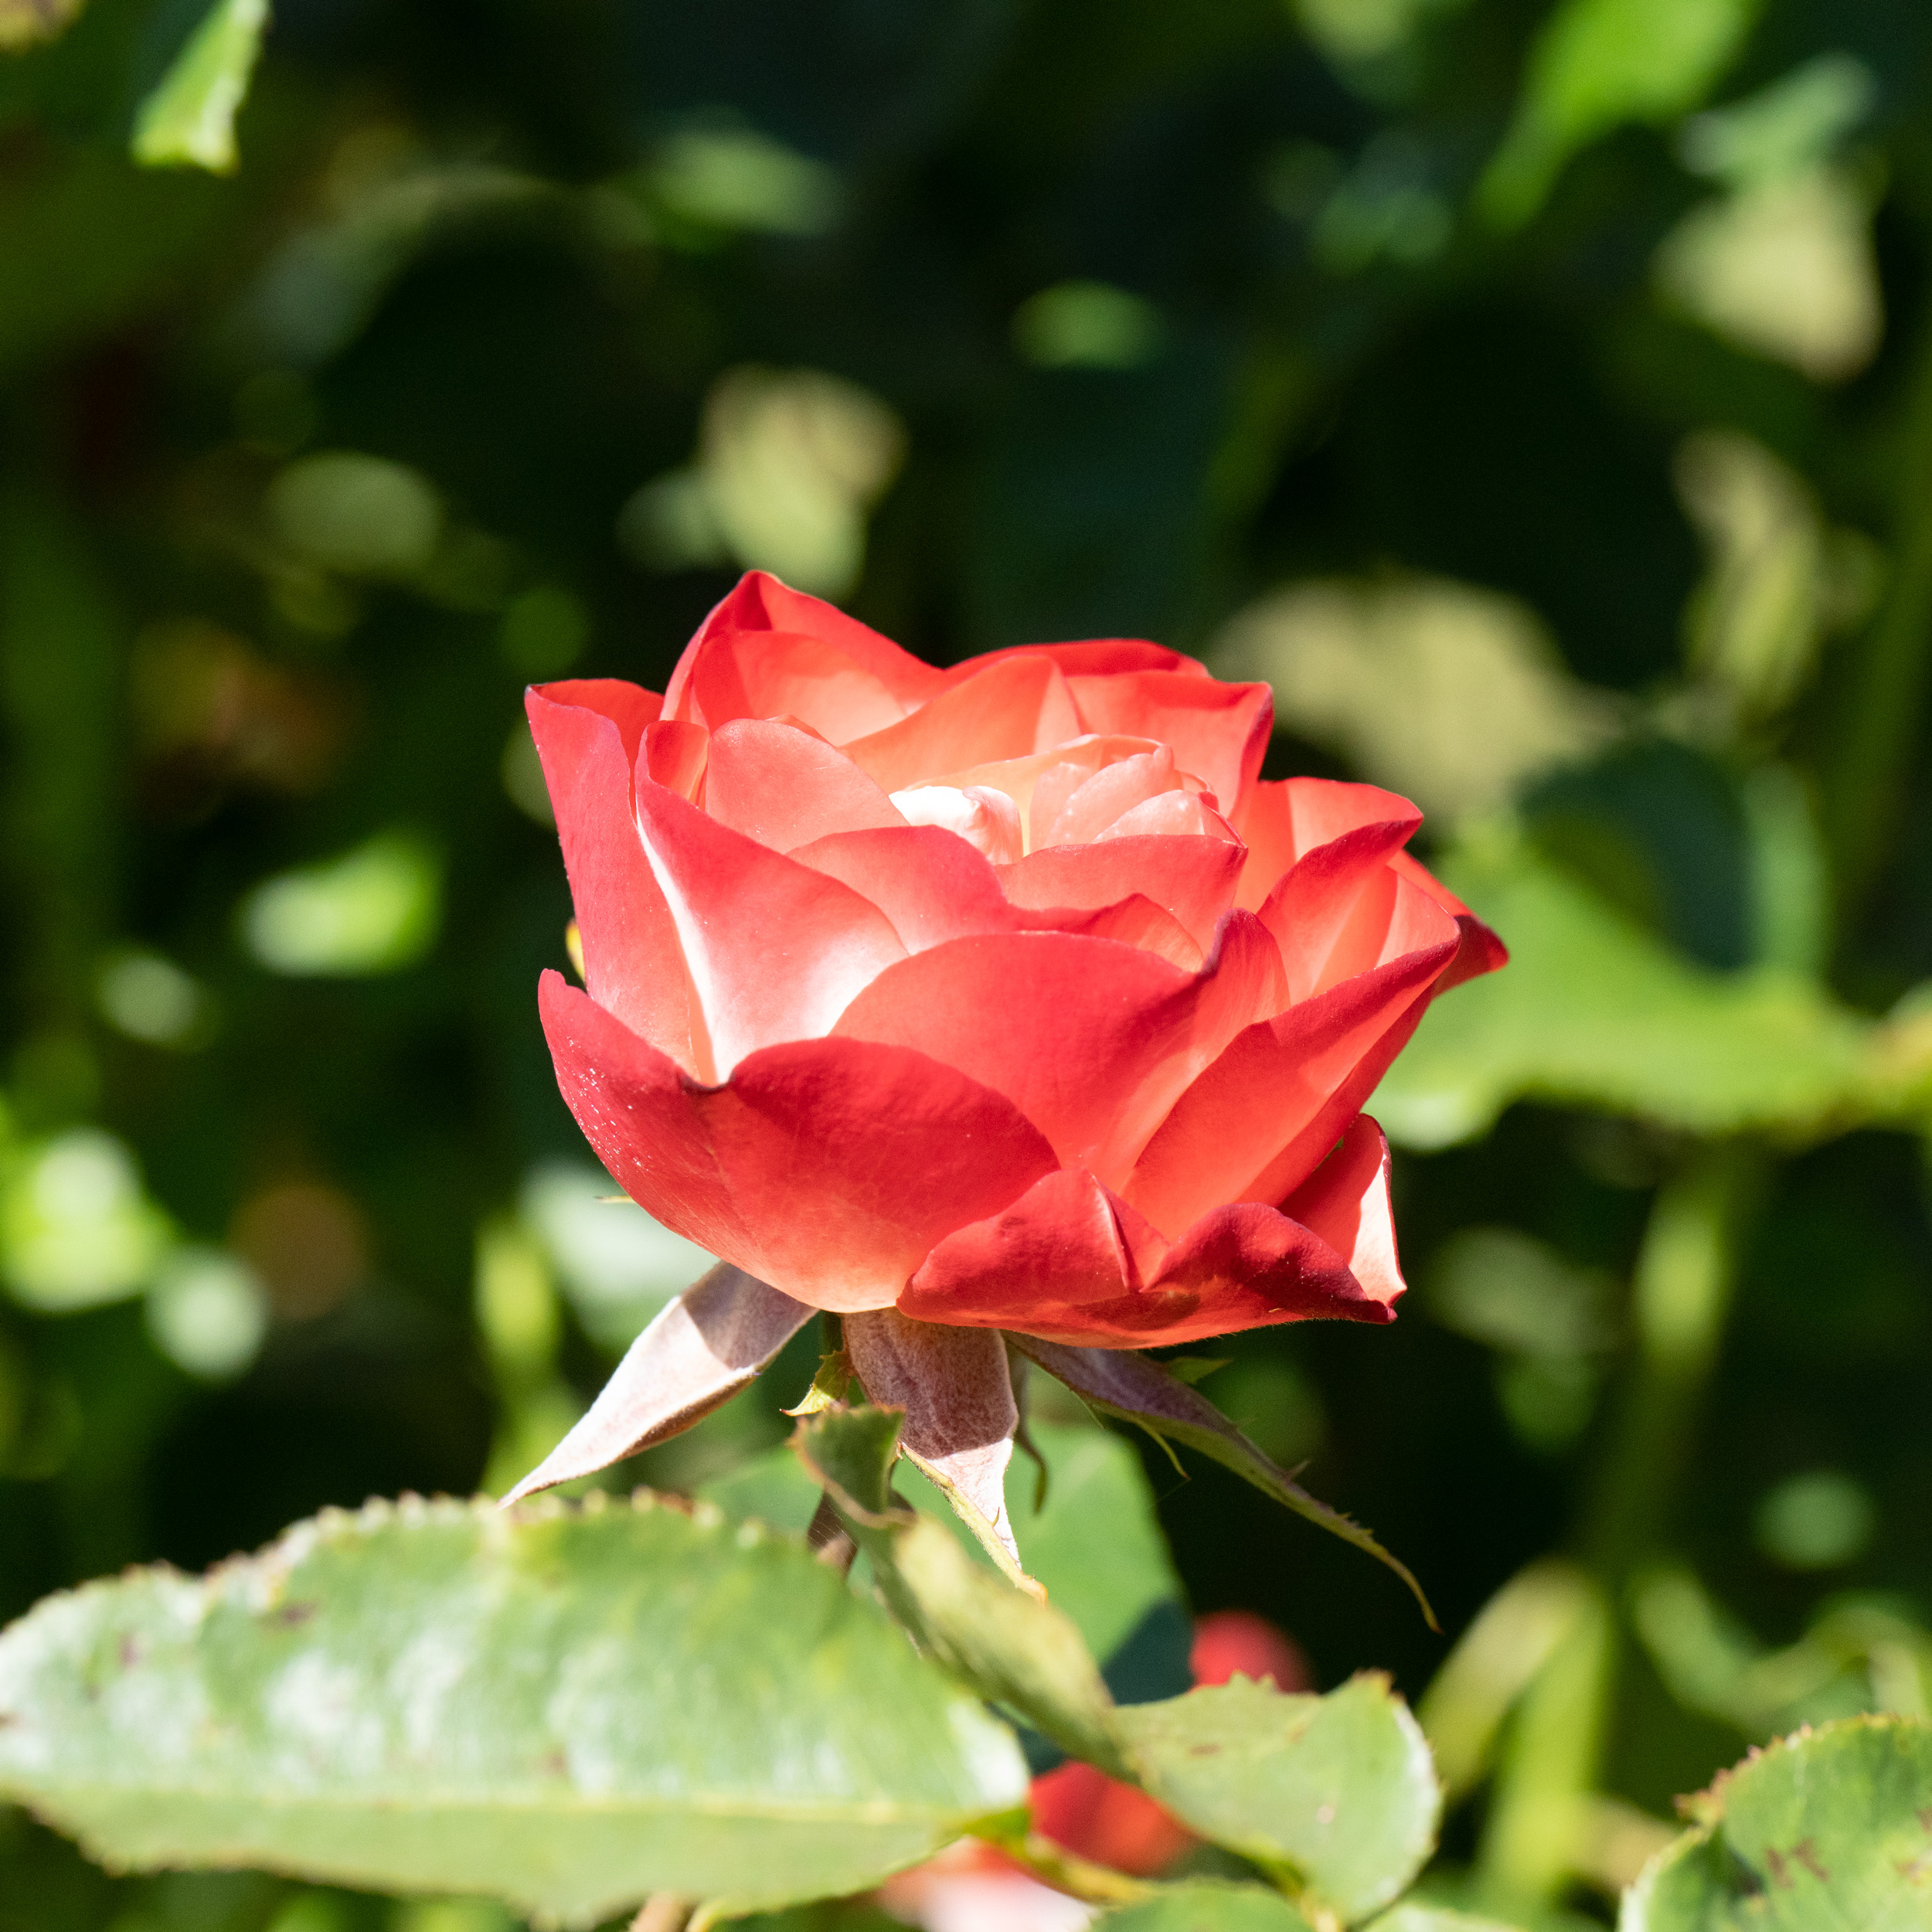
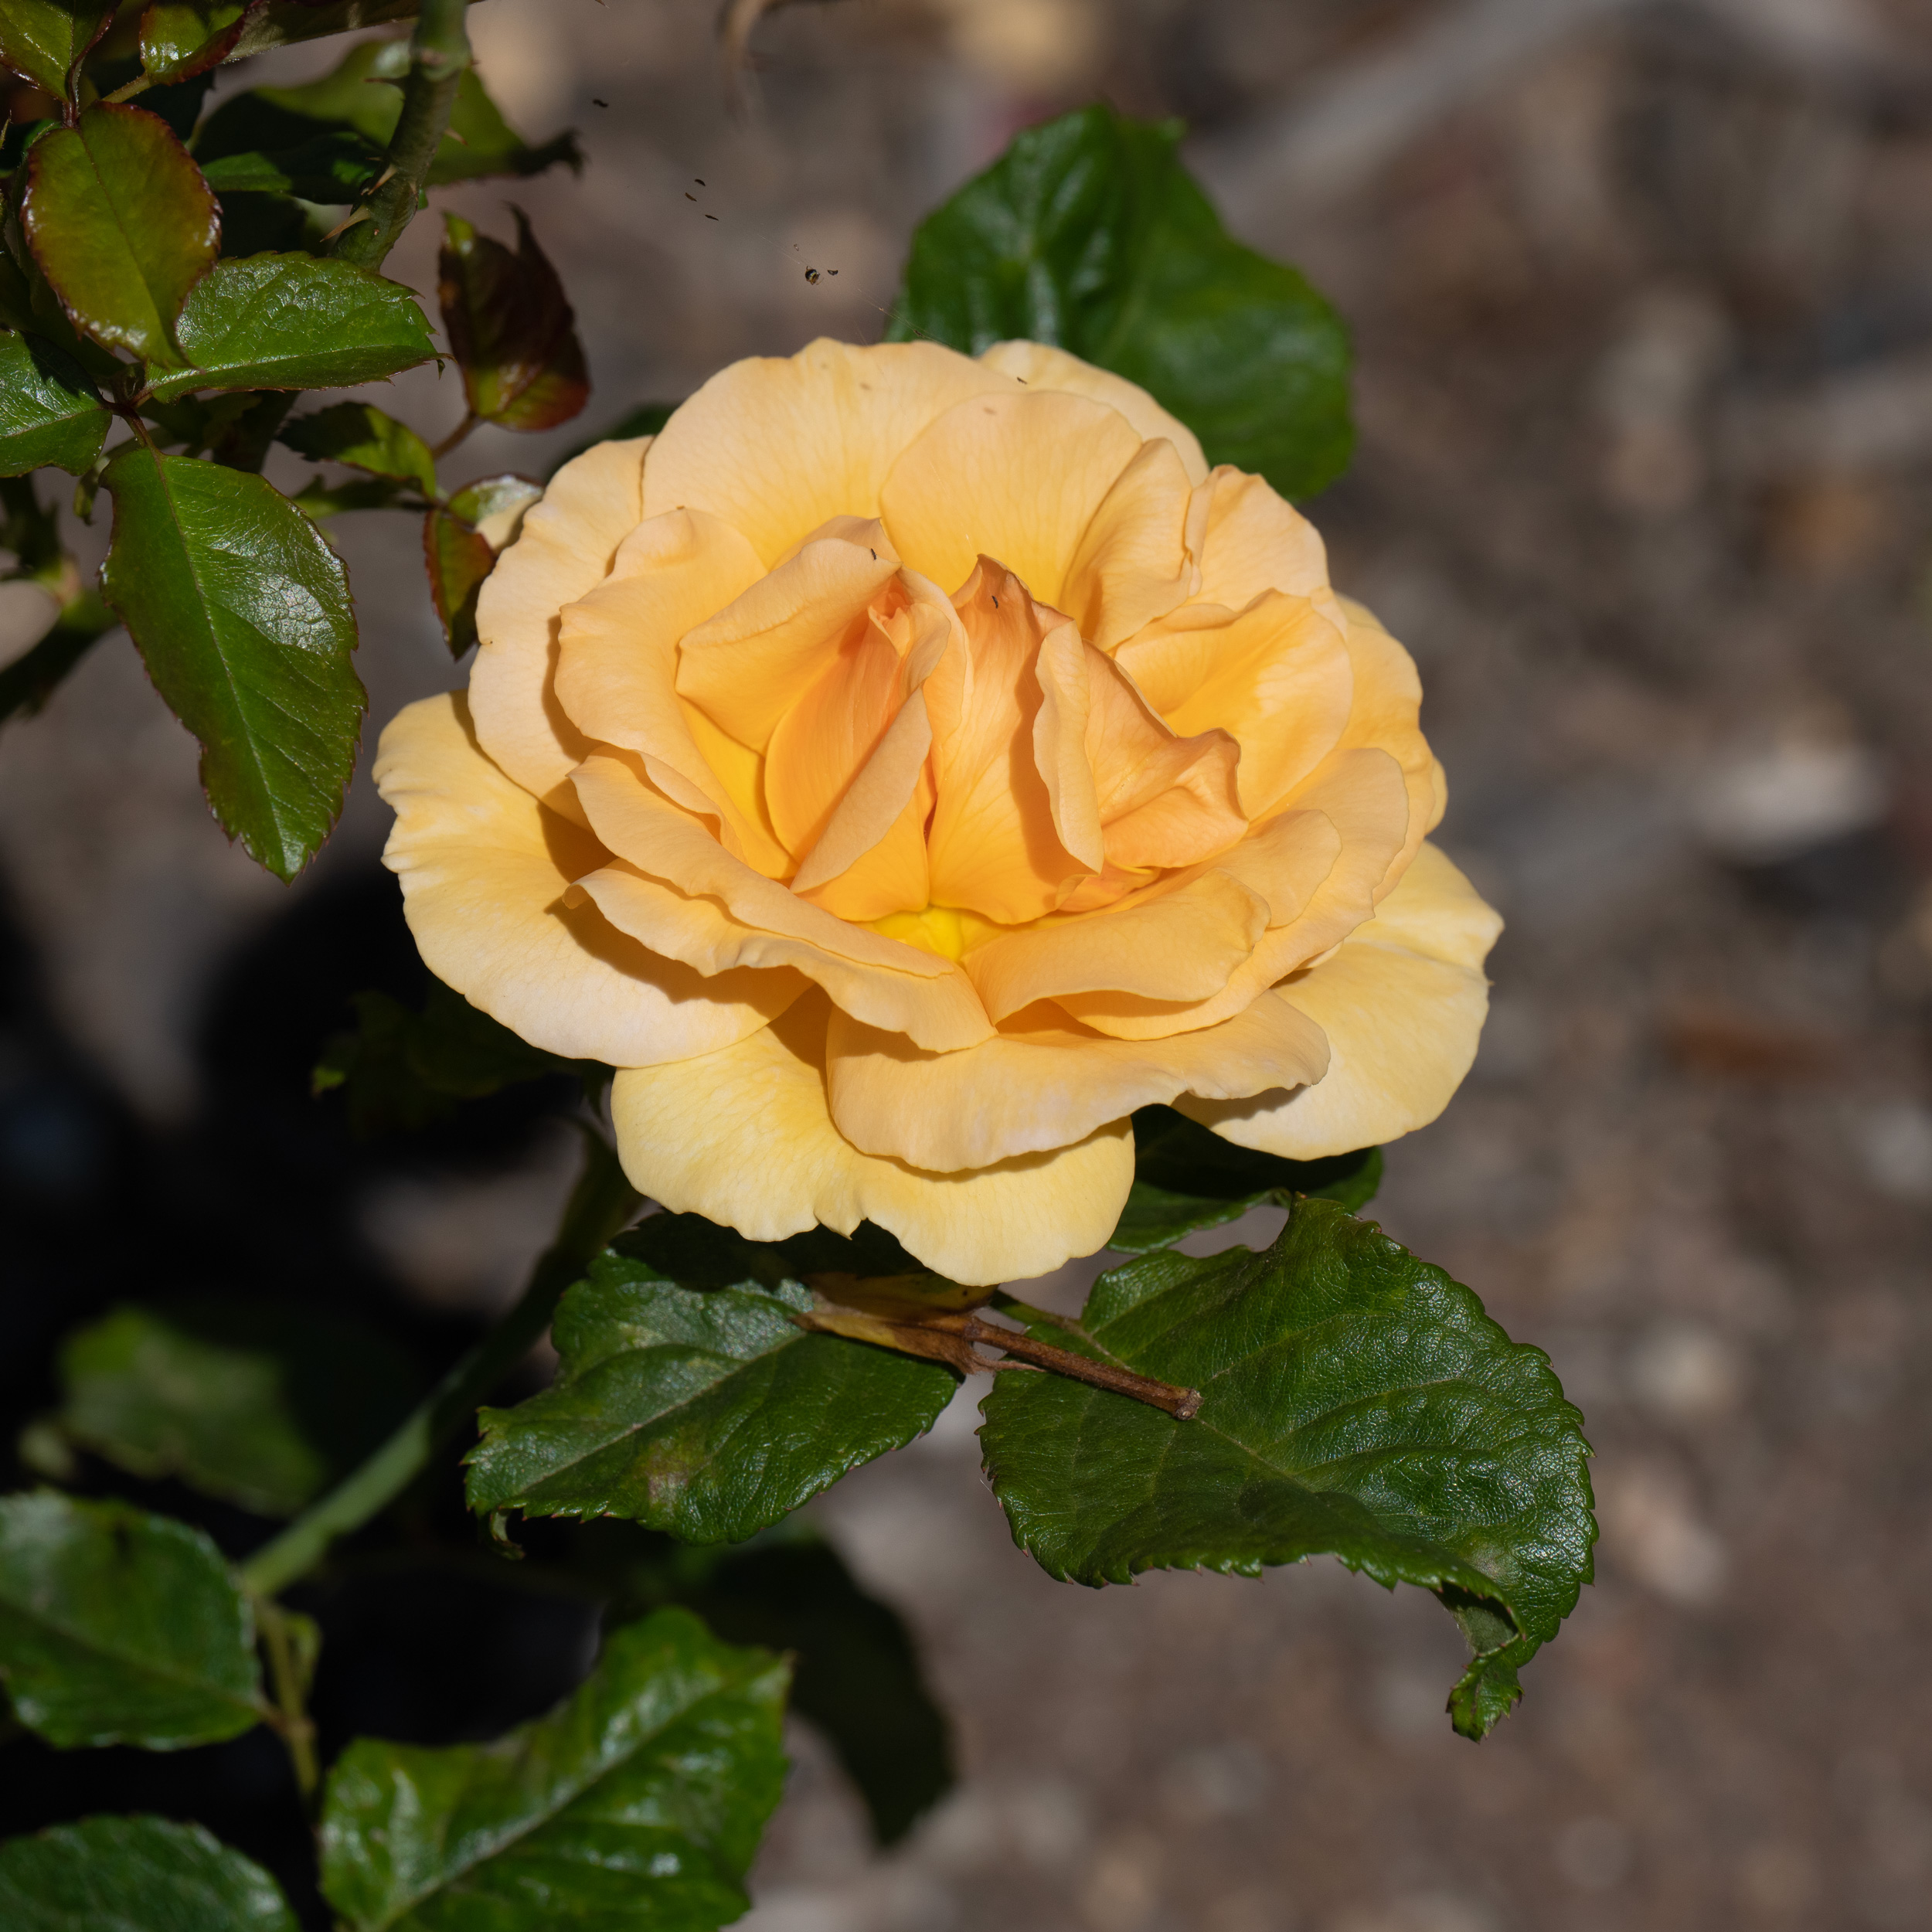
The State Rose Garden is maintained by a group of hard-working volunteers.
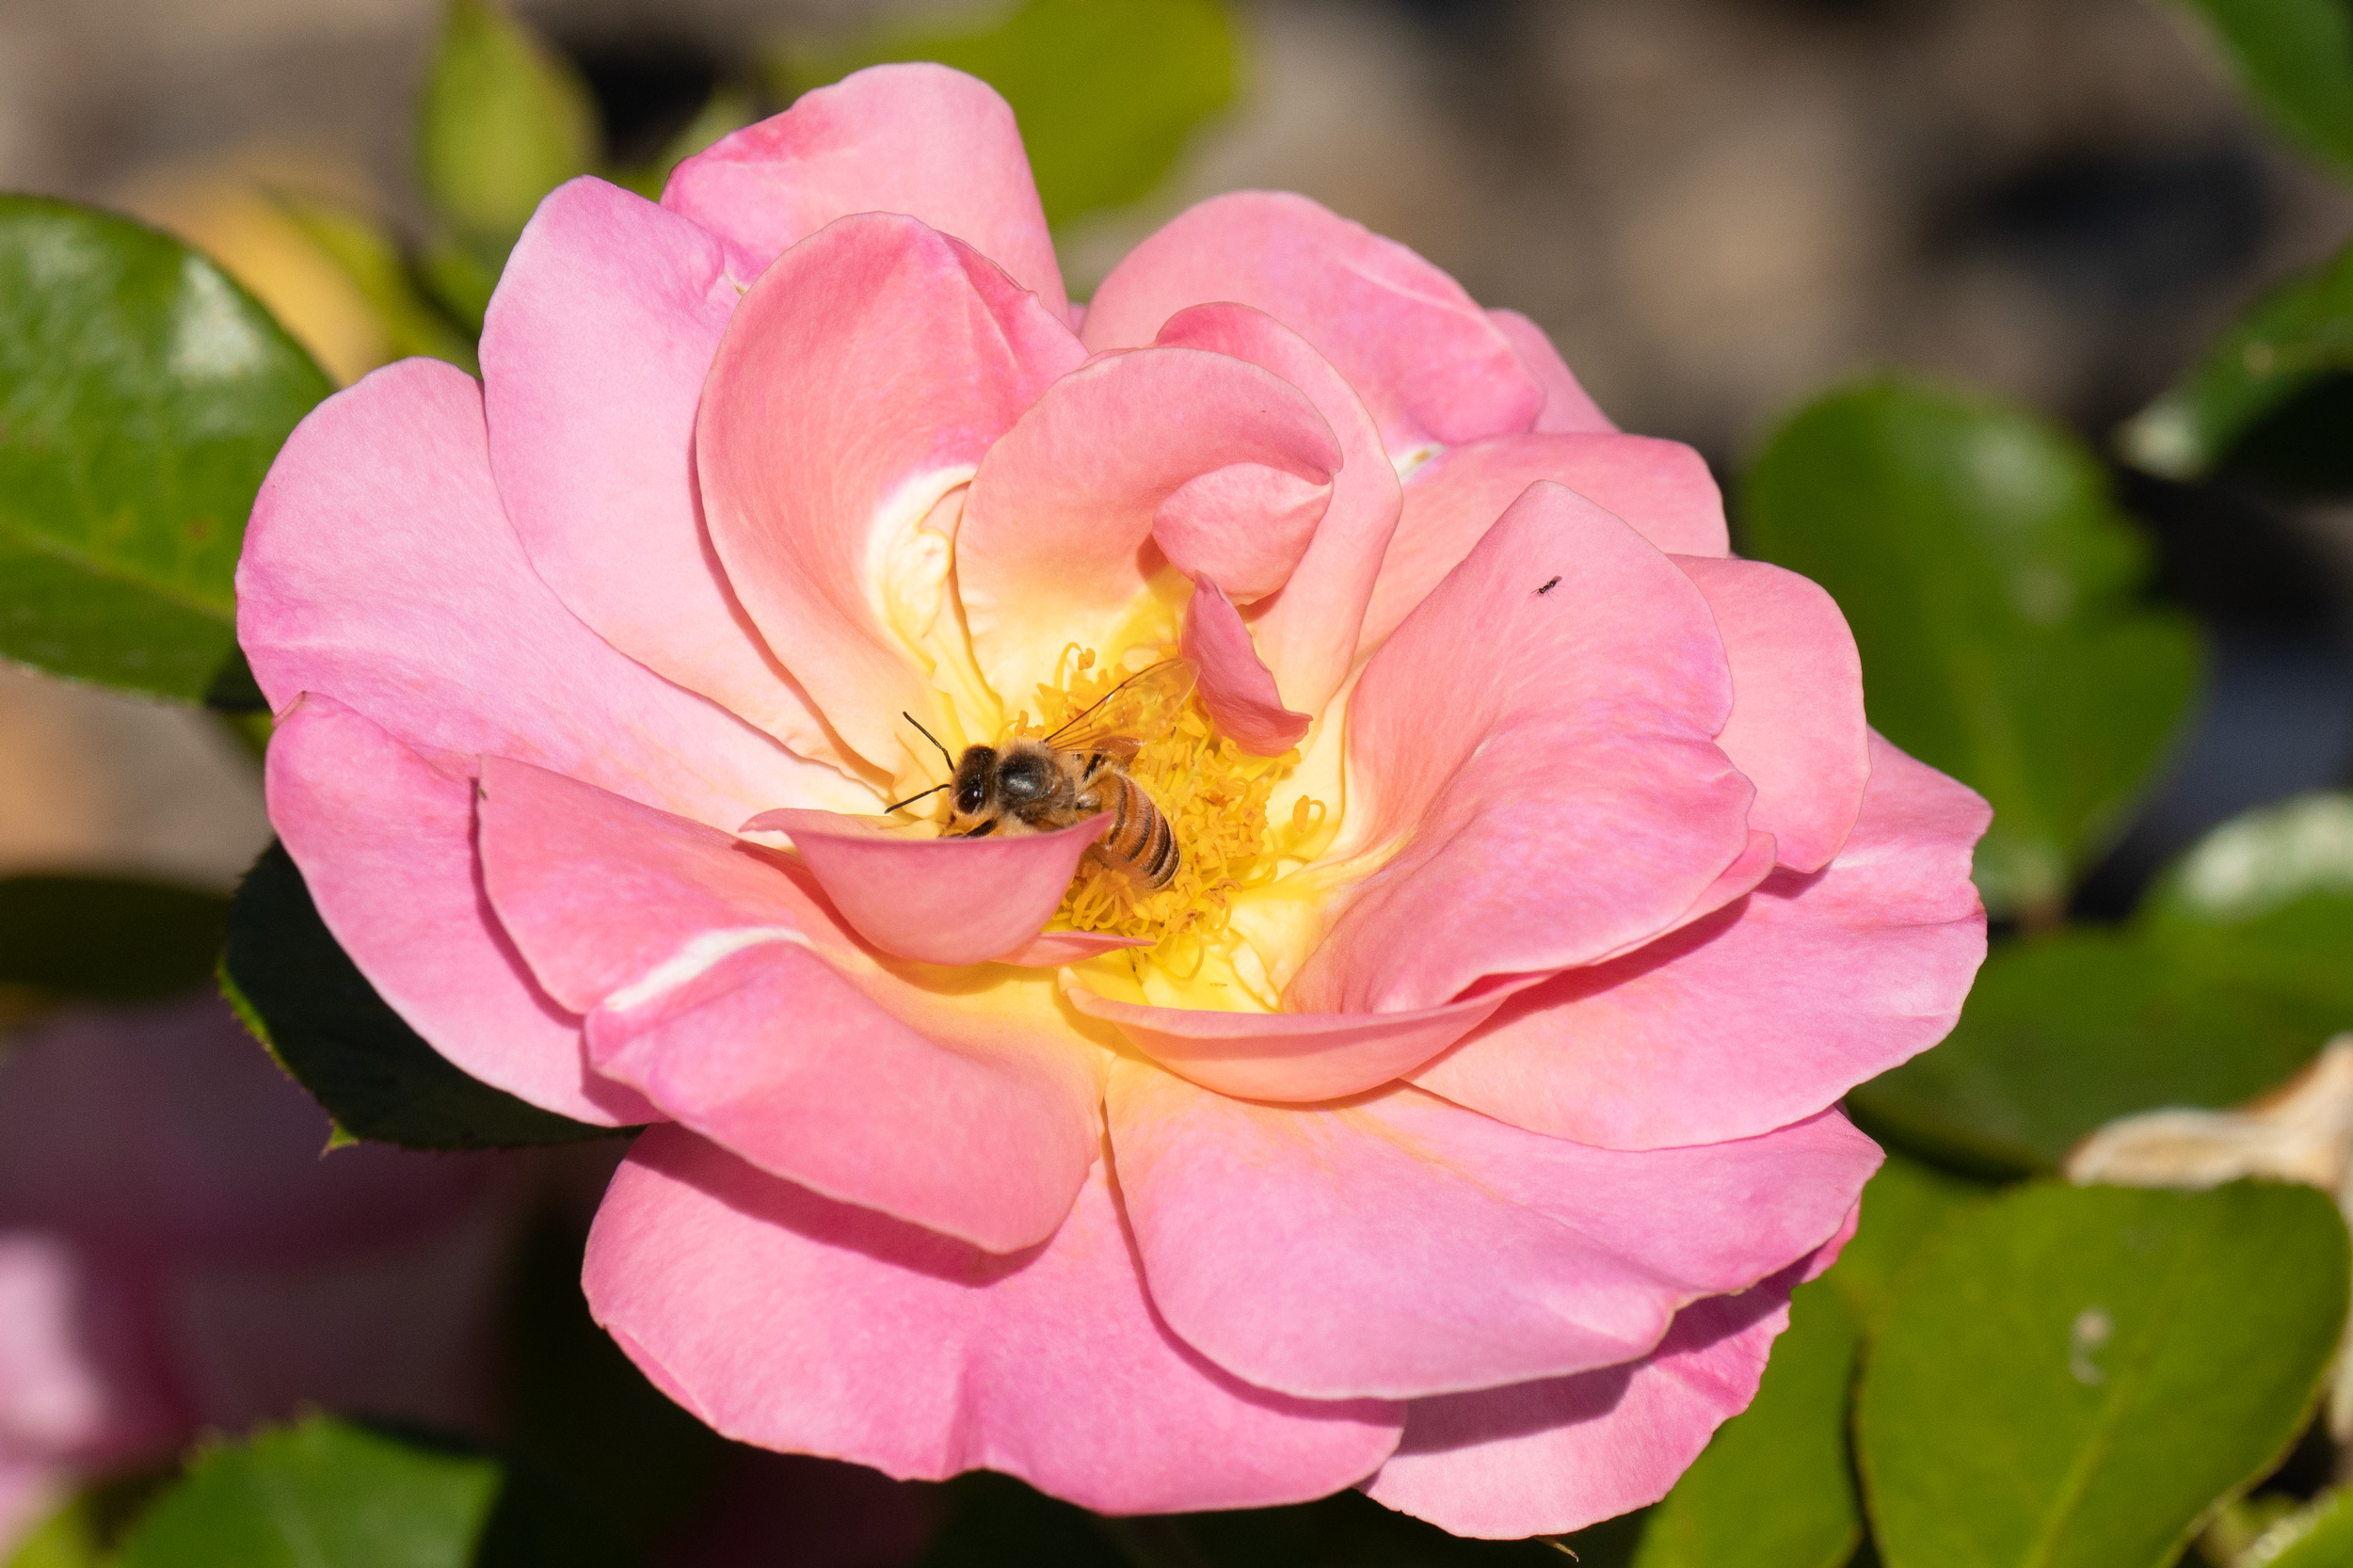
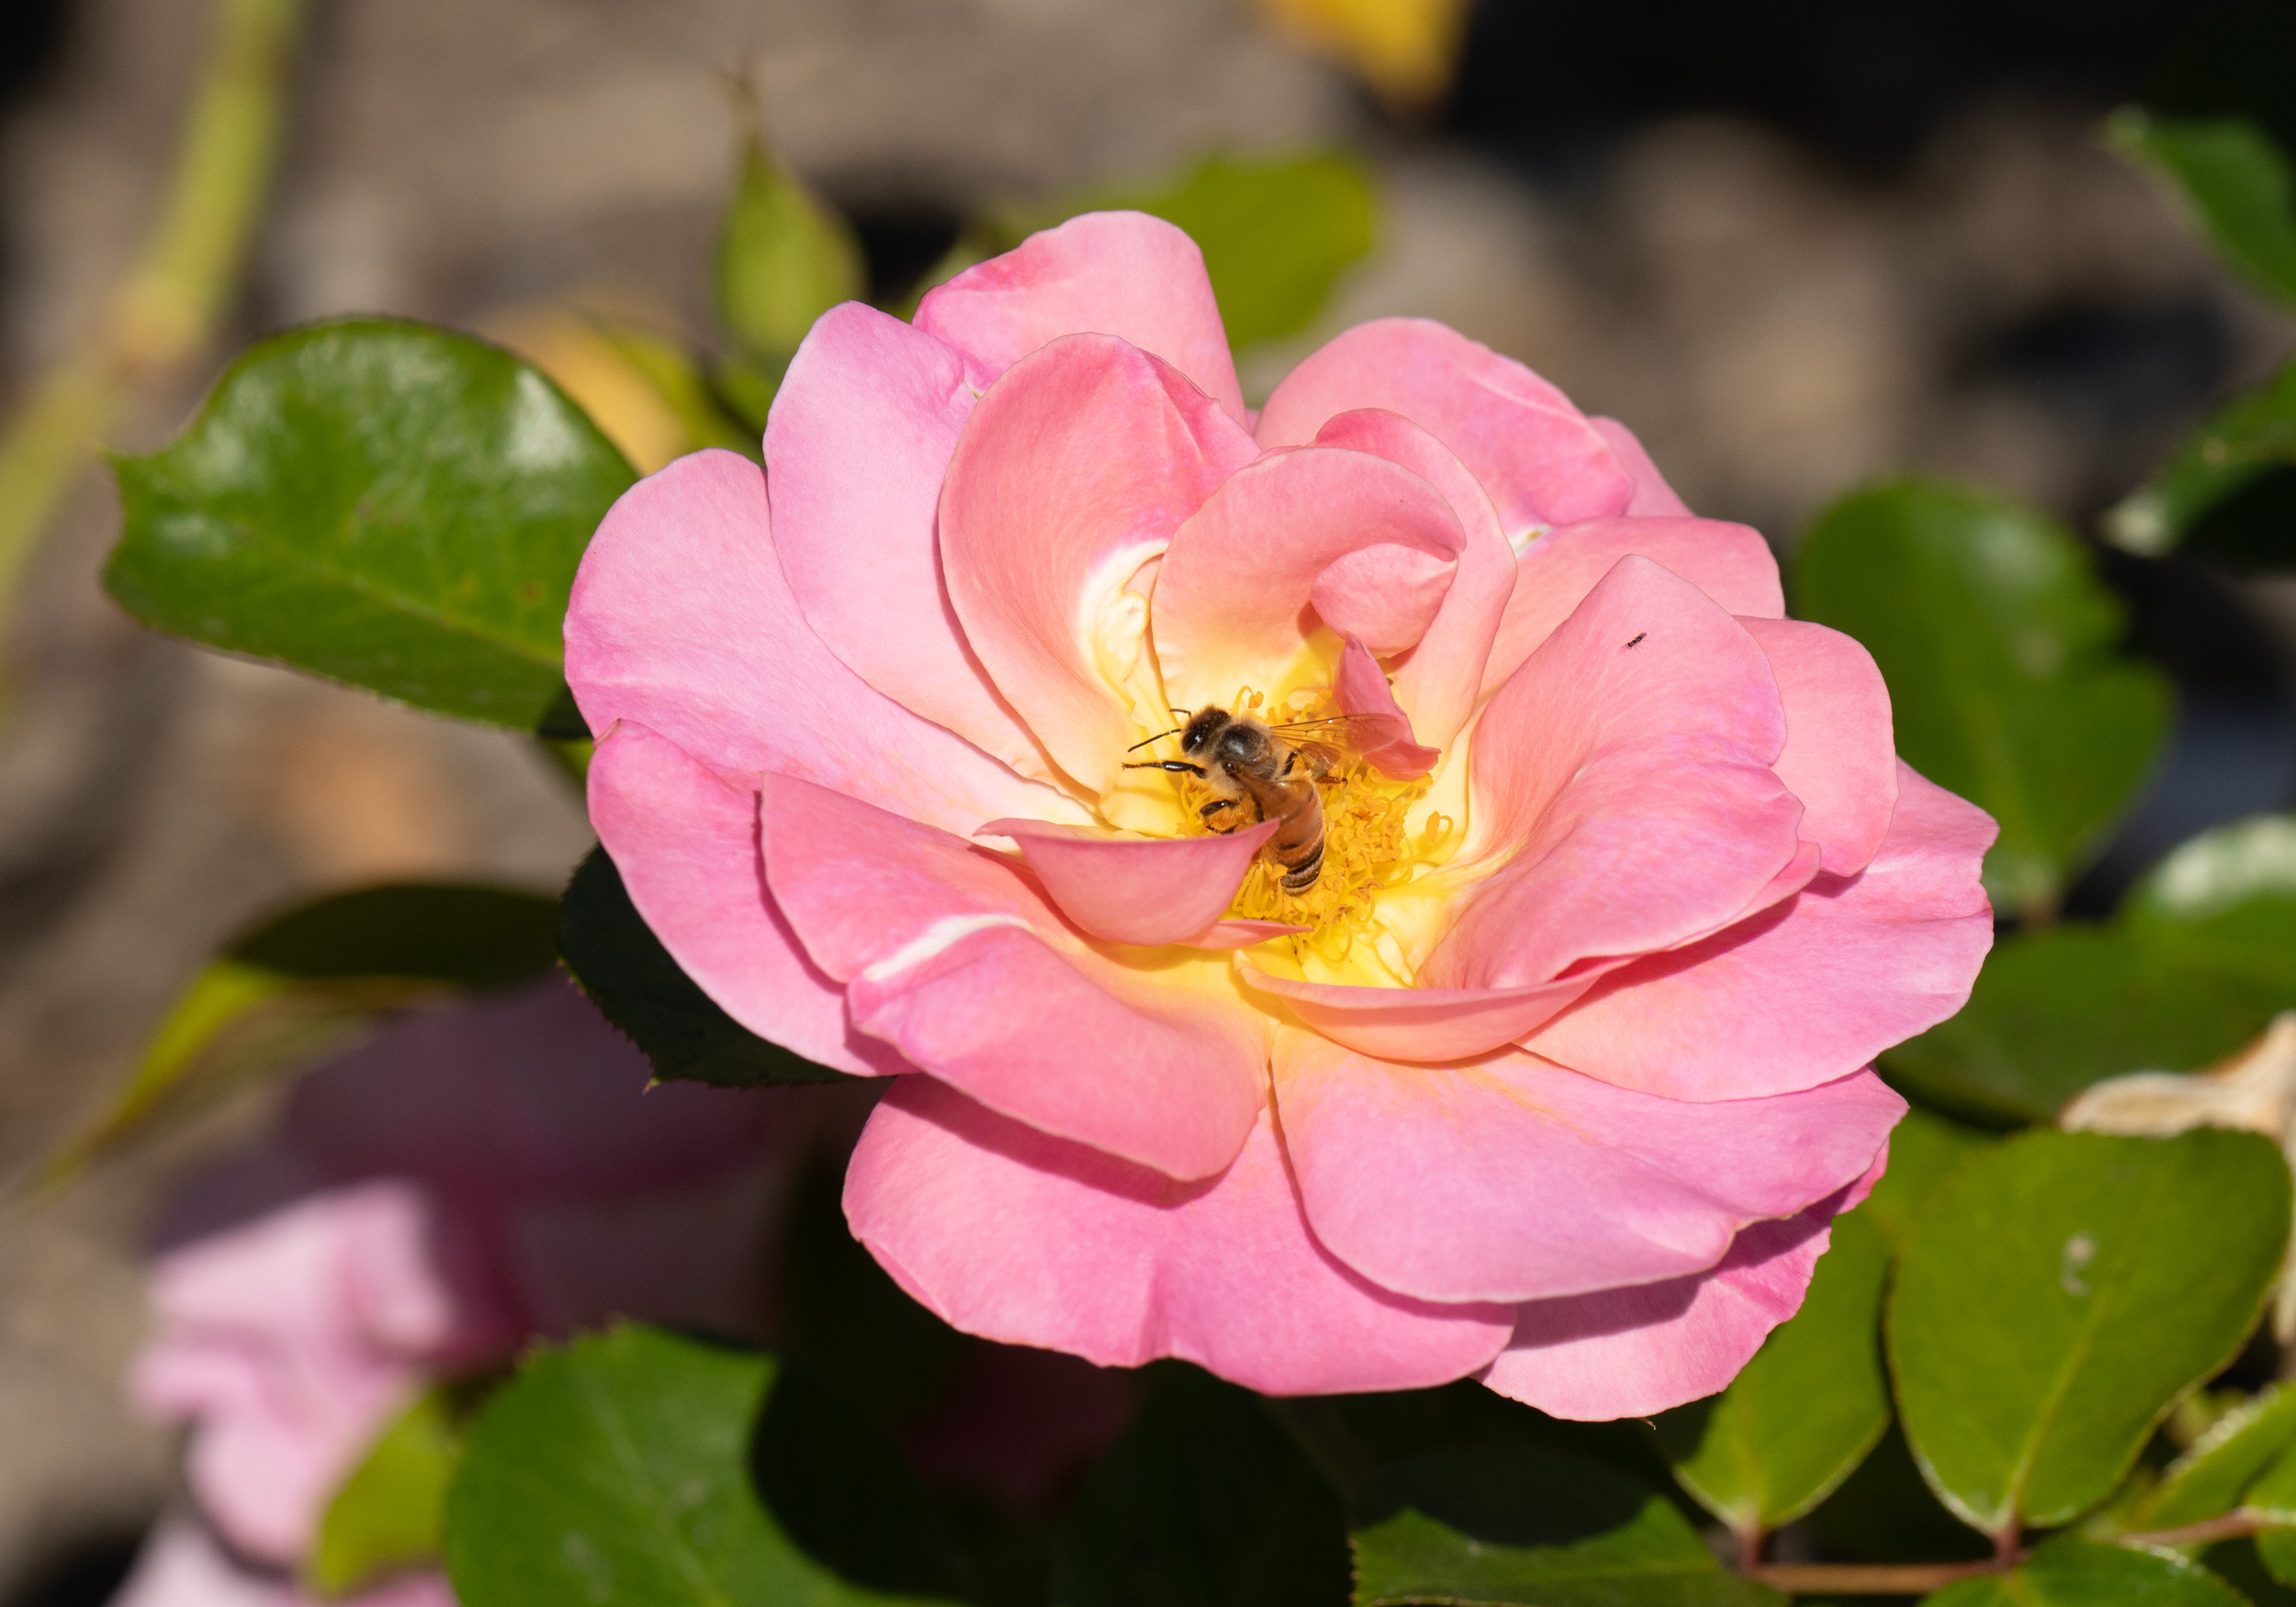
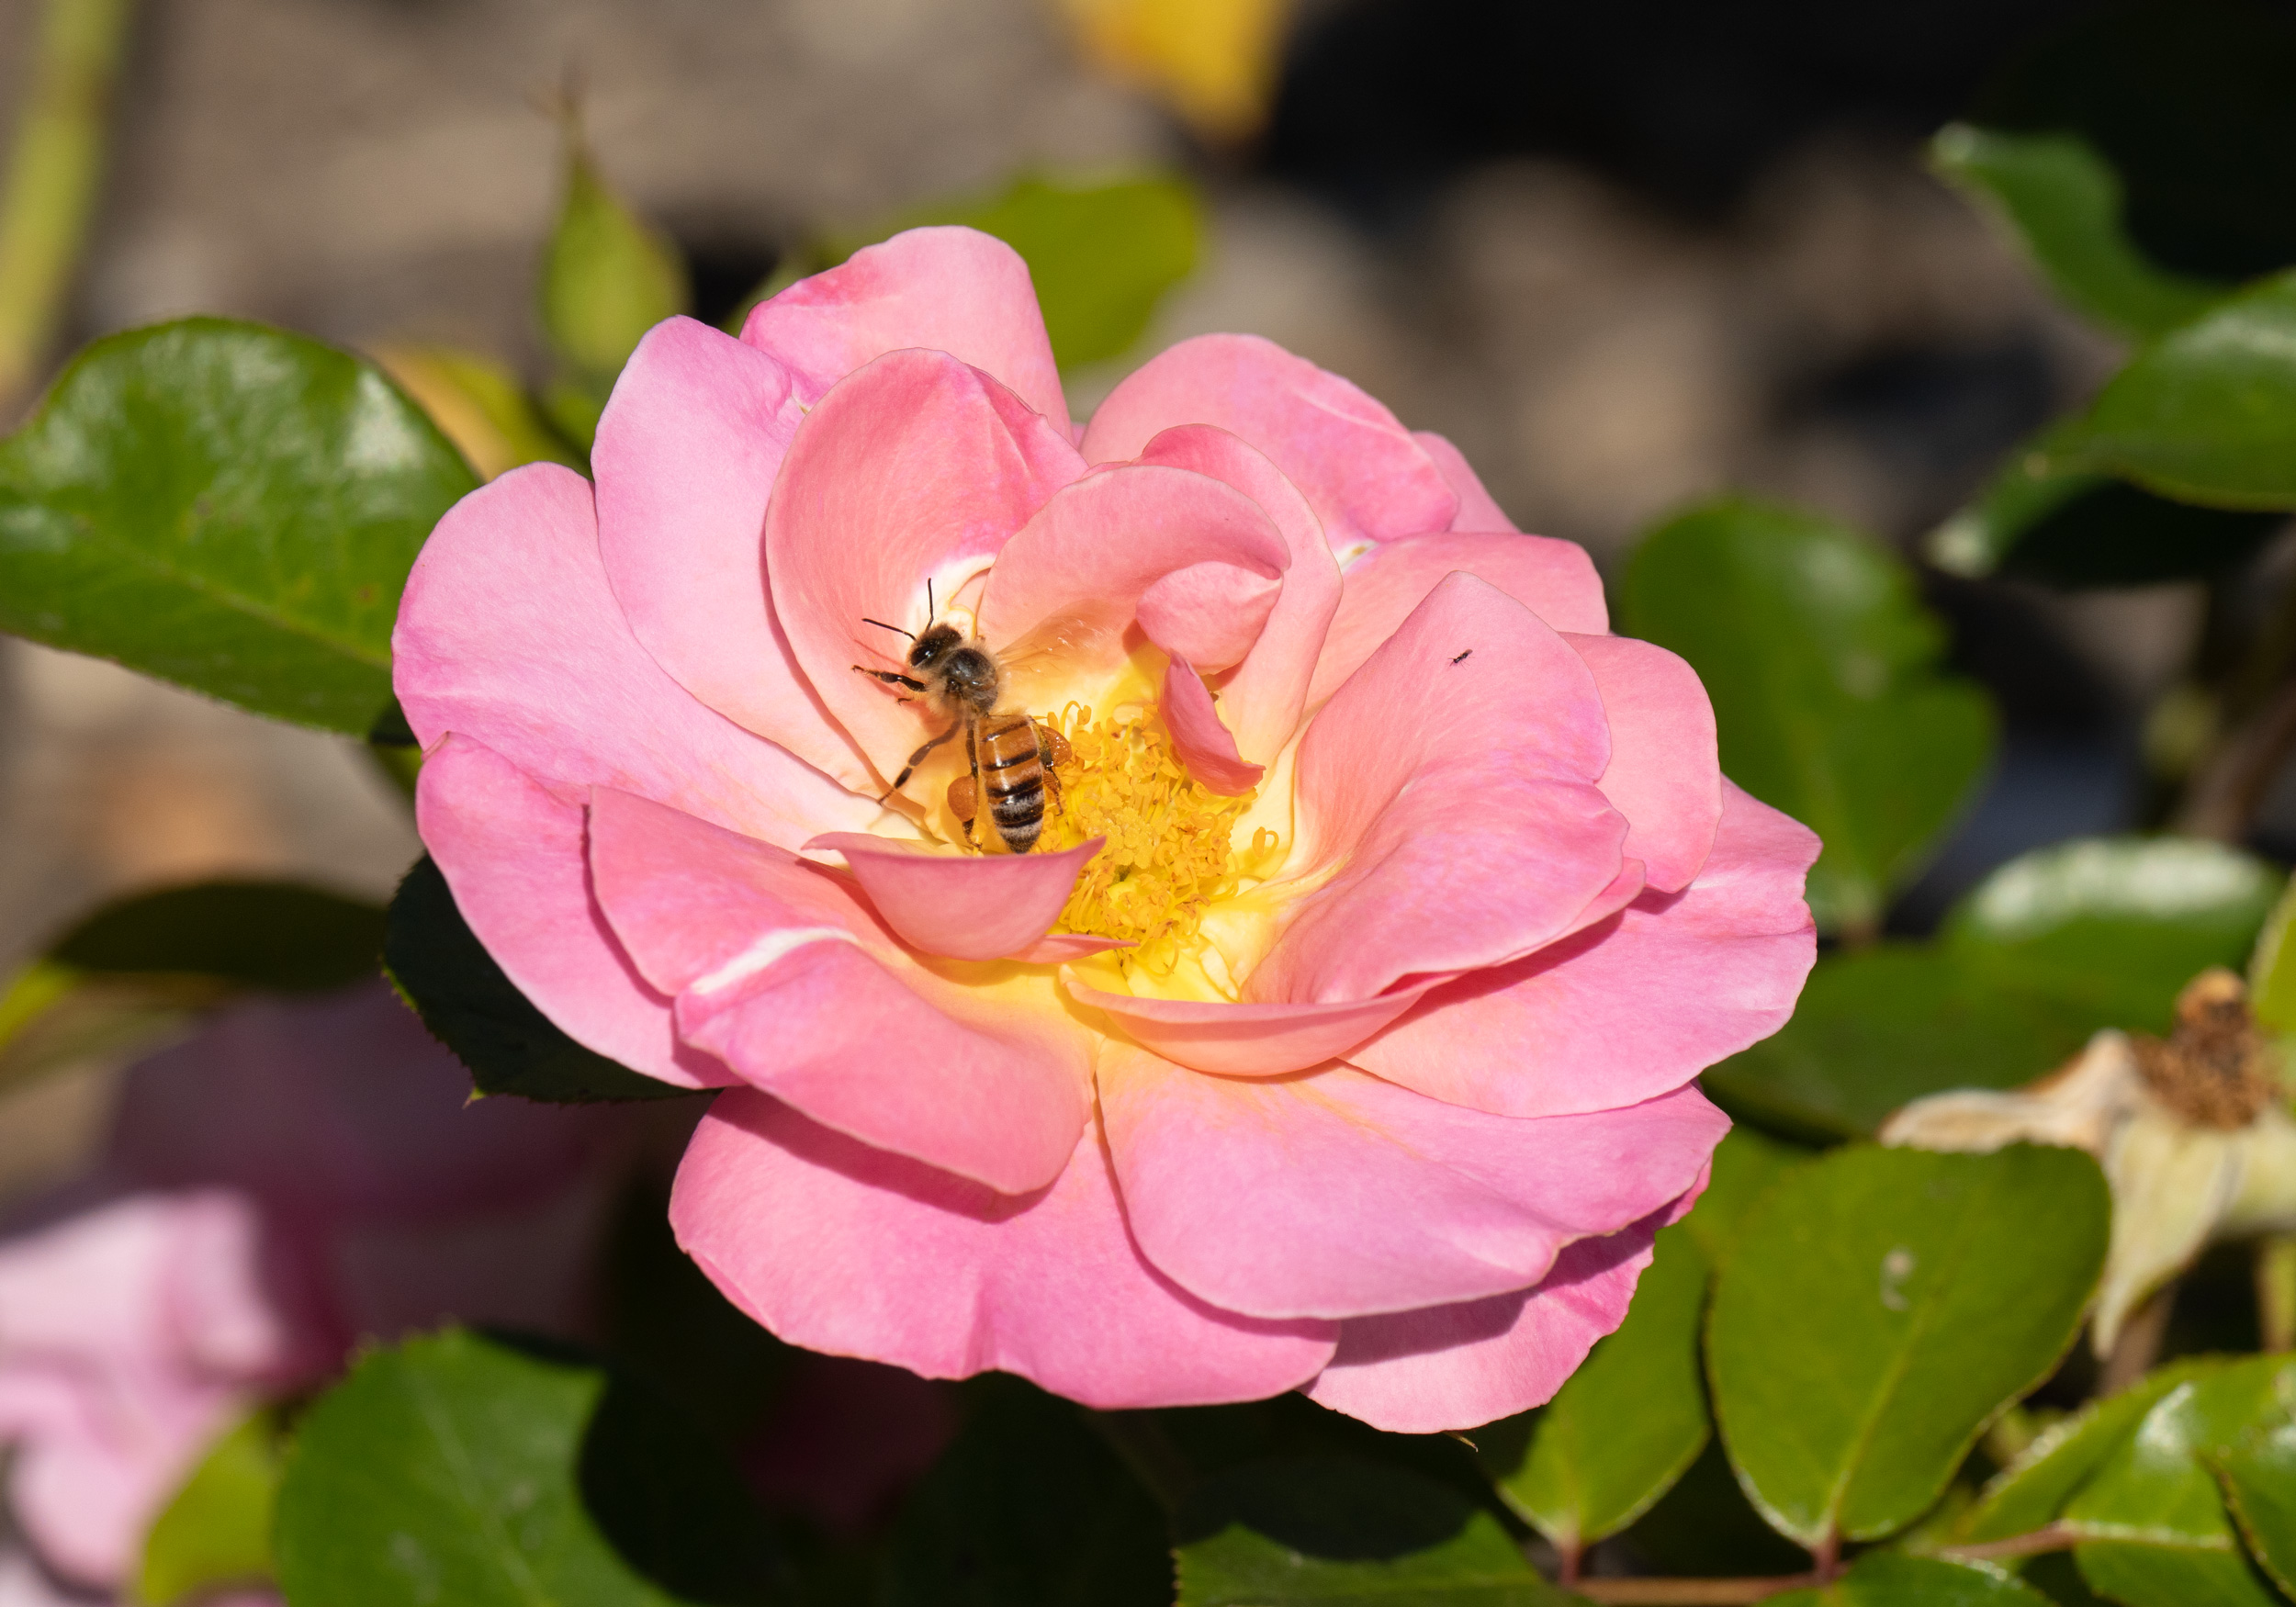
I am working out the strengths and weaknesses of the new auto-focus on the Sony A7RV. It’s extraordinary when it recognises subjects, but what about when it doesn’t? I headed to the Rose Garden with two objectives: to try out Insect AF on bees, and to try the AF on flowers without bees – the list of subjects recognised by the A7RV does not include flowers. Perhaps Sony felt that flowers aren’t too difficult to photograph using old-fashioned techniques, or perhaps Sony’s monster AF training system had trouble locating the eyes on flowers?
These images were all shot with the A7RV set to Insect Subject Recognition (and mostly defaulting to a more normal auto-focus when it didn’t find an insect). The lens was the 70-200 f/2.8 GM II, set to f/8. ISO was on Auto, and shutter speed was mostly 1/2000. Most of the images have been cropped to around 5000 pixels wide (they vary from 2500 up to 6500 pixels wide).
Let’s start with the one flower that I found with a bee (click on the gallery to see the images larger):
I was wondering about the blur over the middle leg until I realised that the bee’s wings were buzzing because it was about to take off.
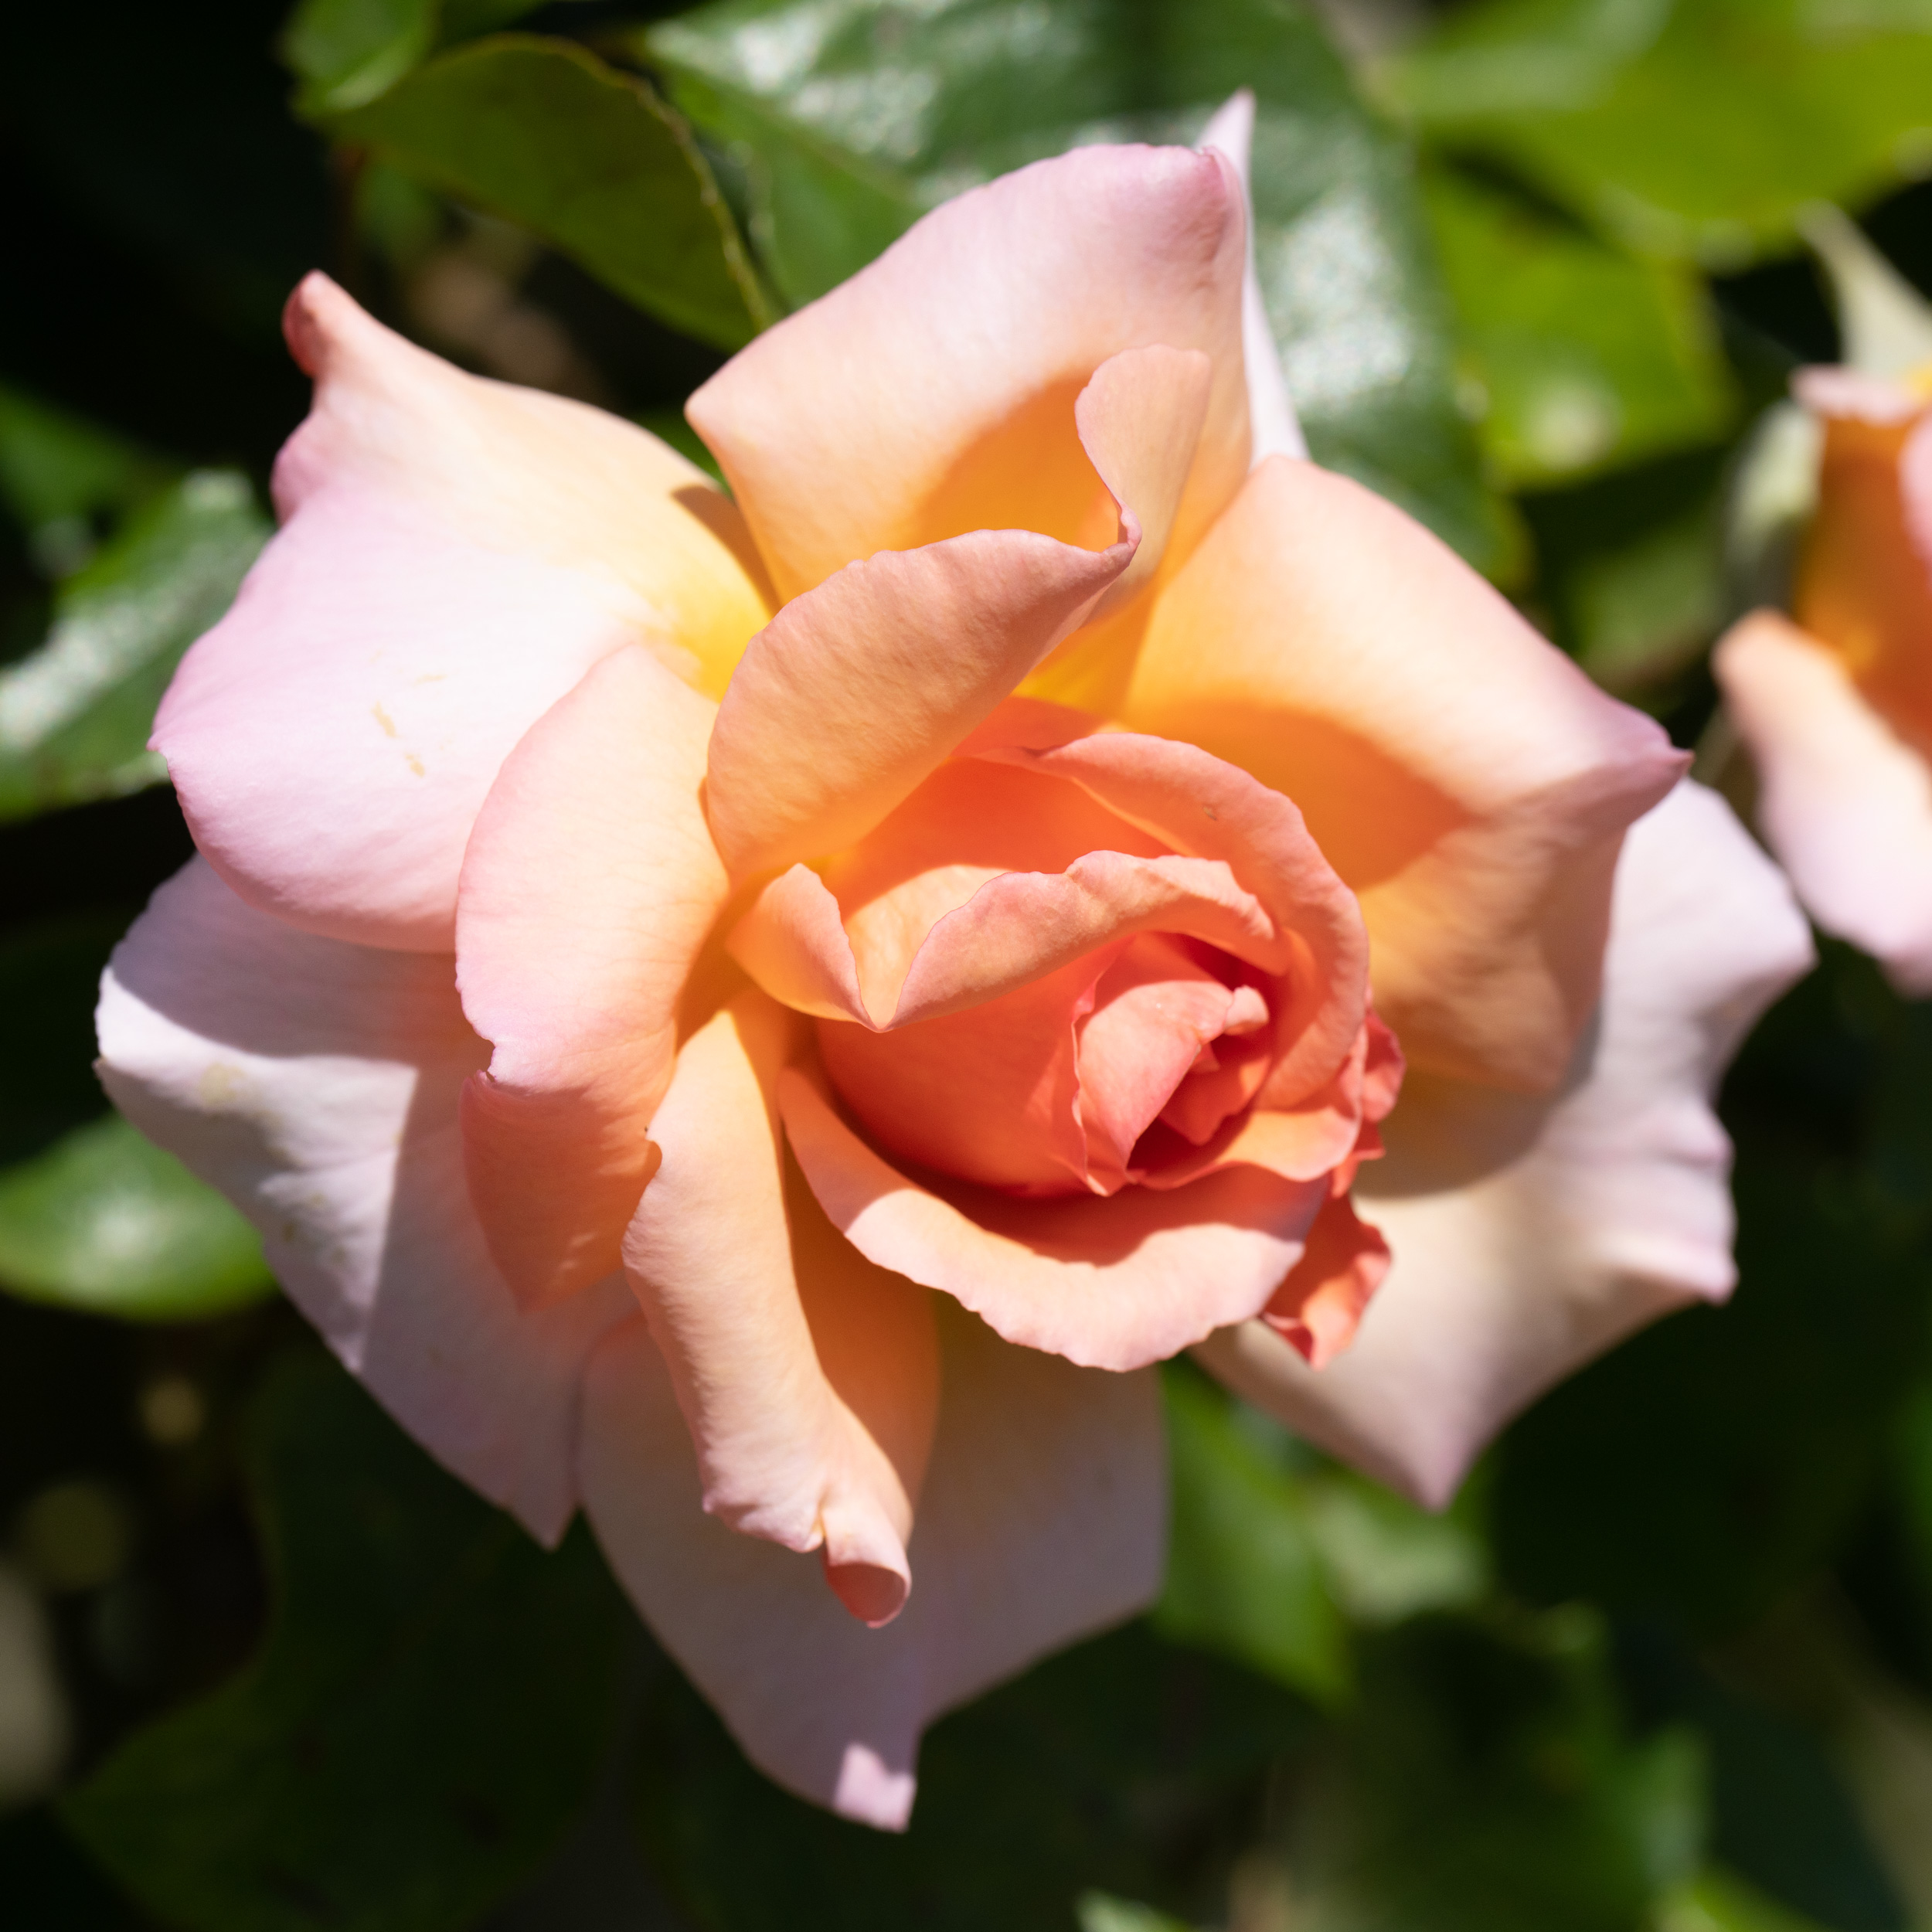
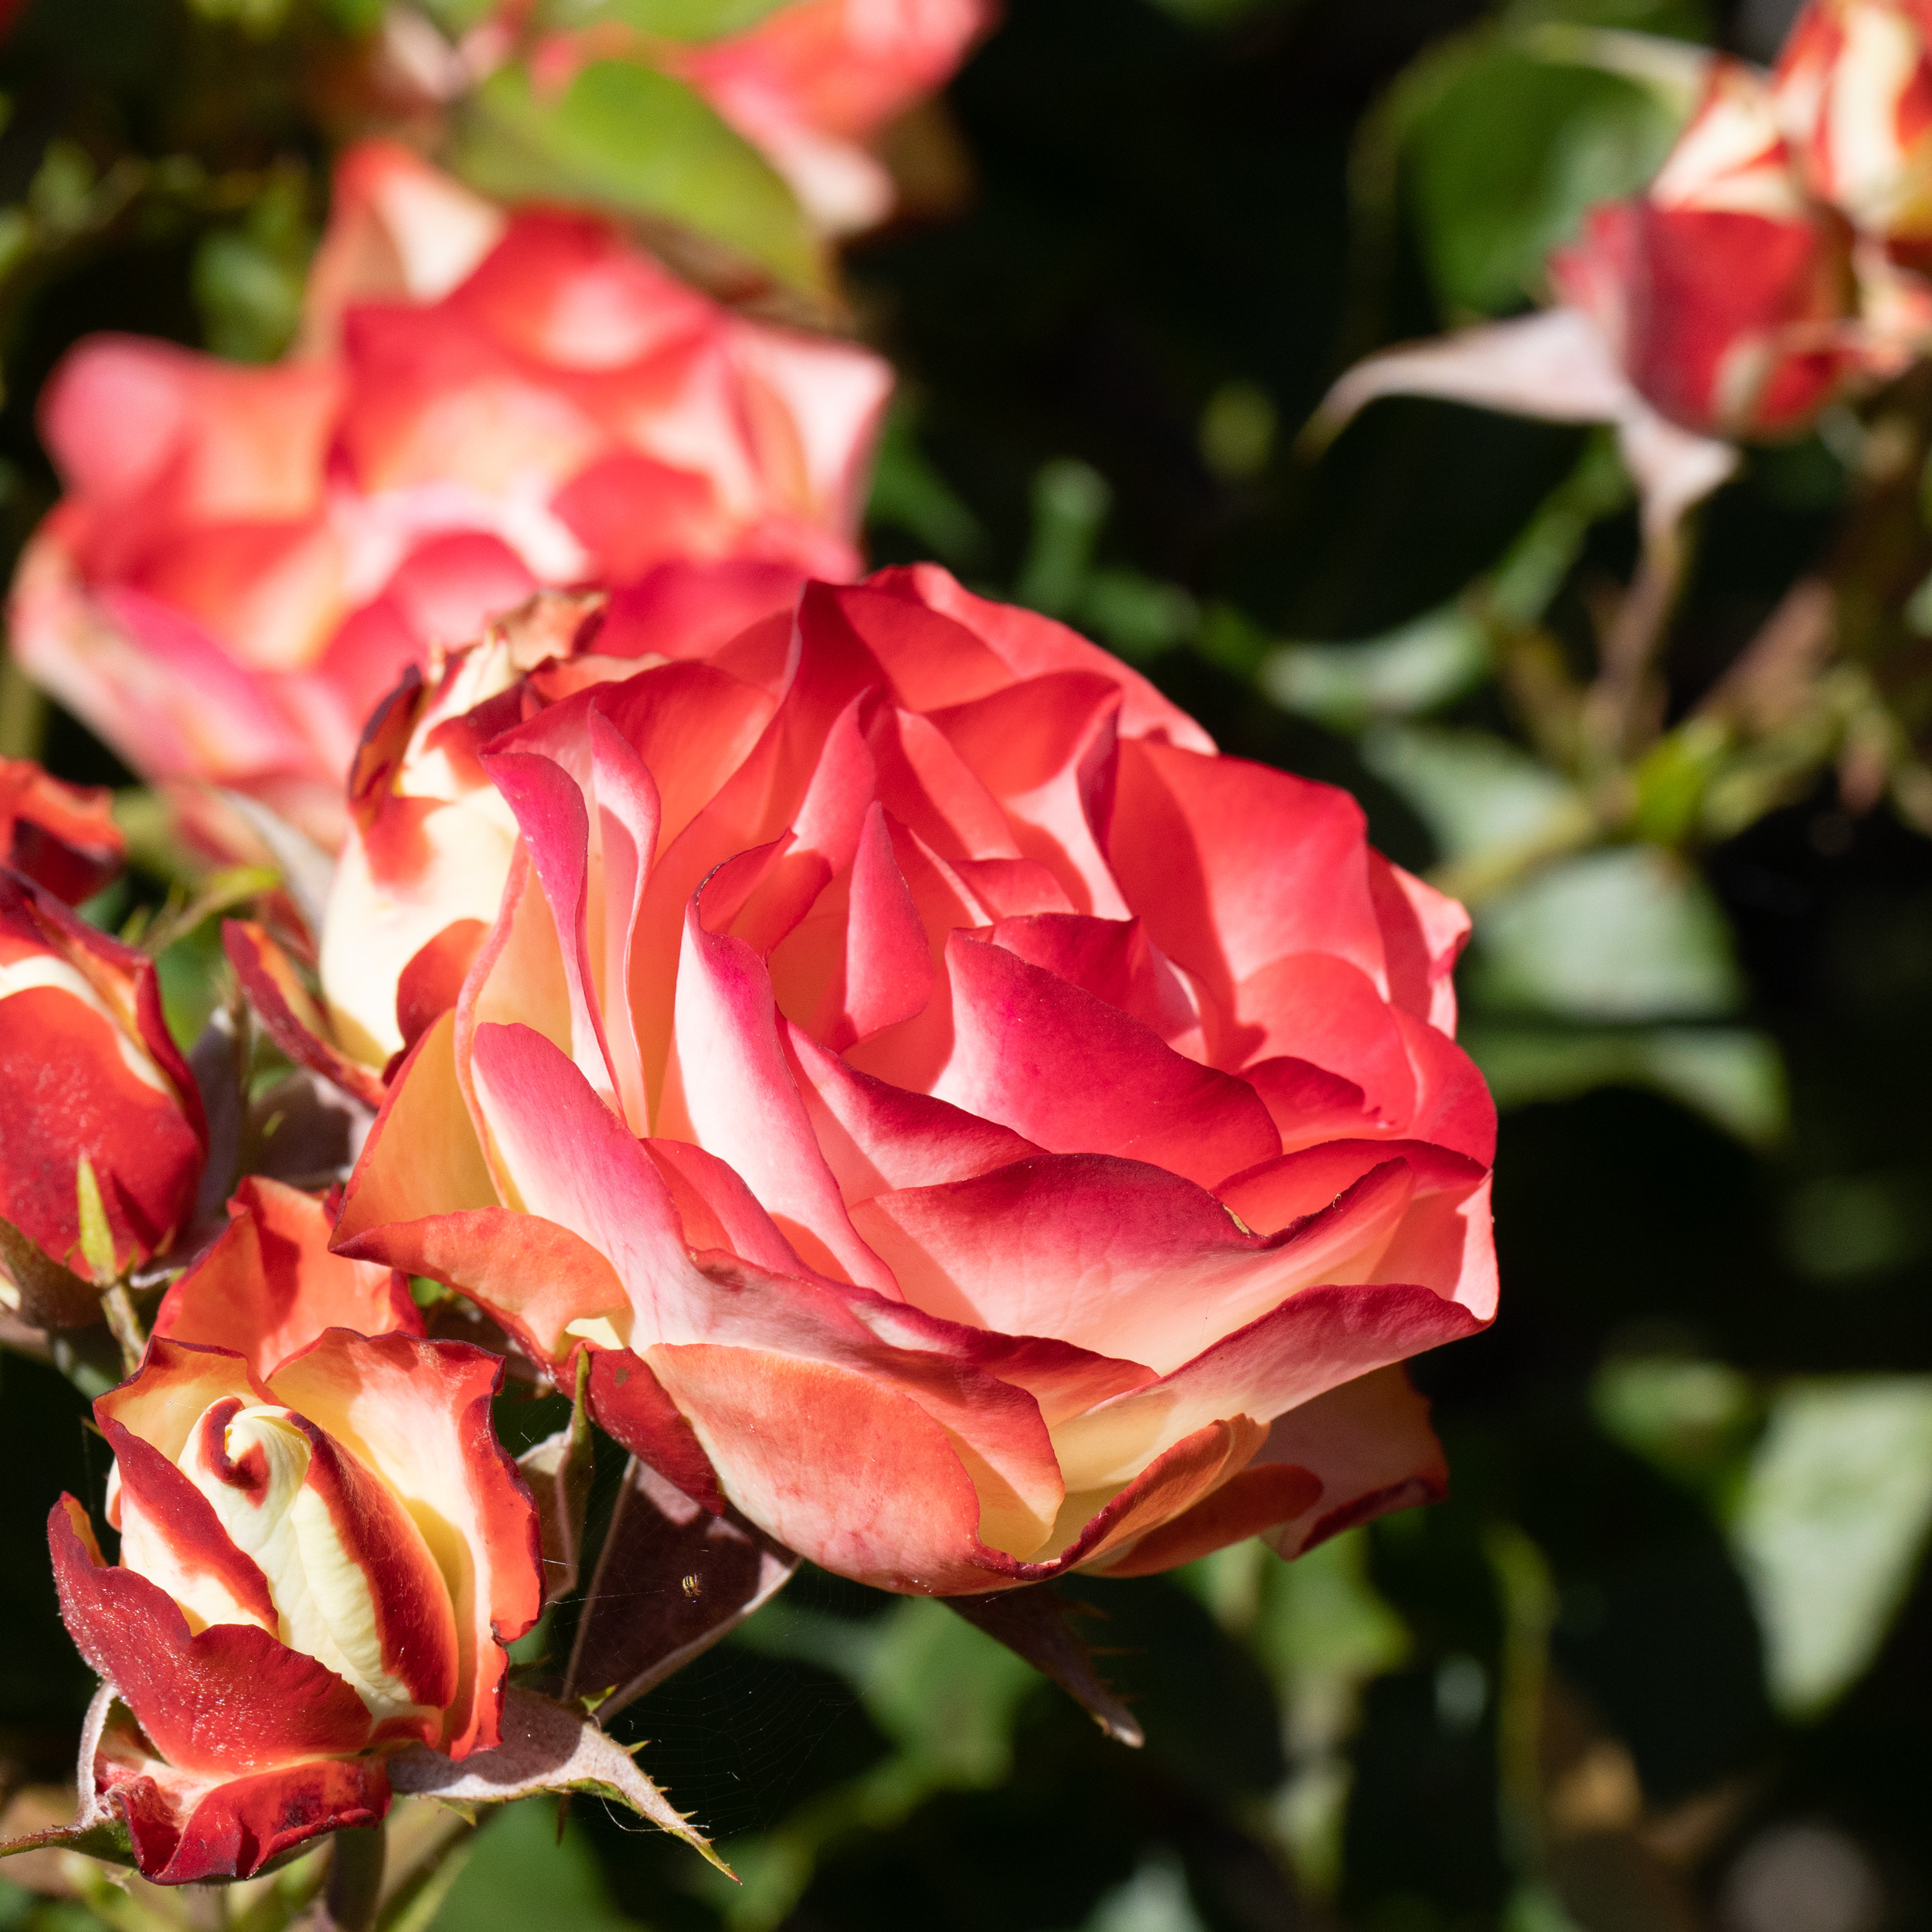
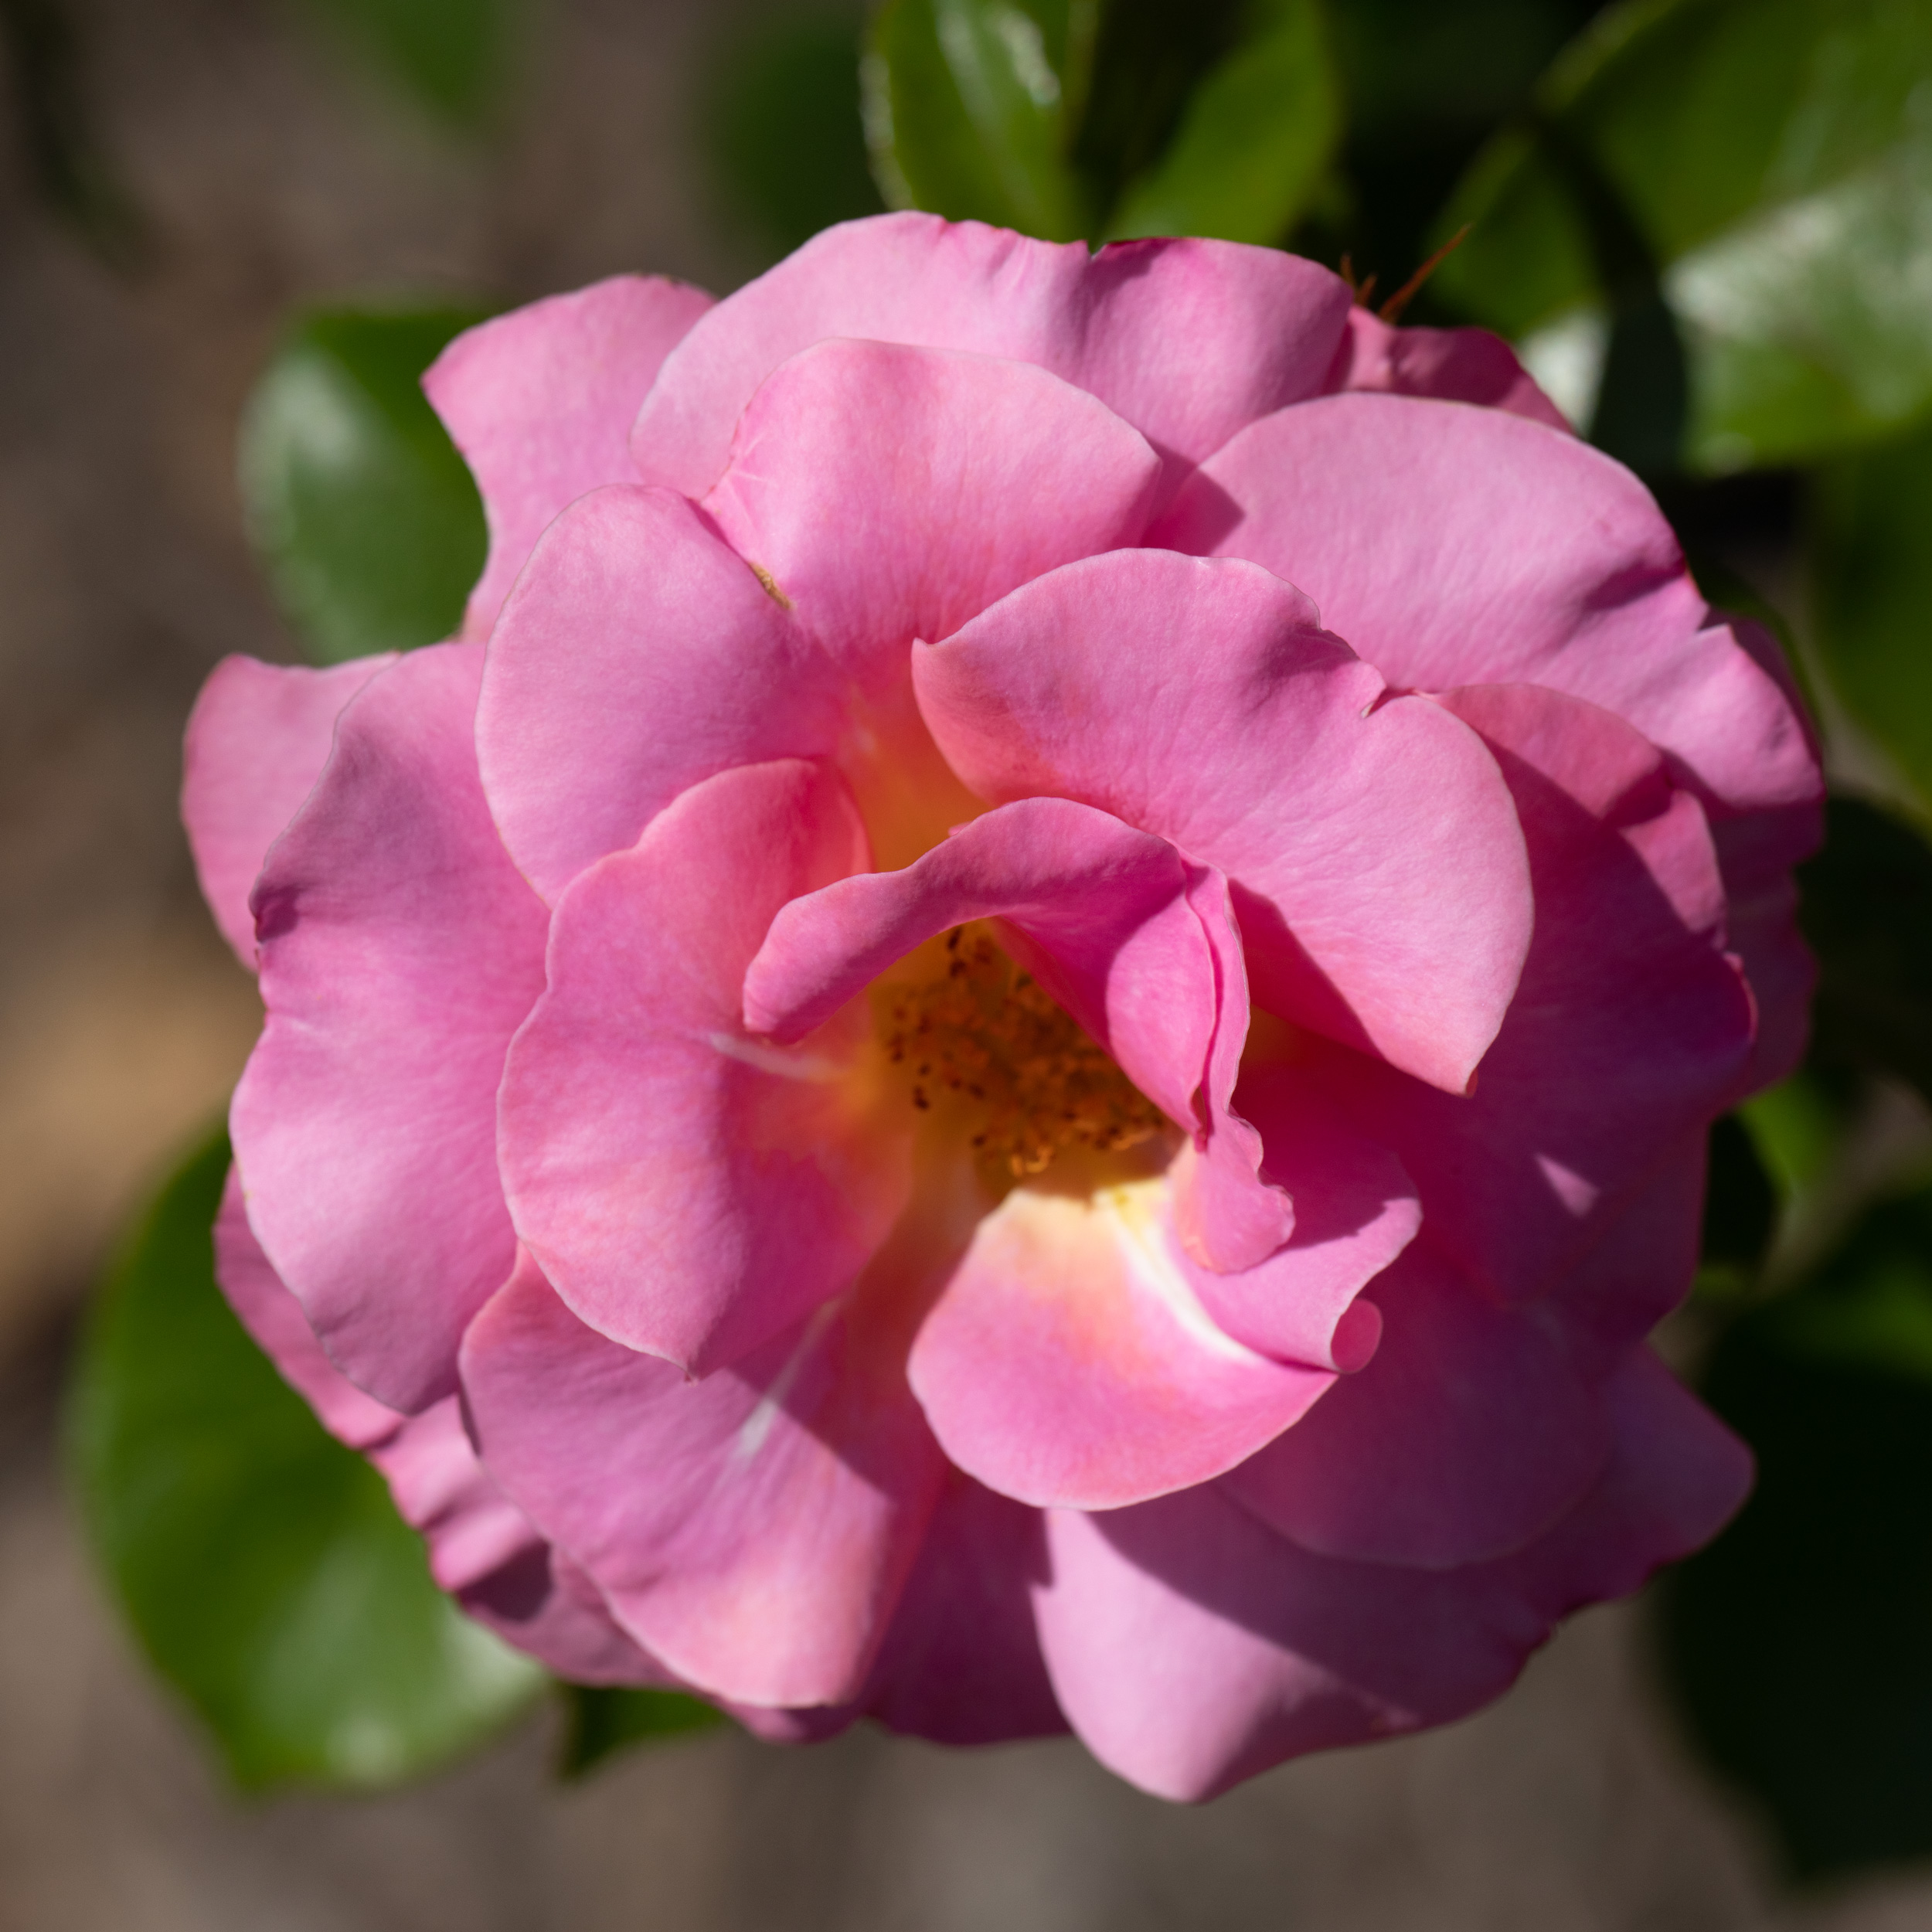
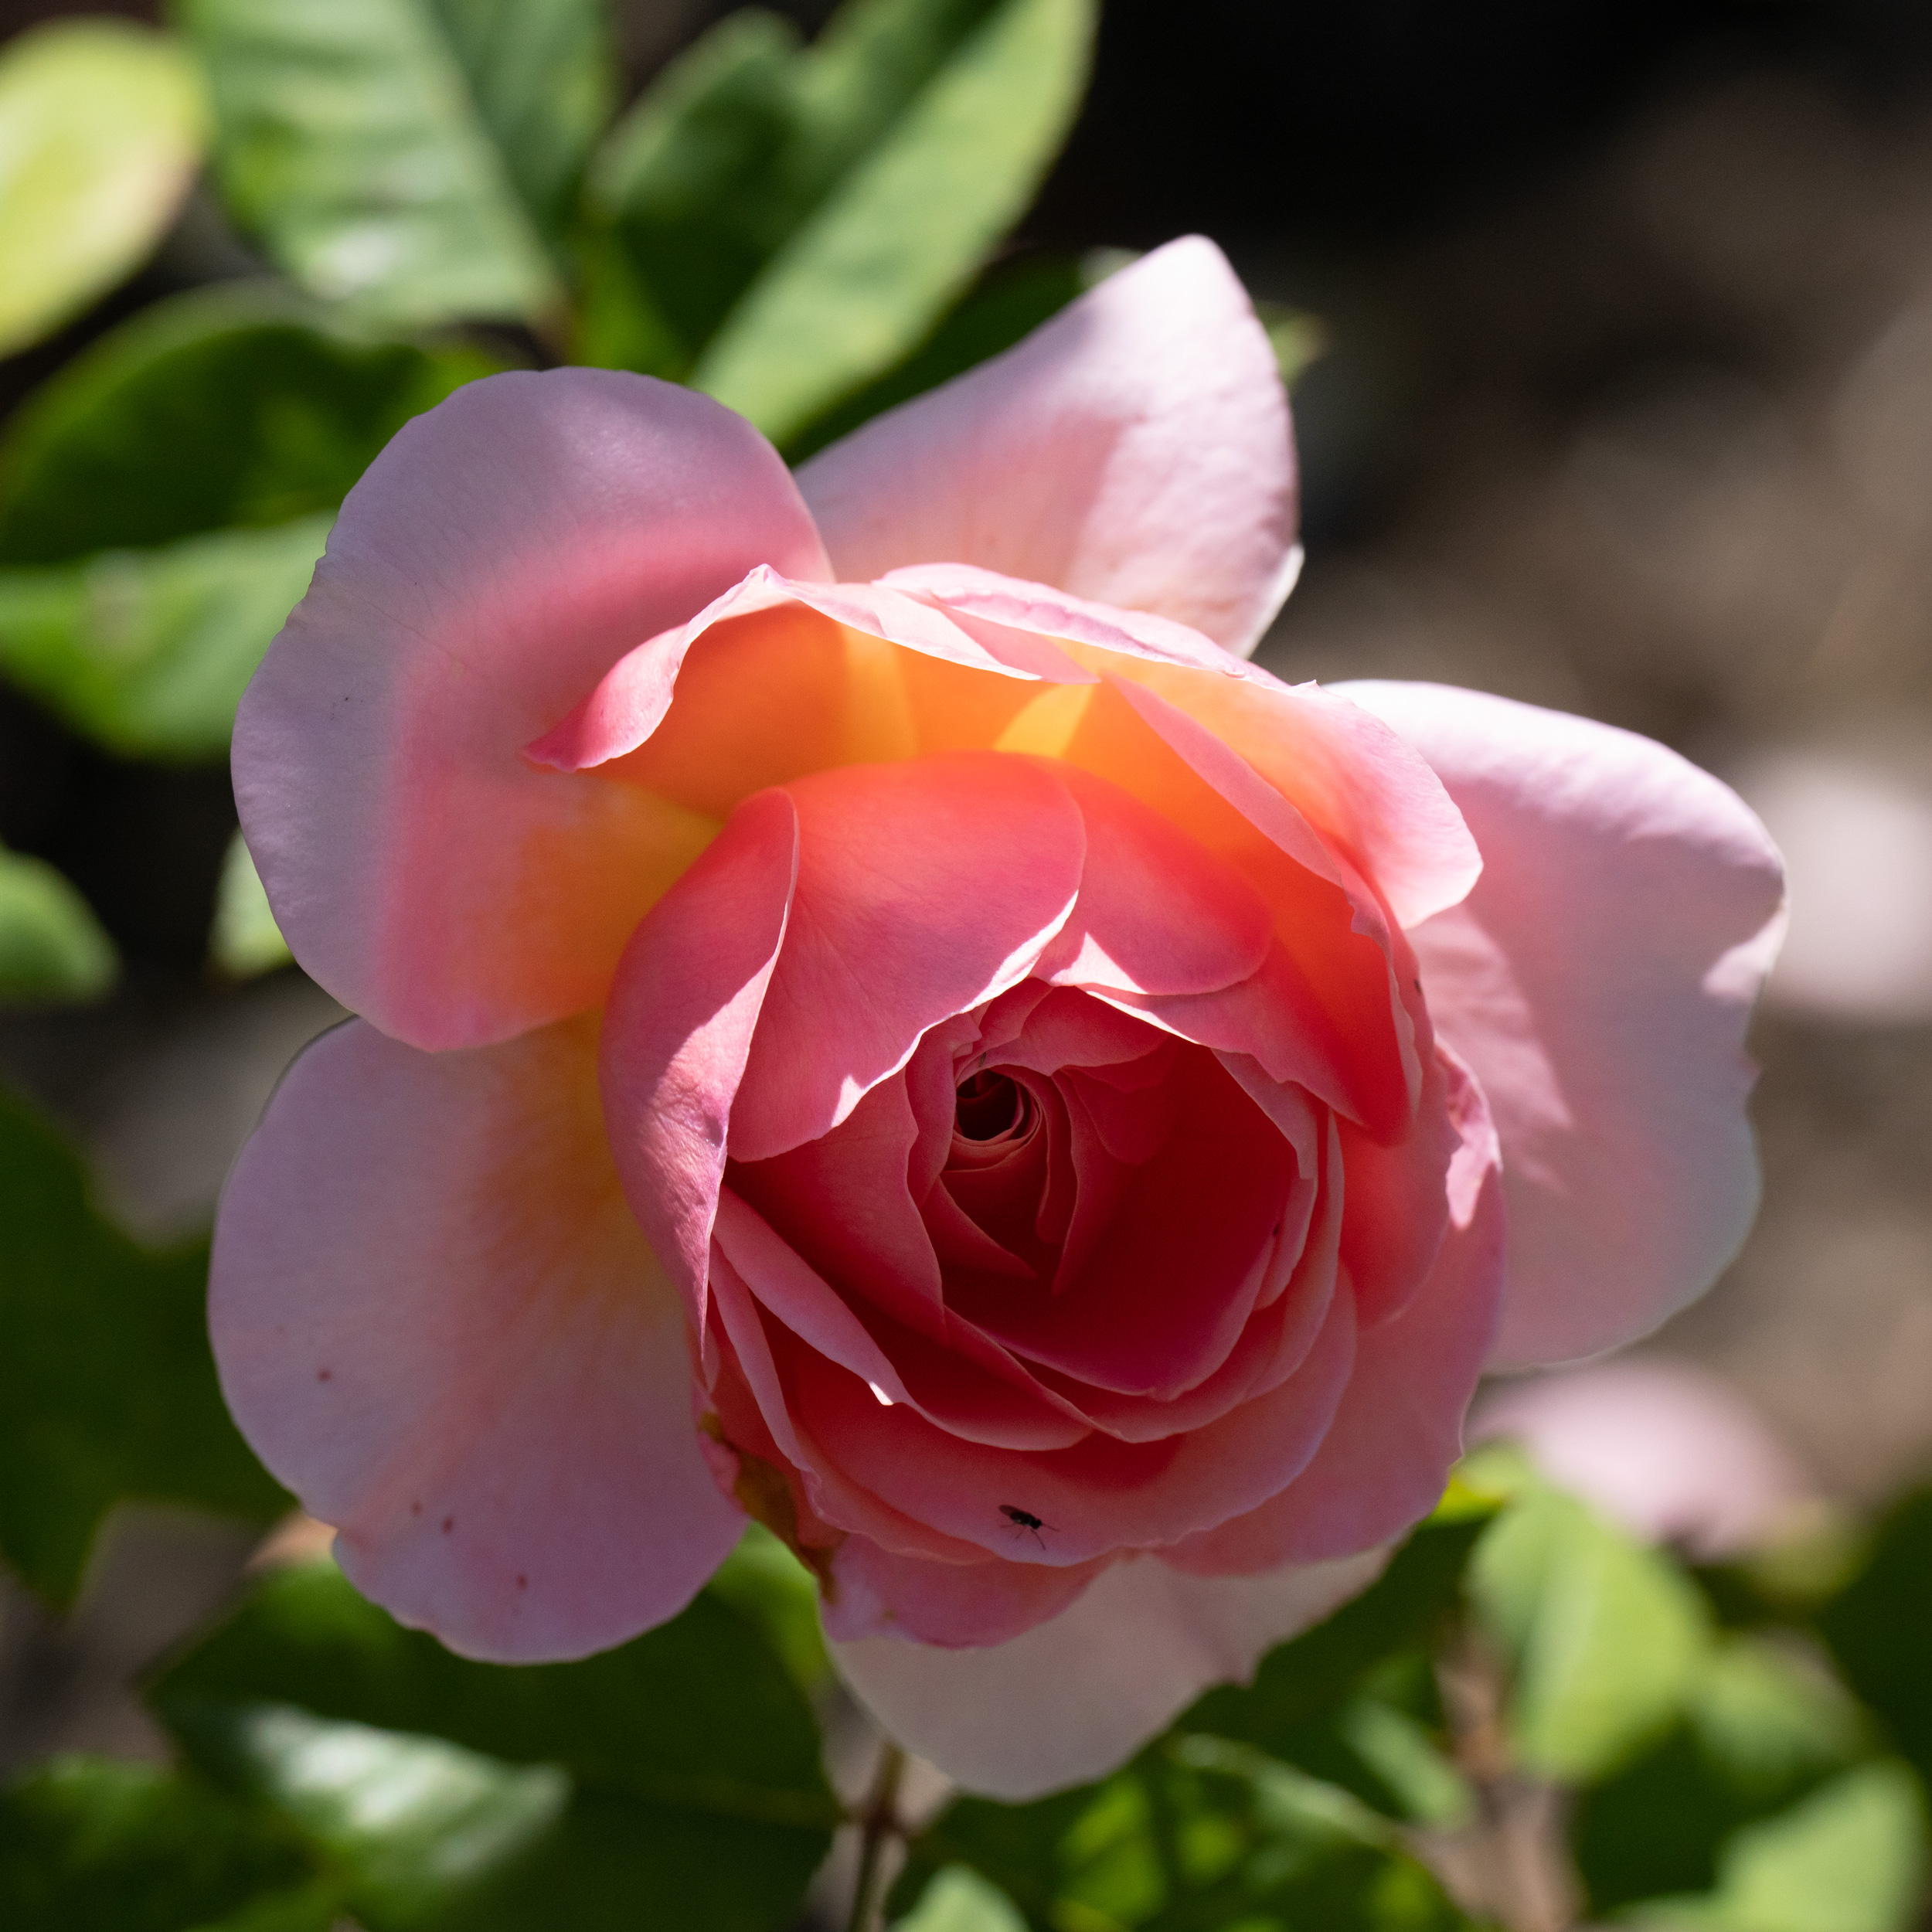
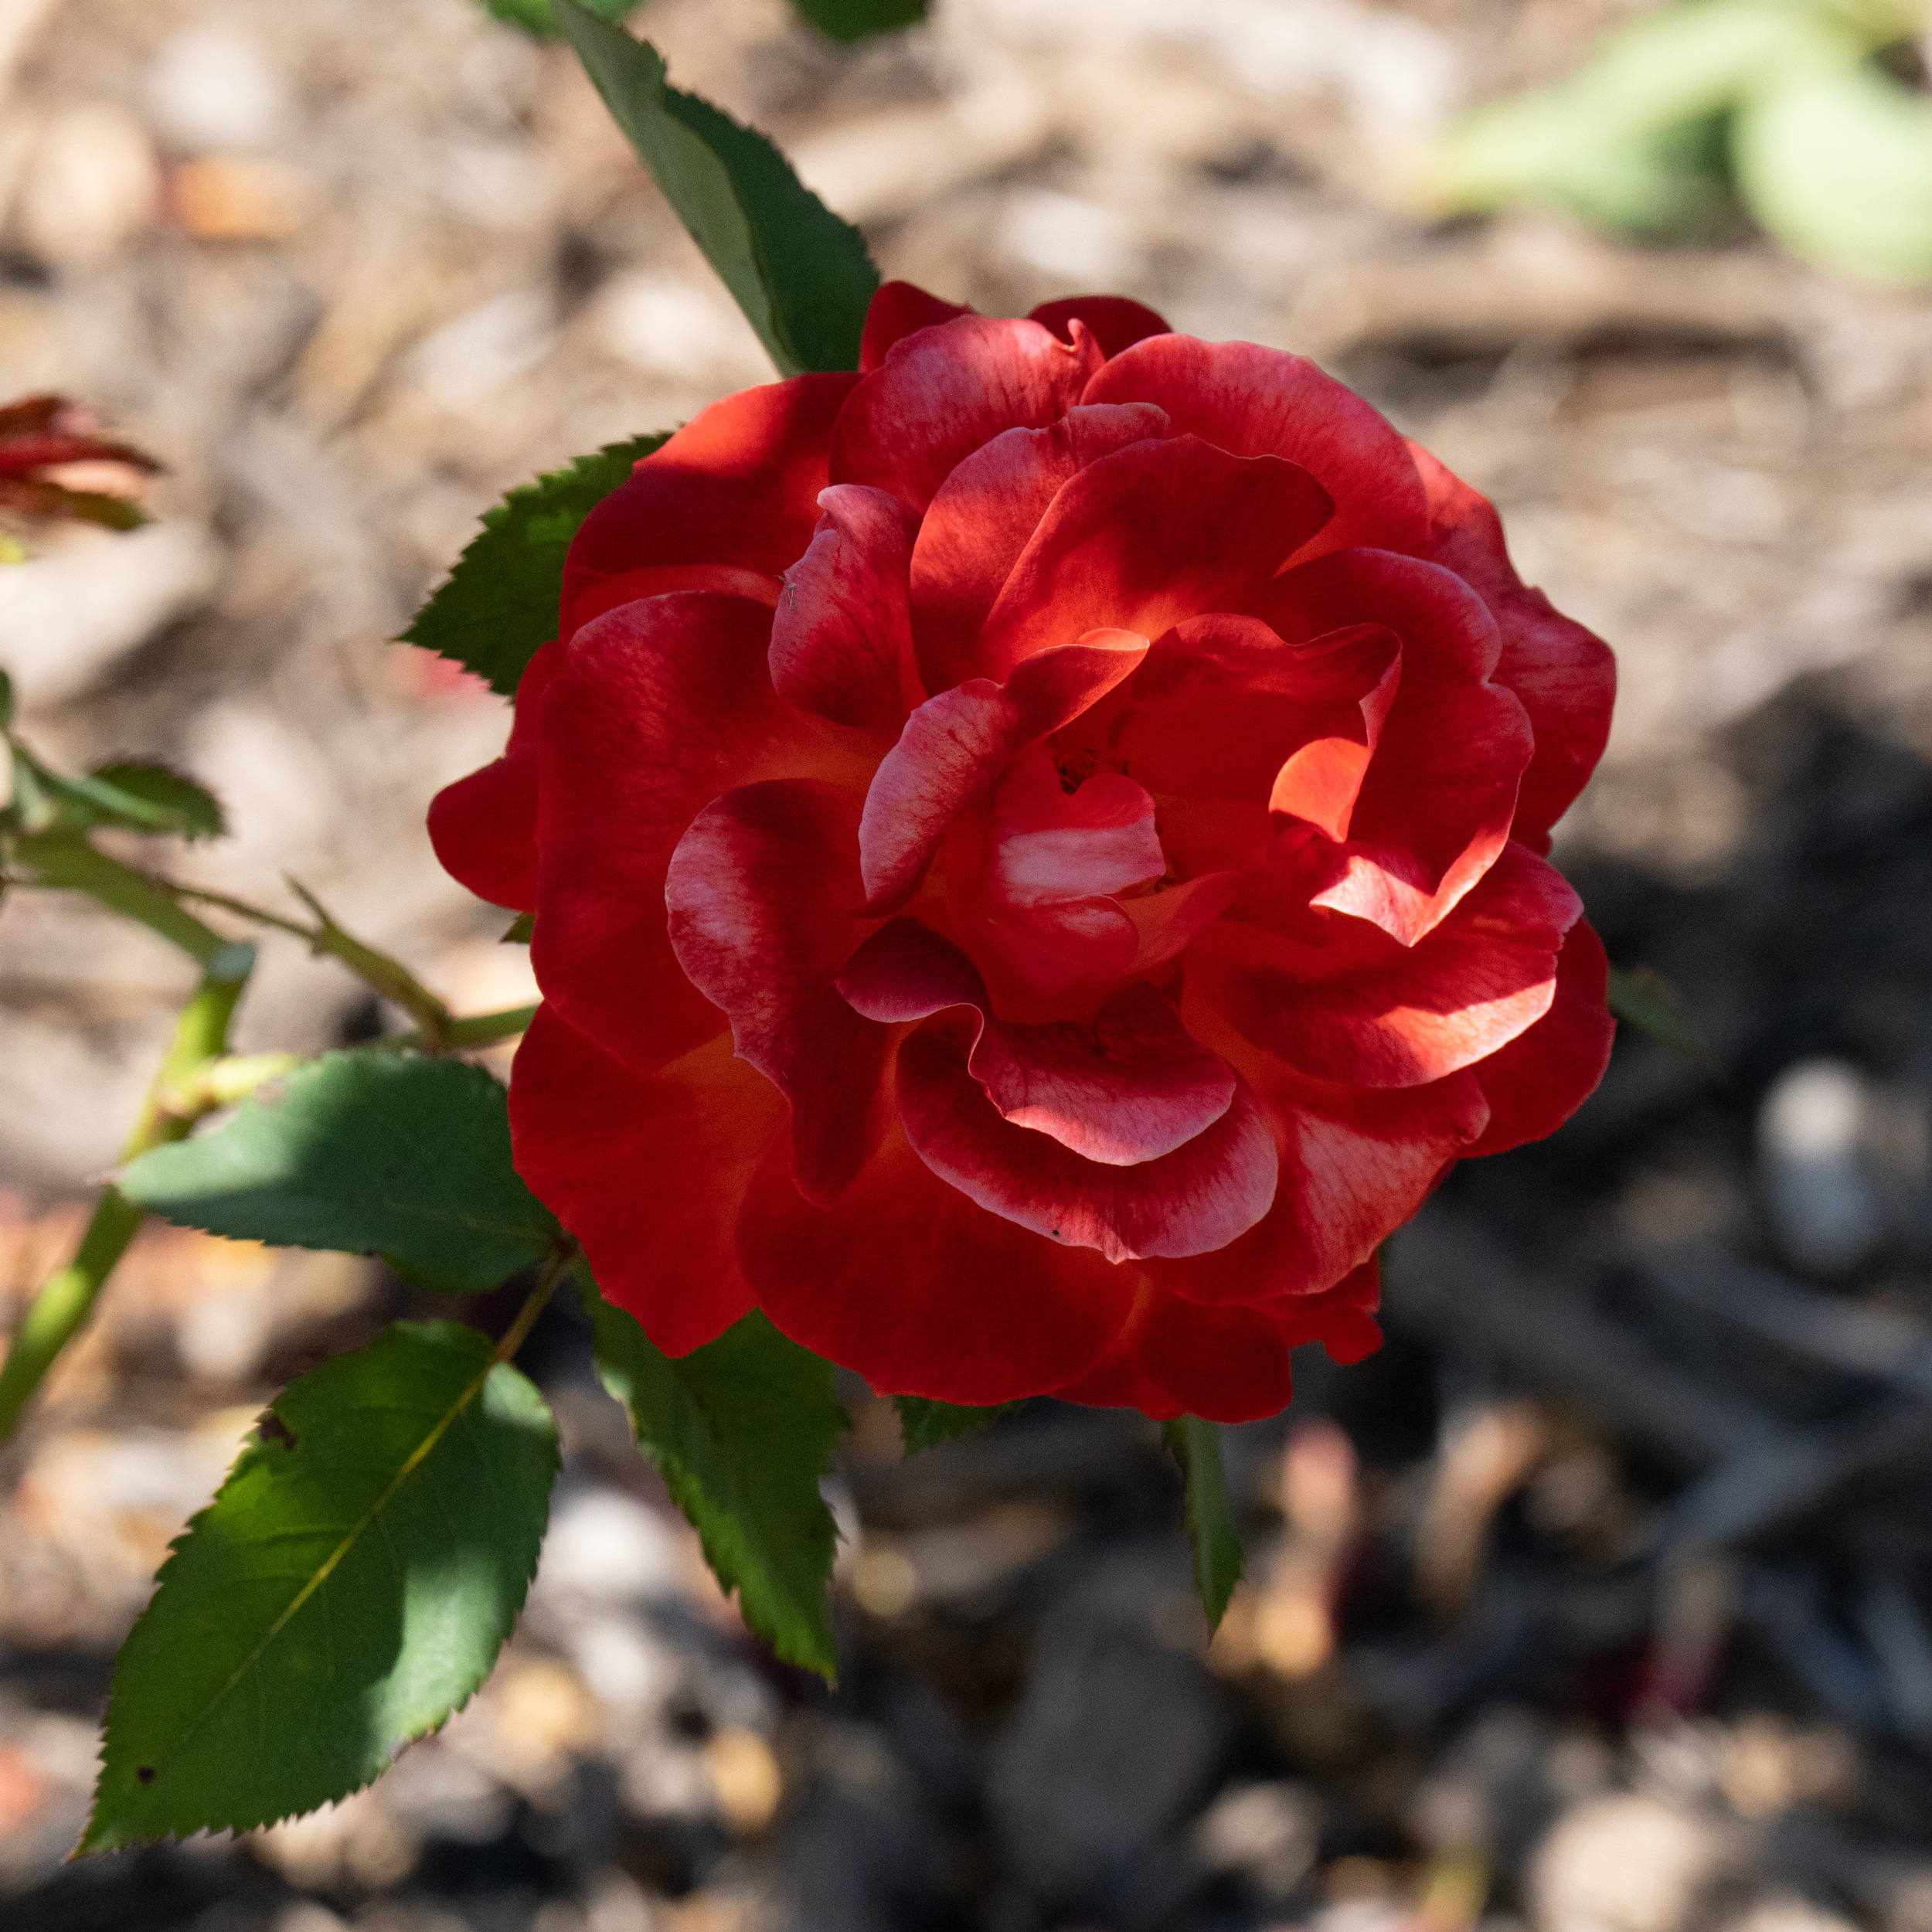
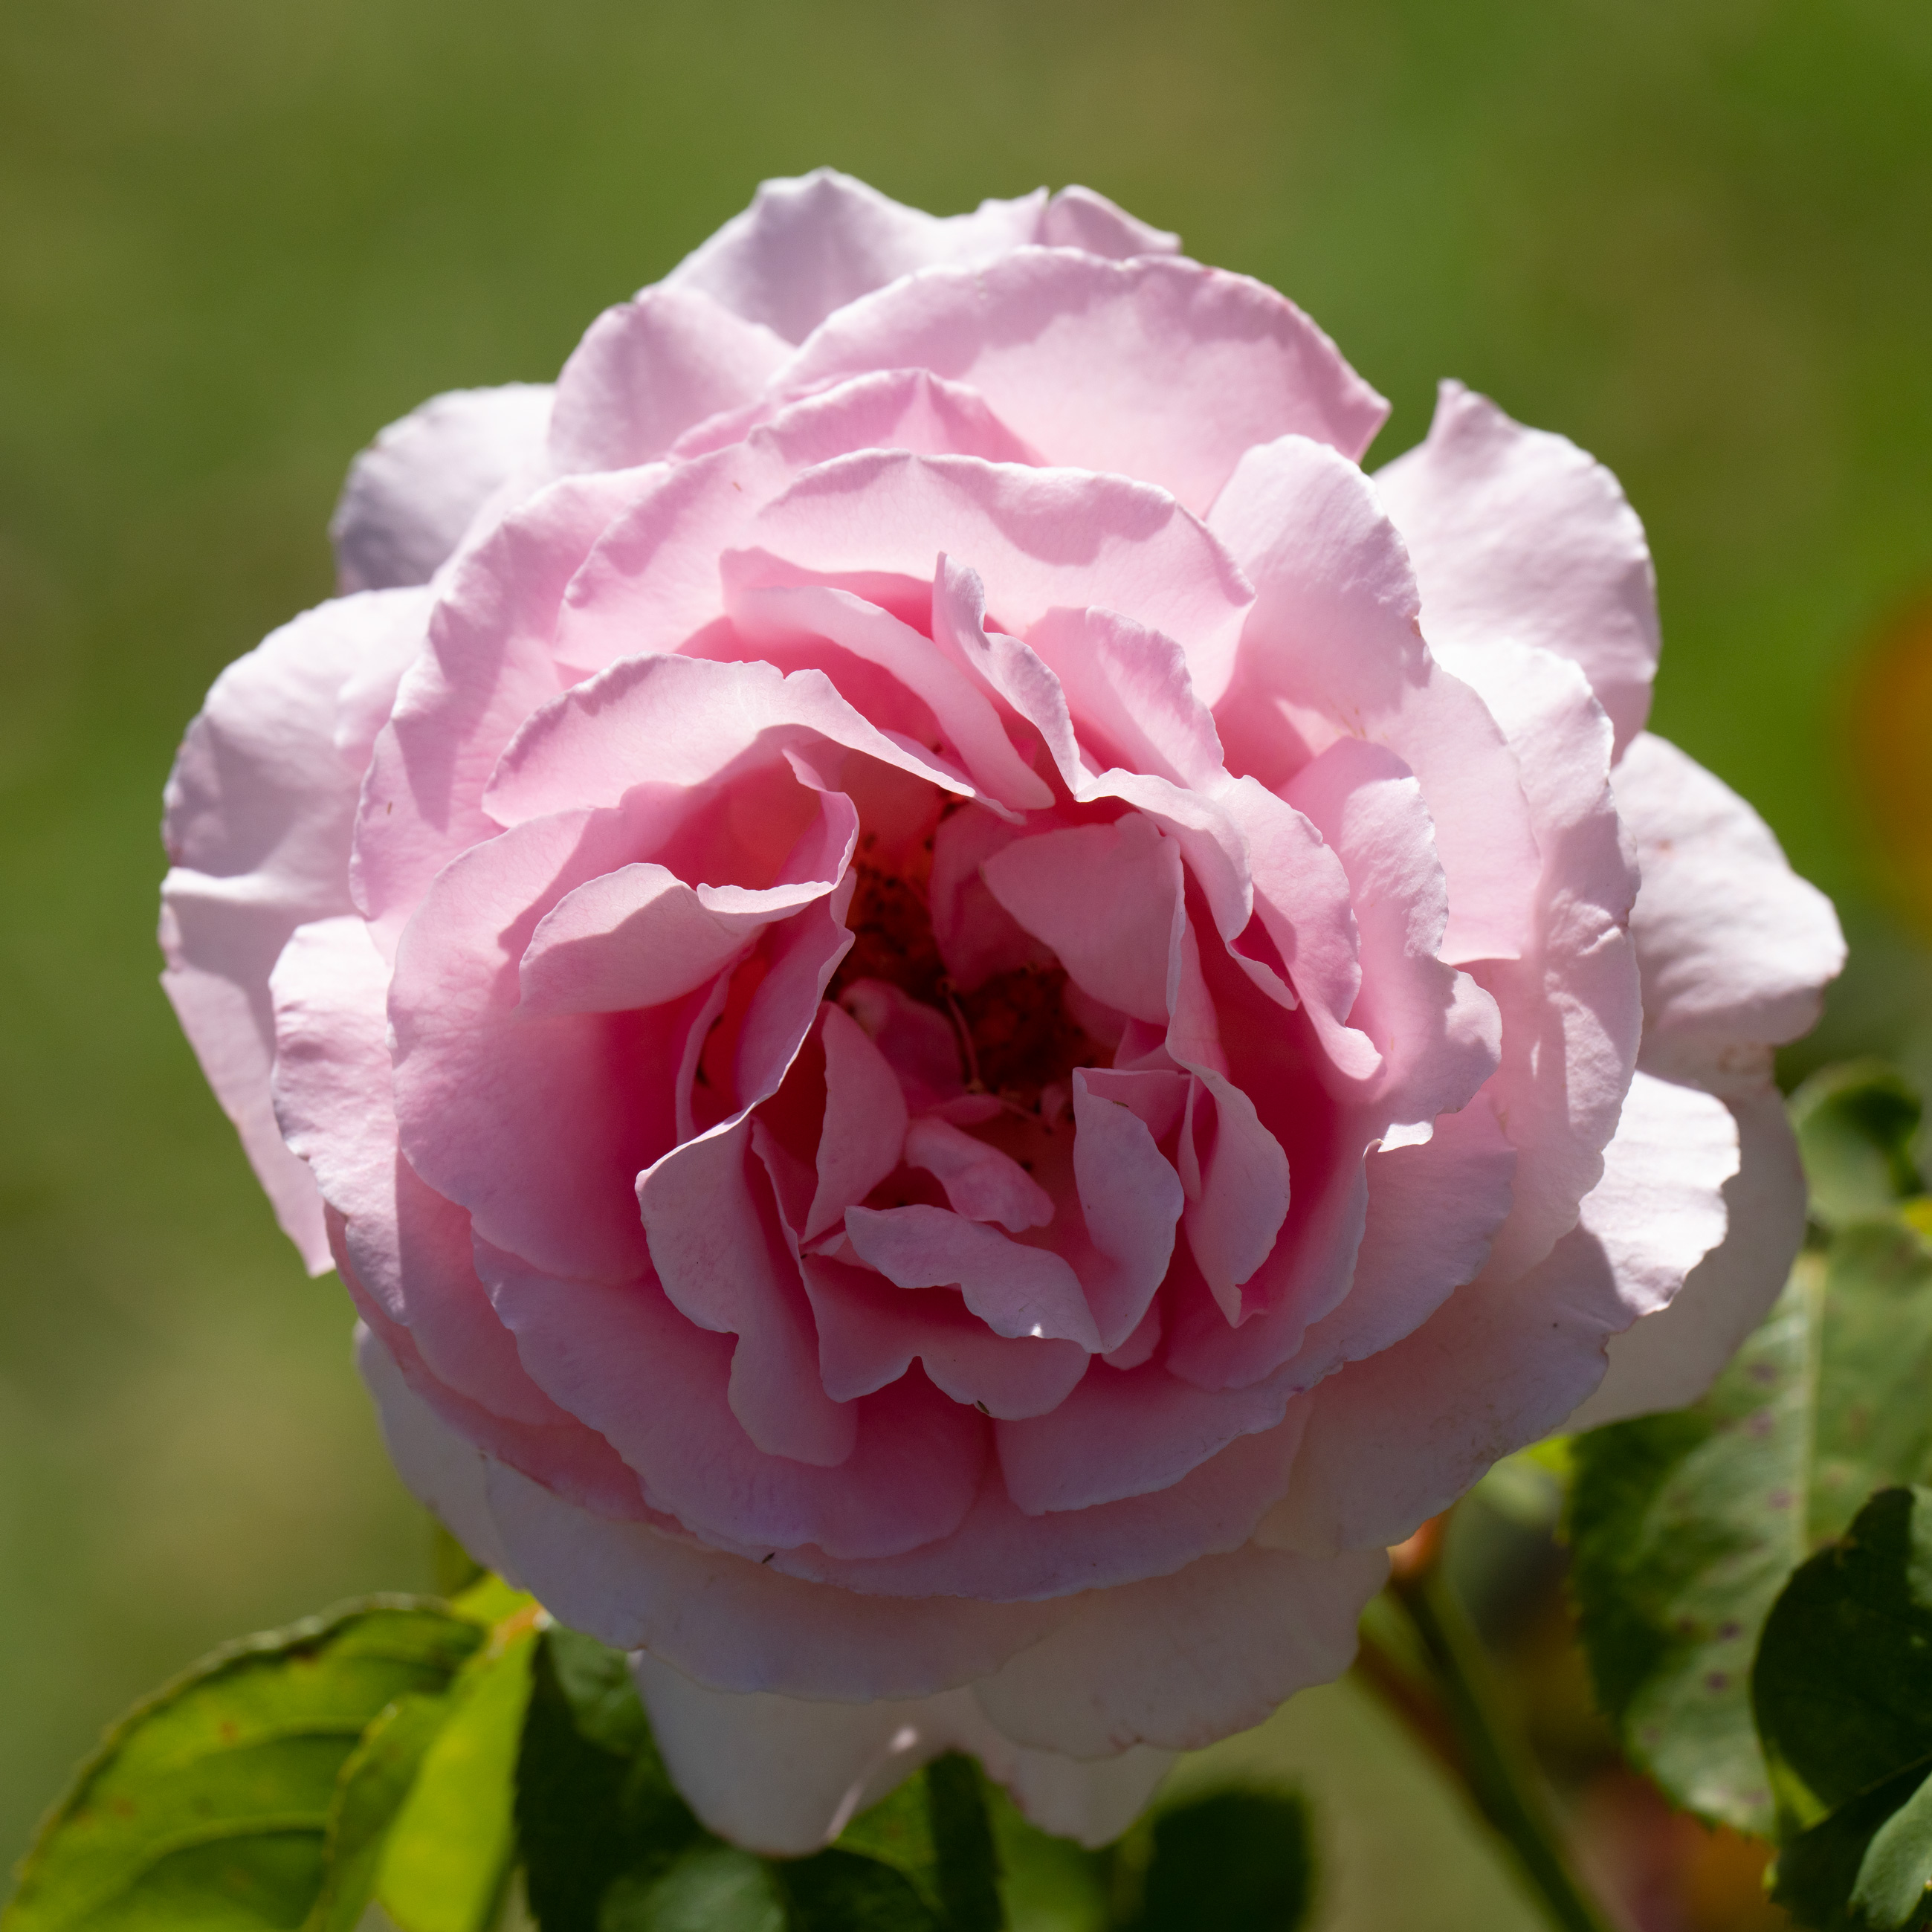
And now some bee-free flowers. Click on the gallery to see the images larger.
I think I may well leave subject recognition turned on most of the time, because it does not appear to impede auto focus on subjects which are not recognised. Would be worth turning it off if taking, for example, crowd photos that are not meant to be focussed on an individual.