My image getting the wrong kind of exposure!

This is the first of an irregular series called Don’t Do What I Did. It’s about making mistakes, and what we can learn from them. I am super-skilled at making mistakes, and sometimes I do learn from them.
I was working with a model in a photo studio. She is a versatile model, and moves from pose to pose quickly, so I had turned off auto image review – it just slowed things down. We had been shooting under studio strobes on a white cyclorama for a while, then we took a break to take some photos with natural light, and I set my camera appropriately. We returned to the white cyc, and I took a series of shots under strobes again. Then I reviewed one of the shots, and this is what I saw:
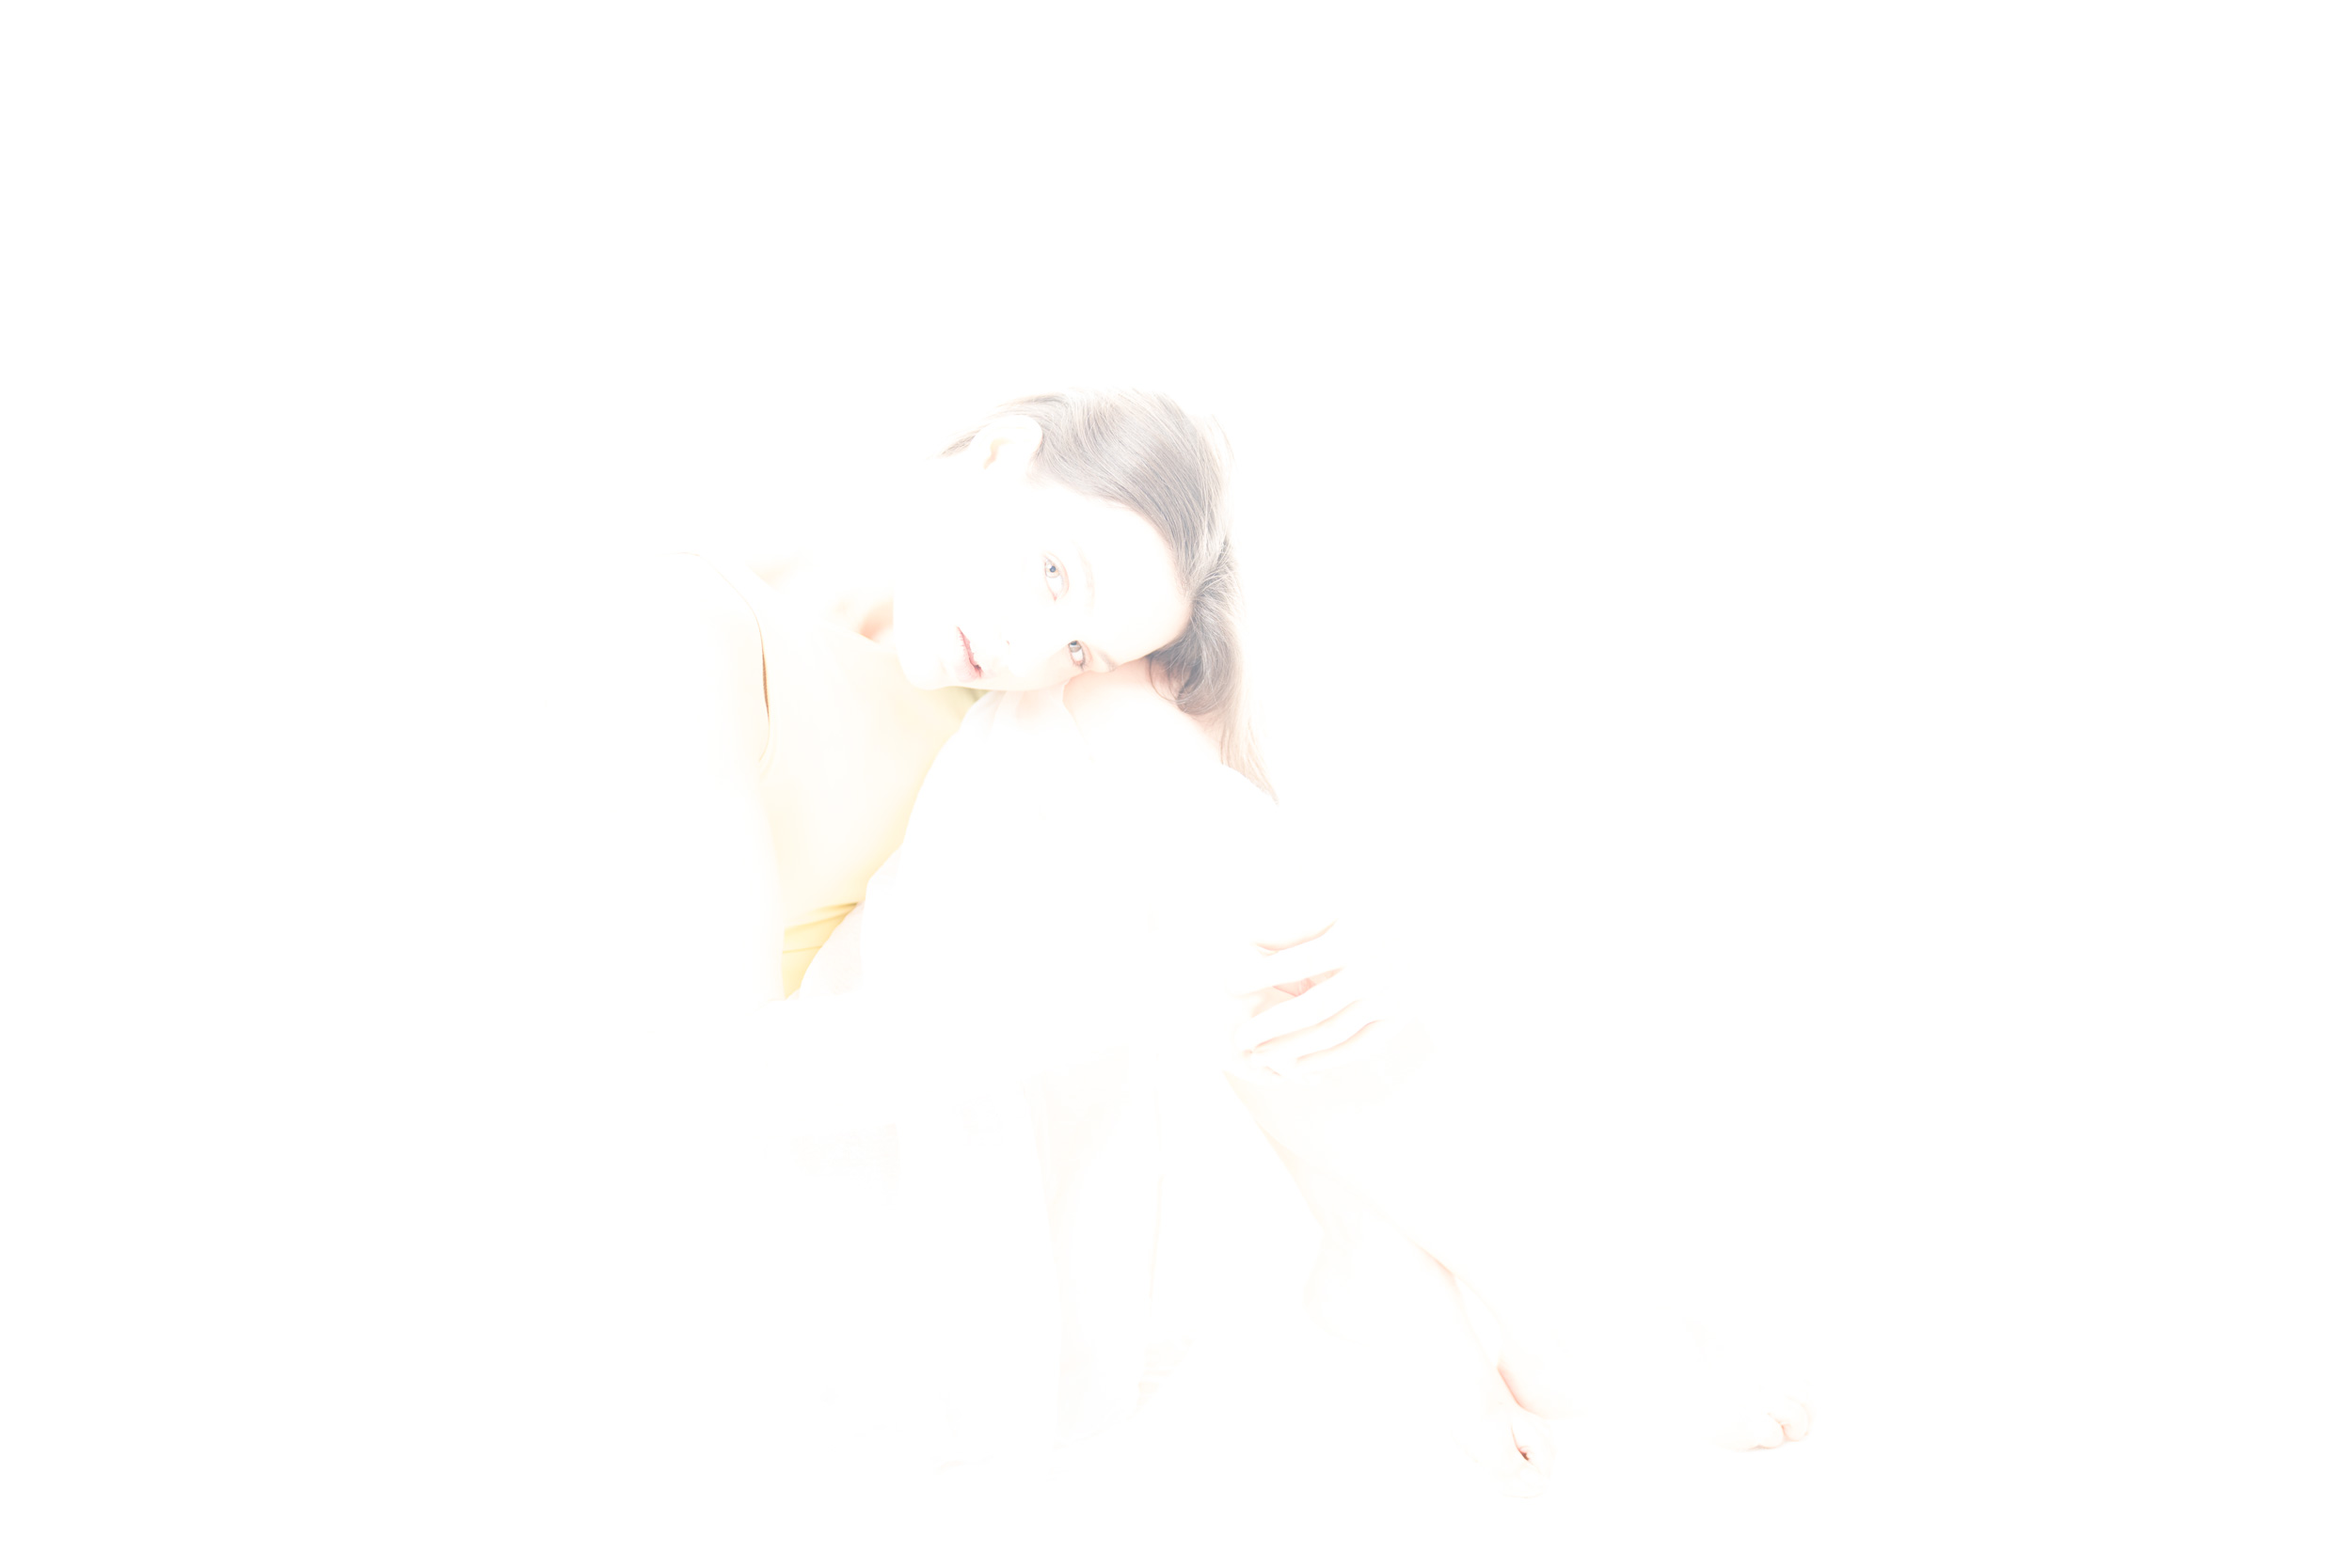
Oh, dear. I had forgotten to reset my camera from the settings I’d used for the natural light. I was using Sony’s 50mm f/1.2 GM lens, and I’d opened it all the way up to f/1.2 to get shallow depth of field. I had set up the strobes for f/8, so this frame is over-exposed by over 5 stops. Clearly all the images I’d shot like this were ruined, good for nothing but throwing away. The model and I repeated a few of the poses we’d tried, this time with the correct exposure, then moved on. I had plenty of room on the memory card. so I left the ruined images there.
That evening I downloaded all of the images to my computer. and the sequence of ridiculously over-exposed frames glared at me. I was curious, so I loaded one of them – the one you can see above, and thought I’d see what would happen if I tried to pull the exposure down to where it should be. I pulled it down by 3 stops, and I got this:
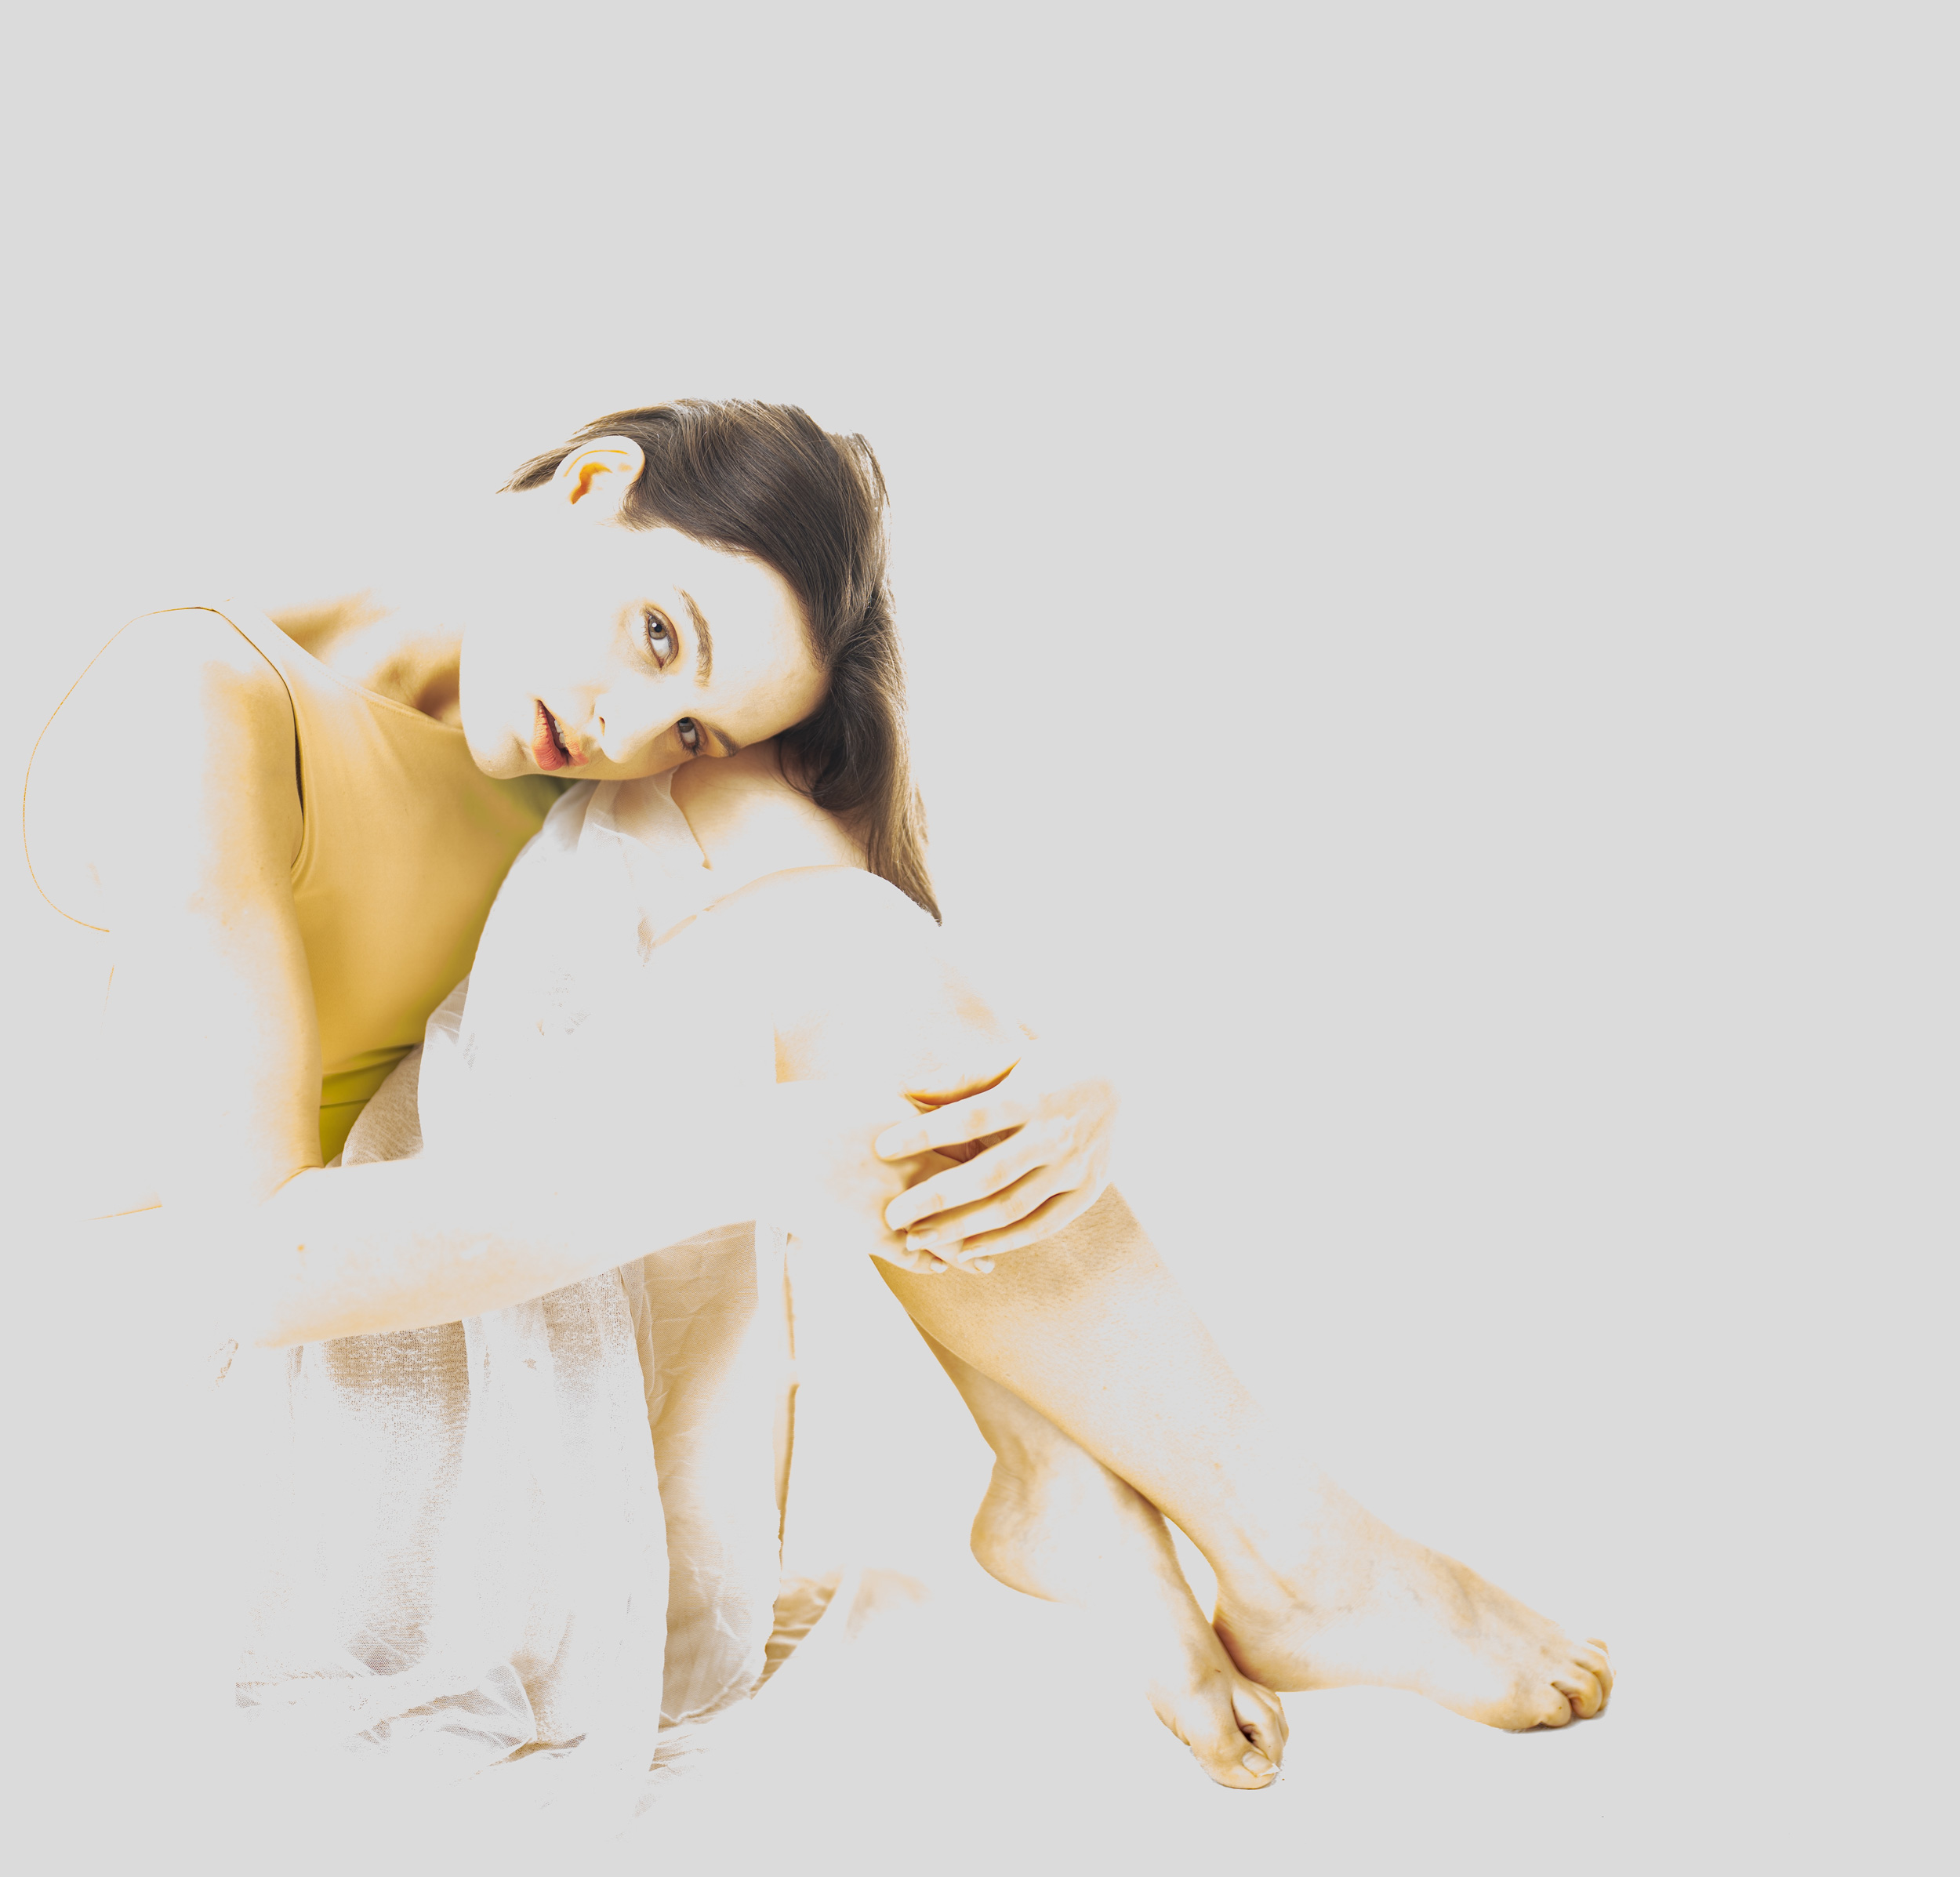
That’s a surprise: I got back more detail than I expected! It confirms that her eyes are in focus. Considering that the lens is at f/1.2, that’s good; the Sony A1, running in human eye AF, does a very good job of finding the model’s eyes and focusing on them. However, you cannot tell that her top is yellow and her skirt ecru. Really, the only things that stand out are her hair, eyes, and lipstick. I think it helps that we can see her hands and feet, though, because it gives the image context.
I contemplated this result for a bit and decided I liked it, so I saved it as a JPEG. I thought it made a surprising example of recovering detail from a massively over-exposed frame. And, to be completely honest, I thought it was an attractive image.
In case you are wondering, I did try pulling it back even further, but that just made the whole picture darker. I played with the various sliders, trying to separate the shades, but it felt like I was losing more detail, so what you see above is just pulling the exposure down 3 stops.
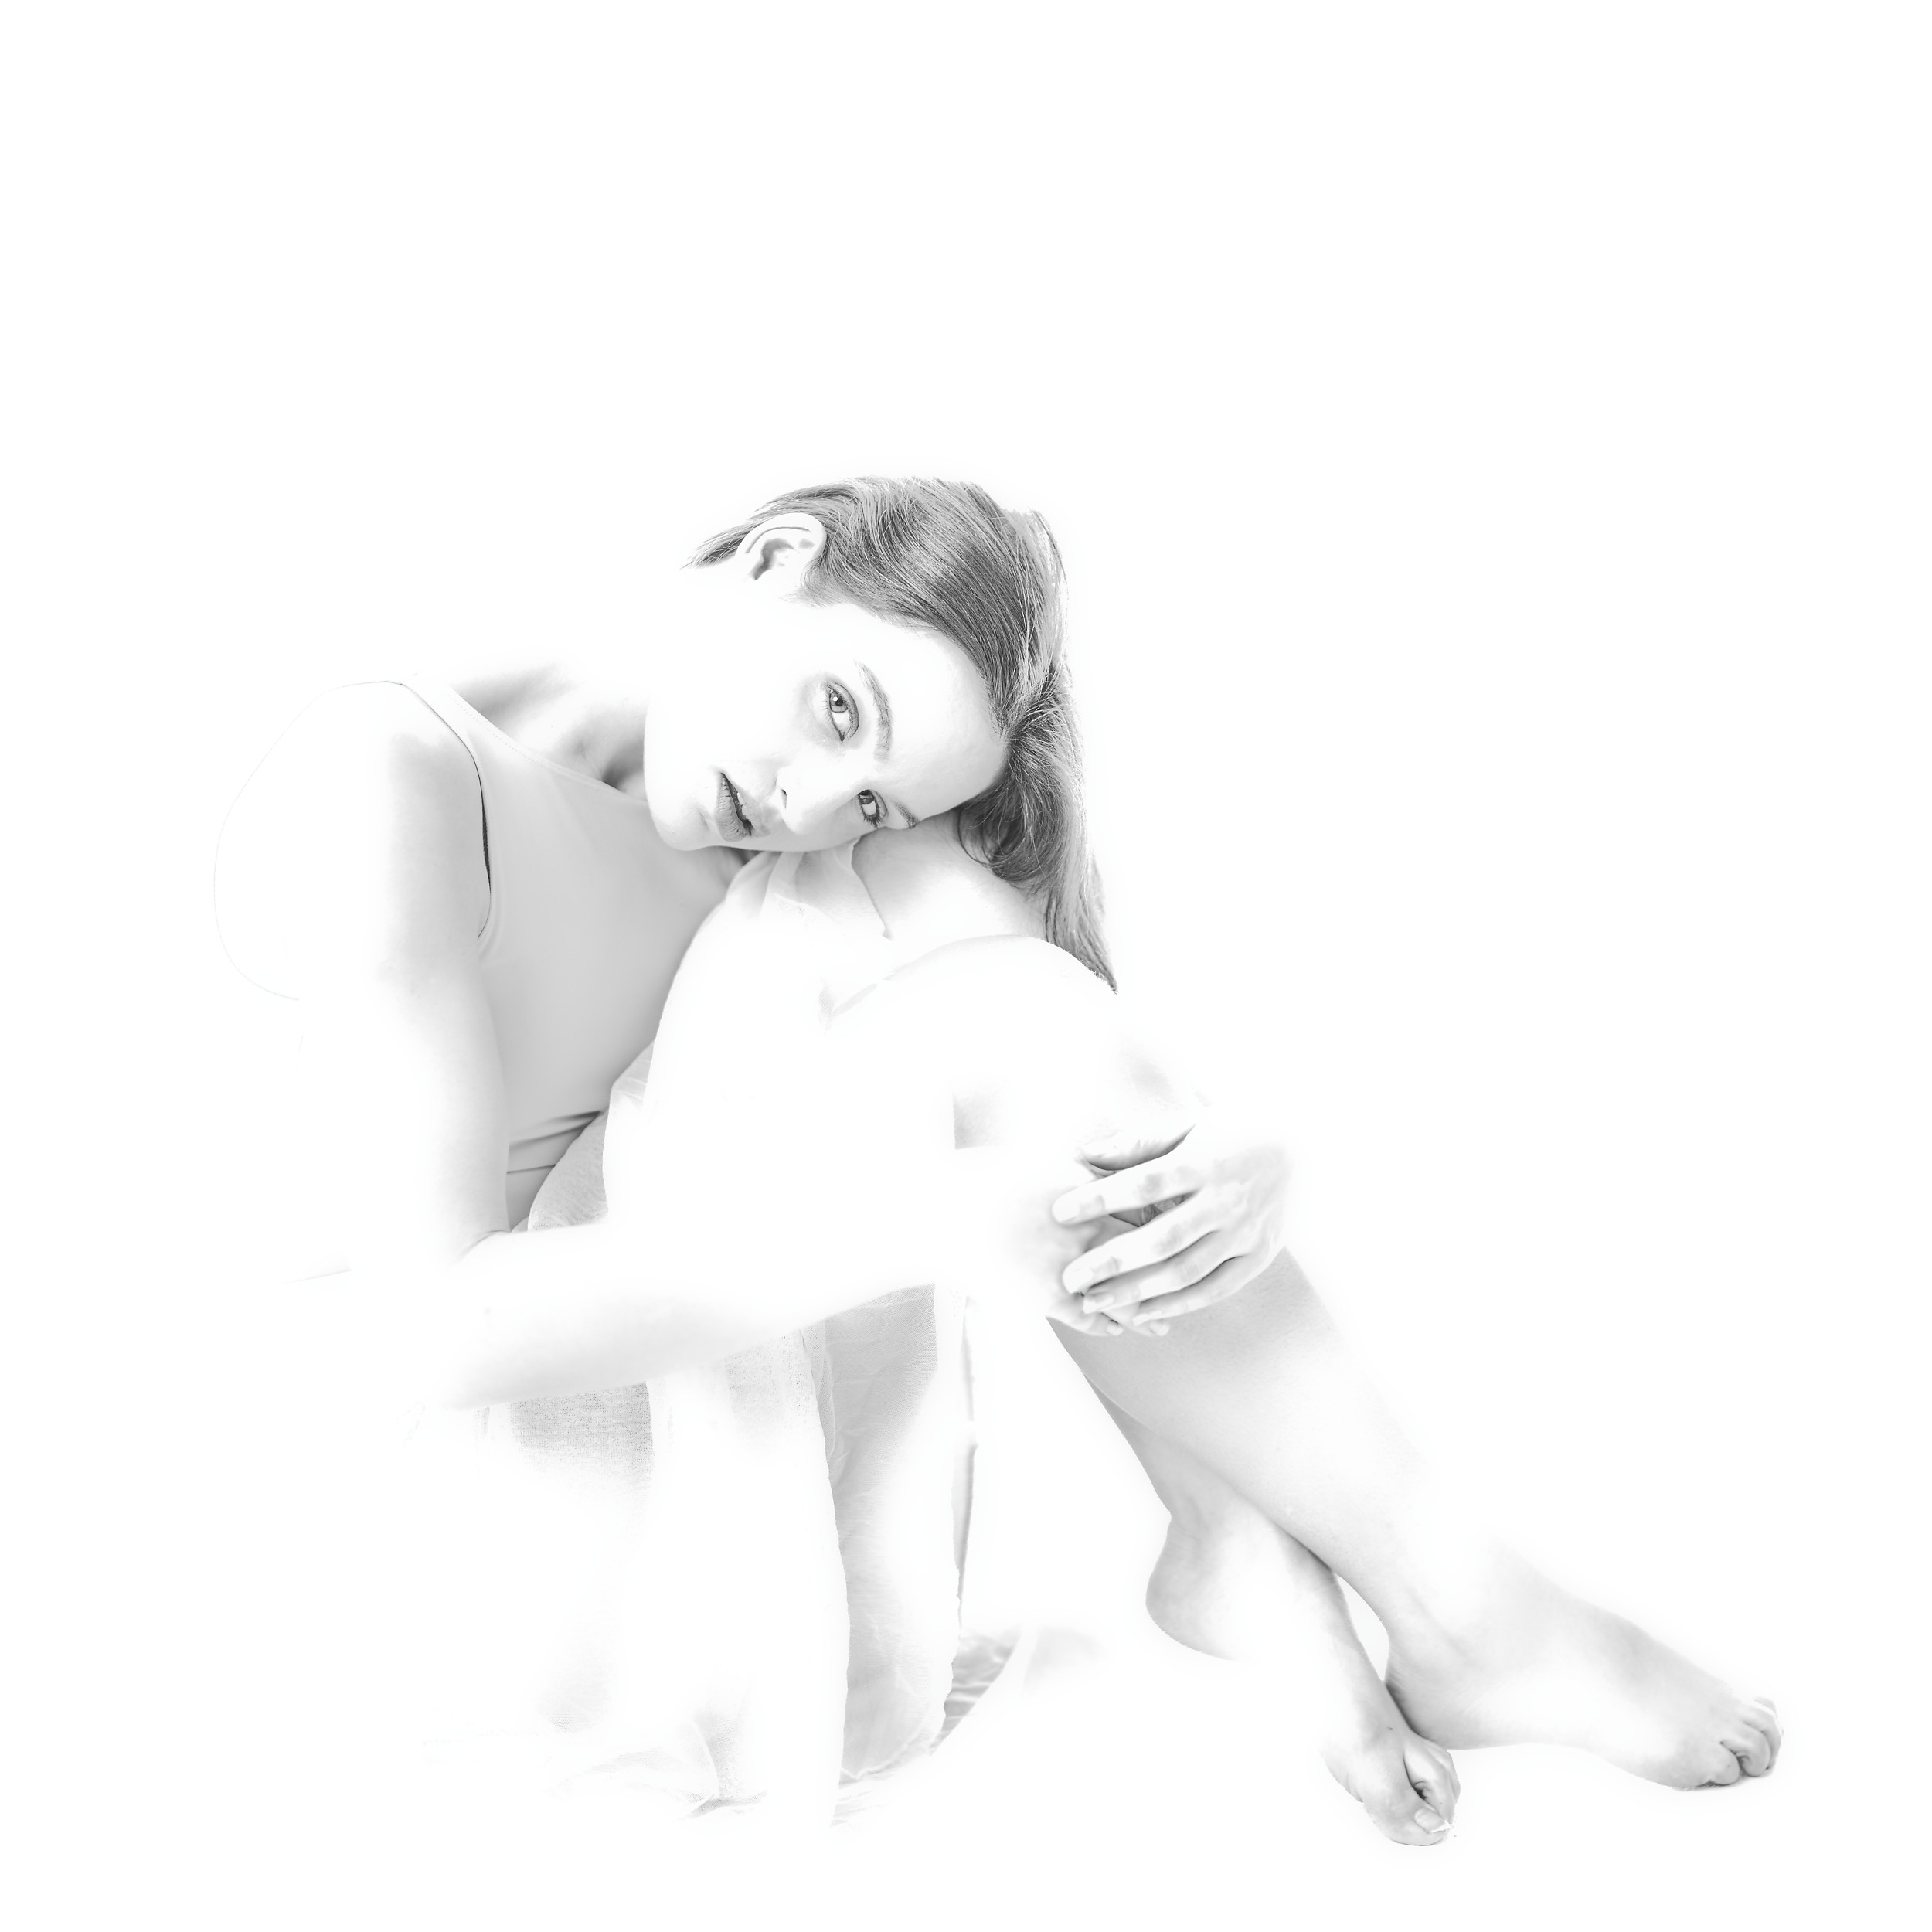
I tried a slightly different approach, converting it to monochrome to accentuate the subtle differences in luminance. I like this one, too. I think it makes her face clearer, at the cost of losing a bit more detail elsewhere in the image.
This is what the same model, in the same outfit, and the same lighting, looks like with the right camera settings:

So how would I avoid making this mistake again?
- check my settings when changing the lighting (obviously)
- review the first image after changing the lighting – I would normally do that, but this was a setup I’d been using, and I’d changed none of the lights, so obviously it would be the same
What might I glean from this experience?
- Over-exposure can produce interesting results, and they aren’t always awful. I might try this again, but I think I’ll keep the level of overexposure down a lot – perhaps just two stops
- Don’t give up on a shot just because it is “ruined”
- If you are going to over-expose a model, choose one with dark hair and brown eyes!
And check your first image after changing the lighting!